A Ranger Raptor Built Around Gear Access
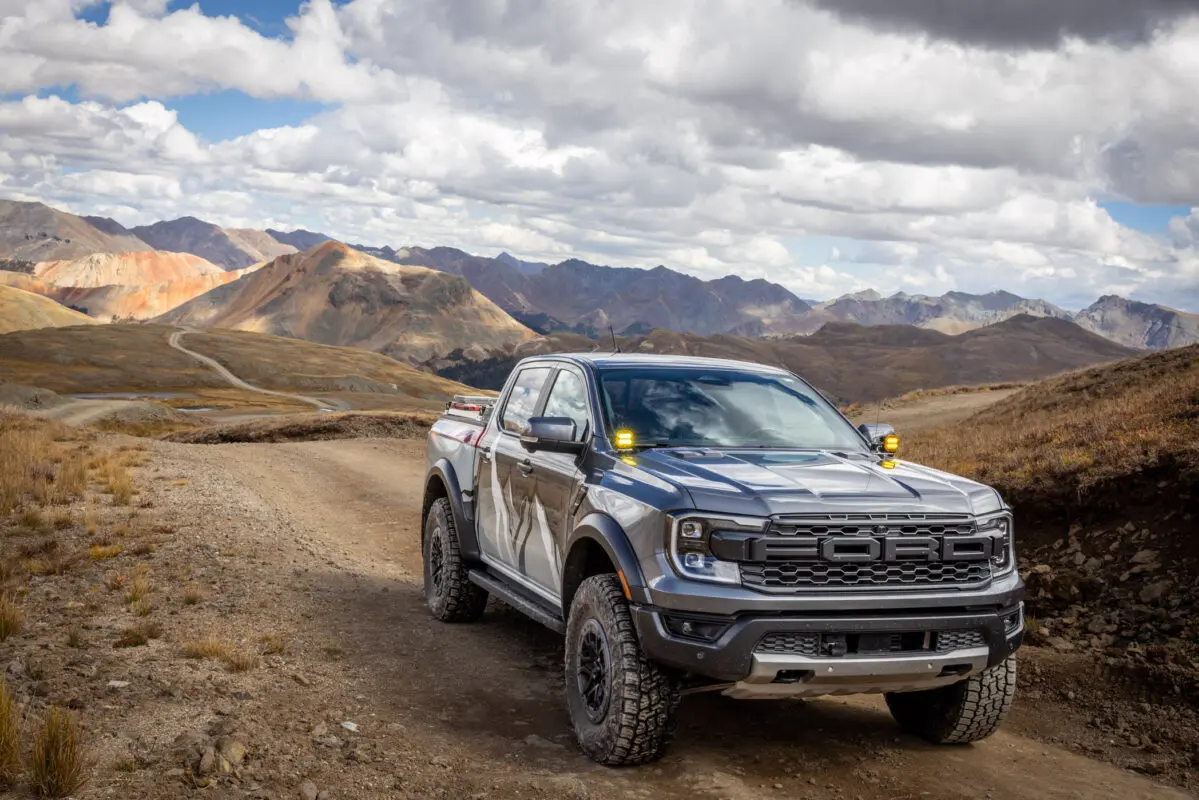
Our Ranger Raptor is a shop development truck for bed mounting, cargo slides, lighting, and interior storage. The useful part of this build is how those systems divide the space: equipment on the bed floor, mounts along the bed walls, gear above the bed, and a separate cargo area inside the cab.
The gallery follows the truck through different trips and configurations. Use it to understand the layout and the mounting decisions, then check the current product version for your own truck.
View Ford Ranger Gear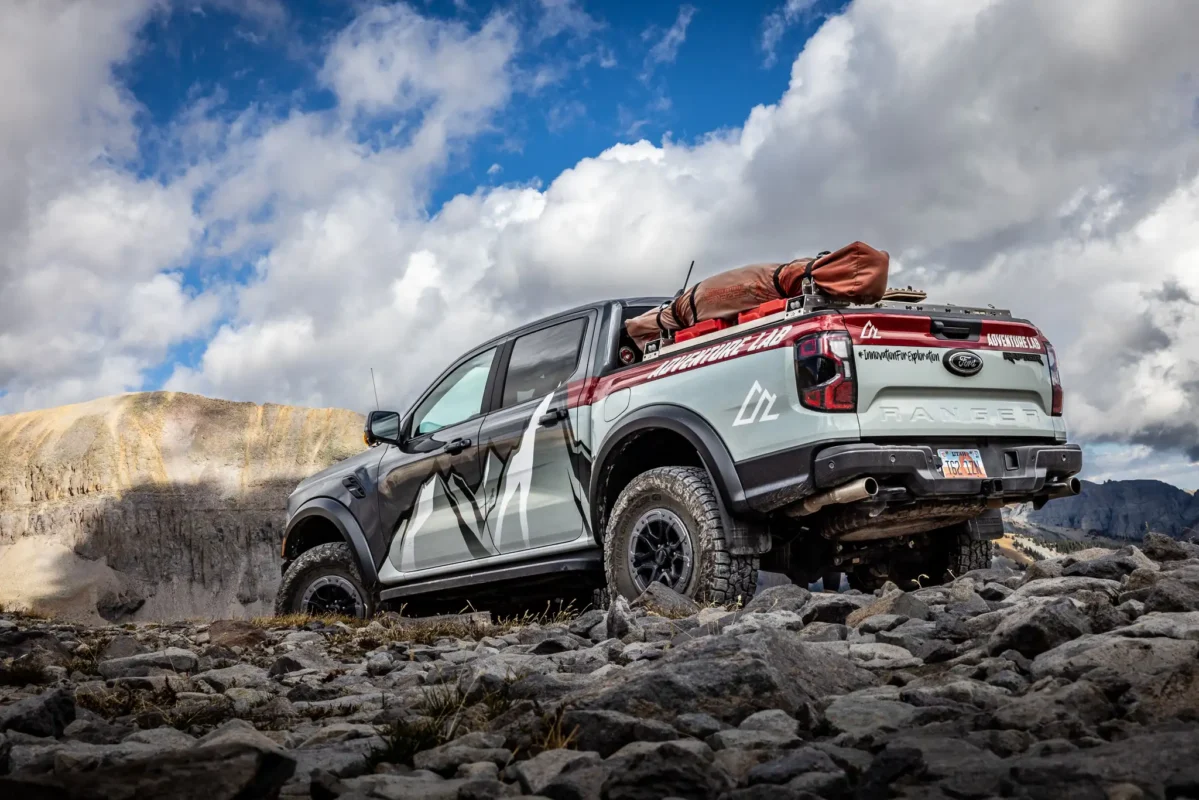
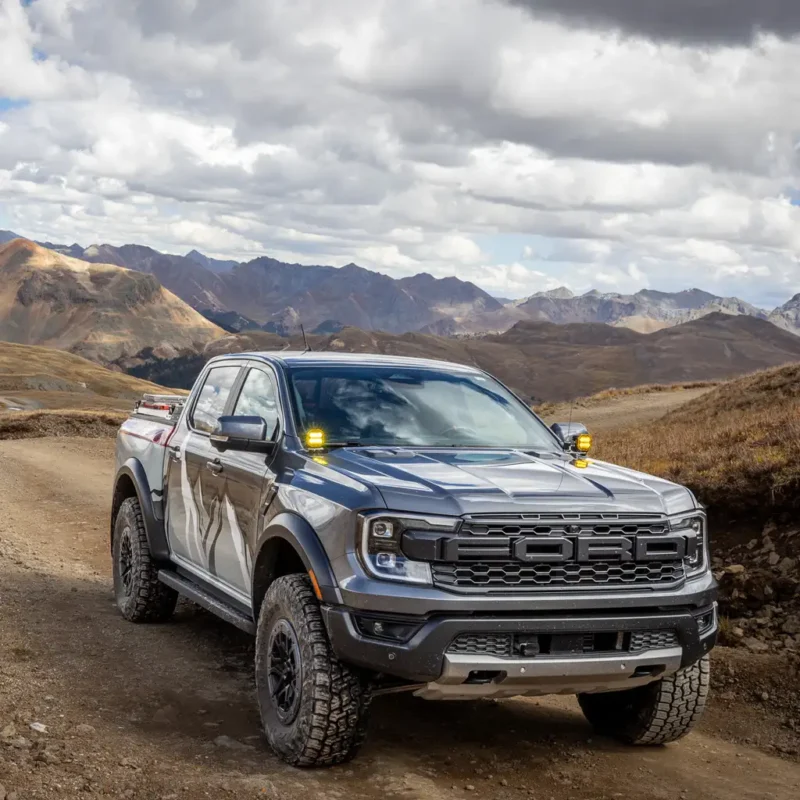
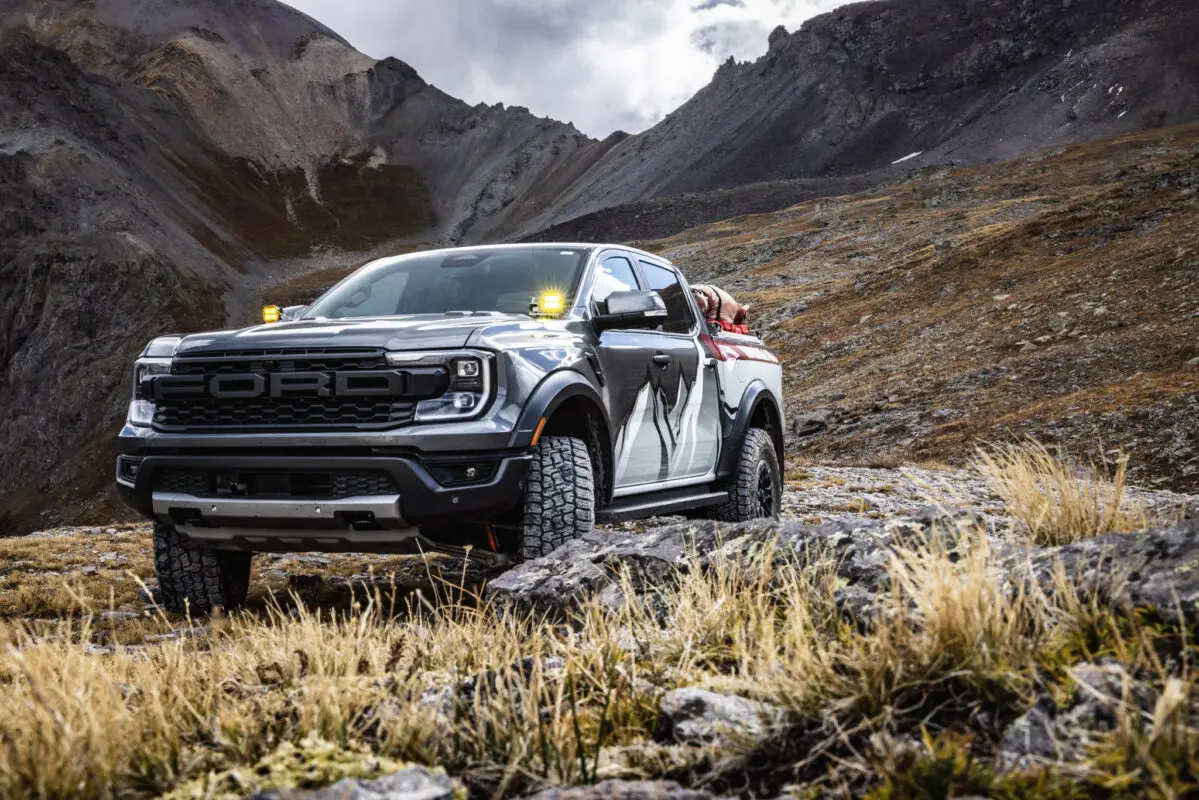
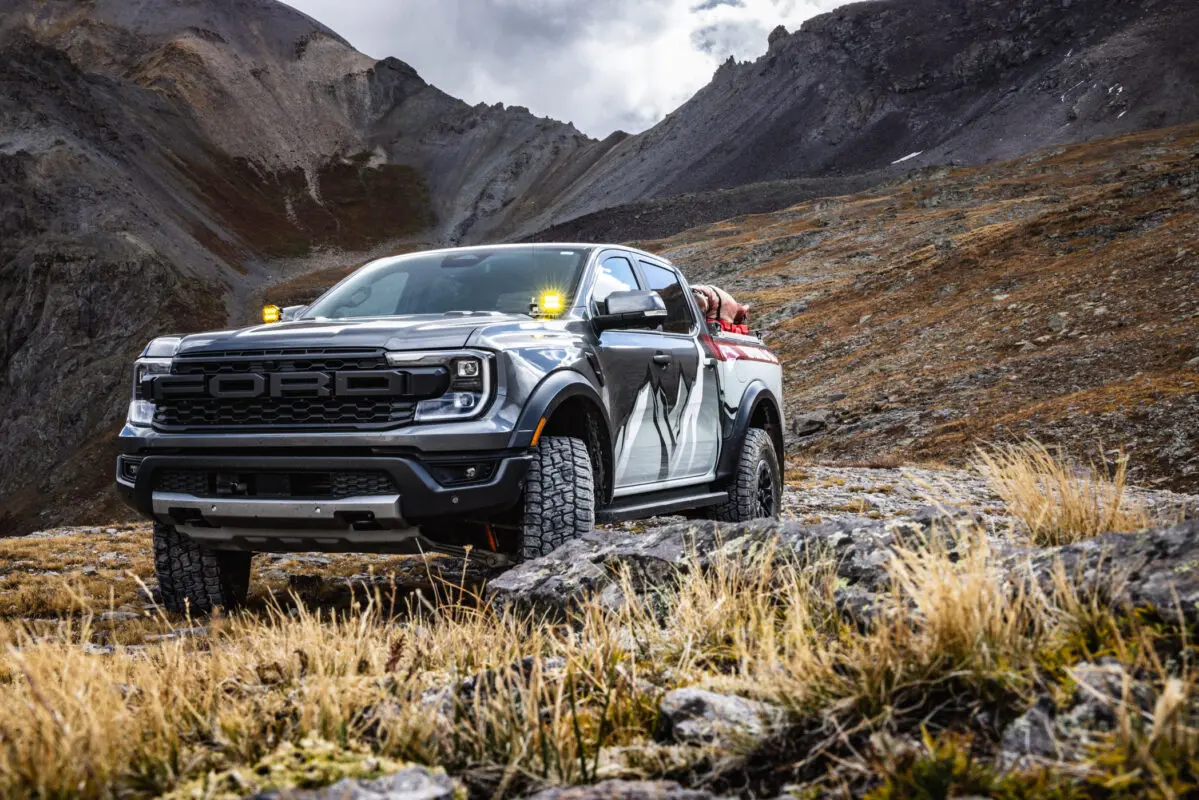
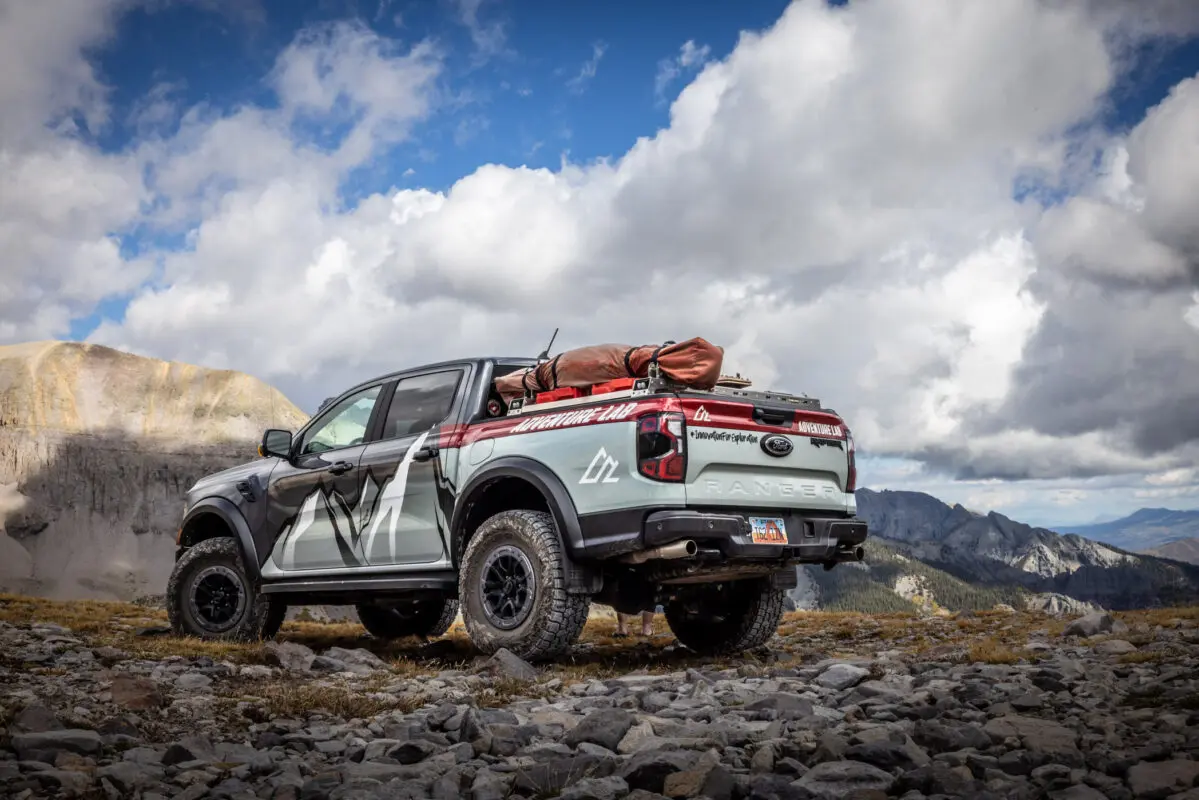
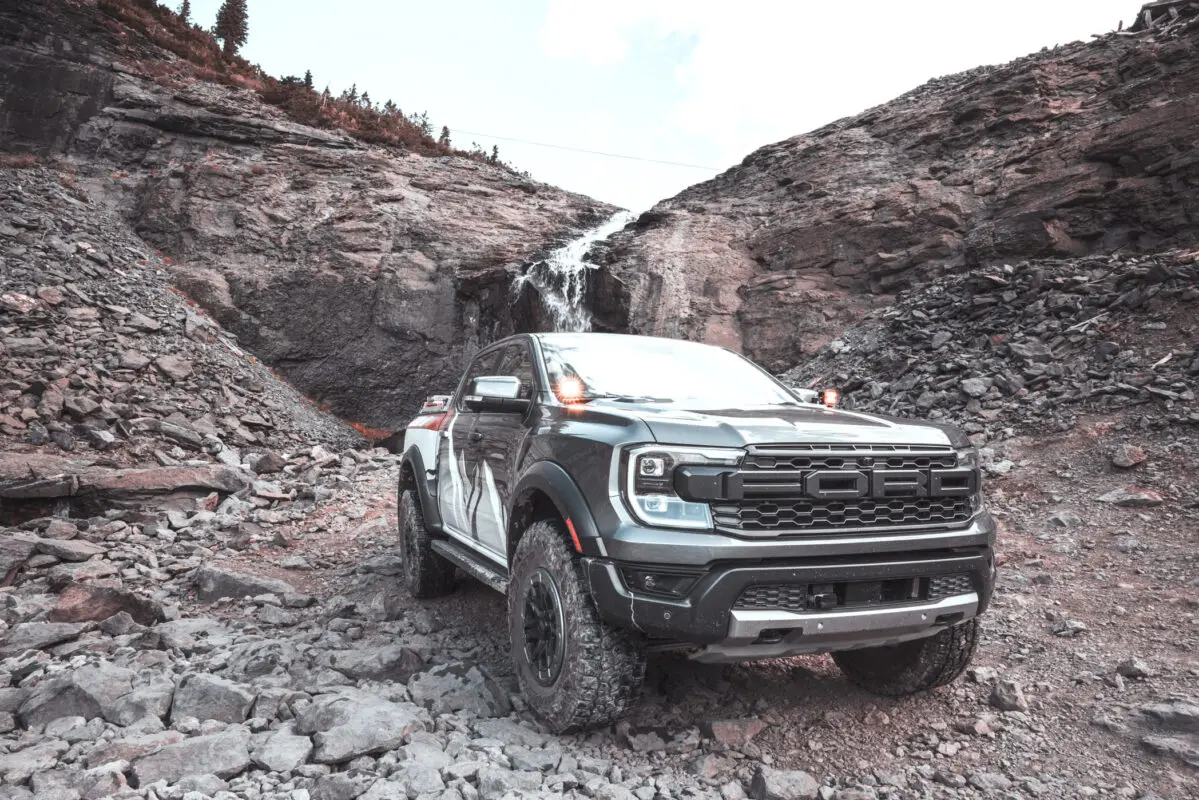
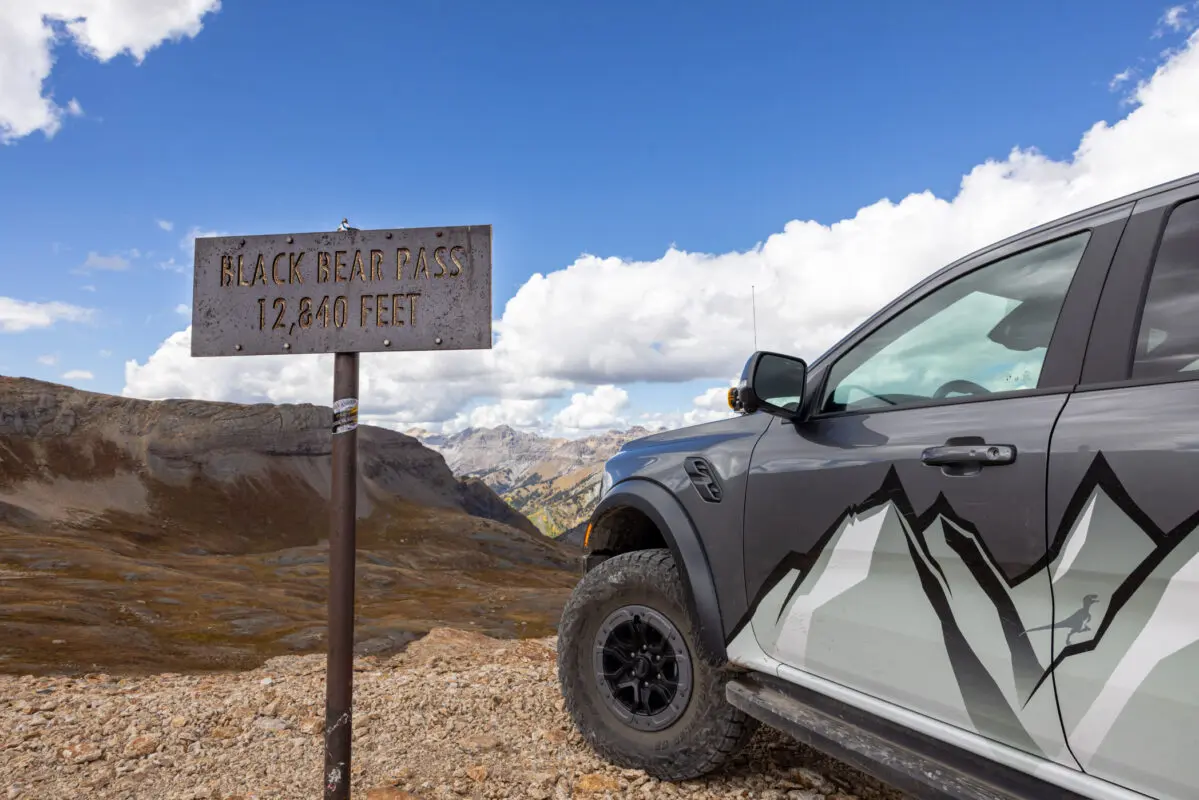
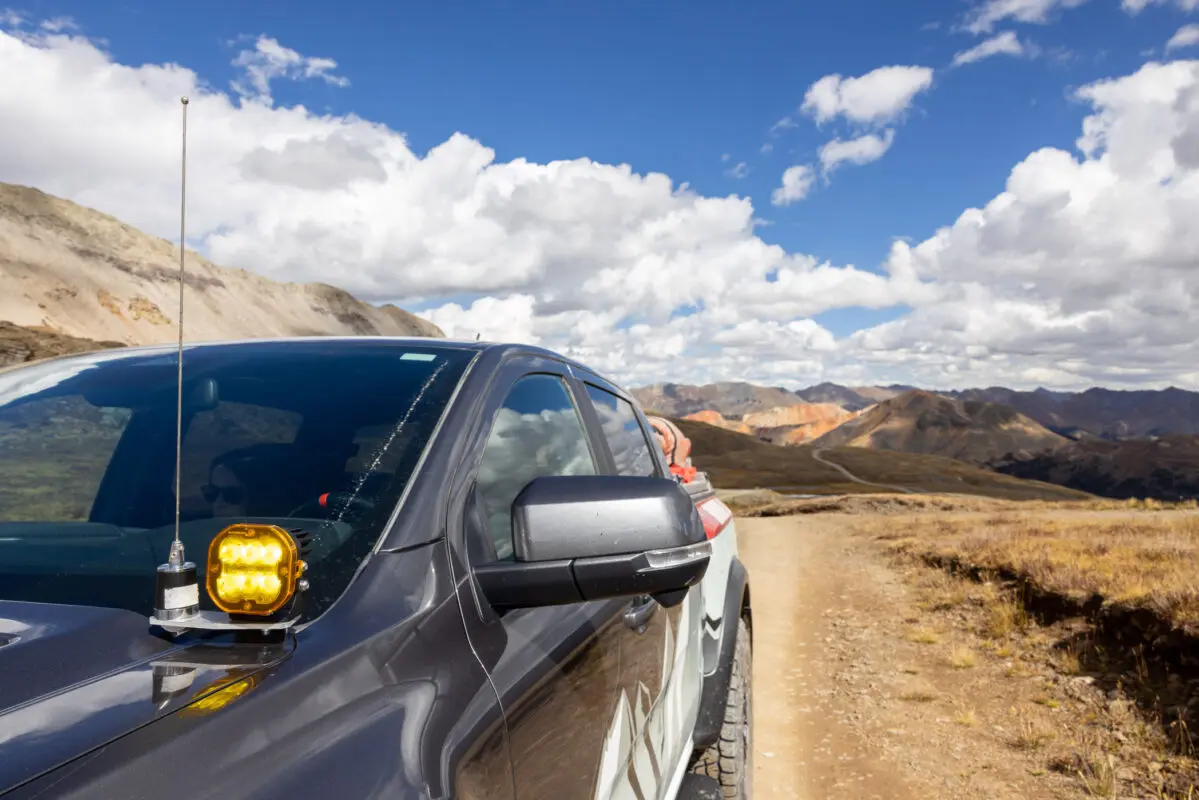
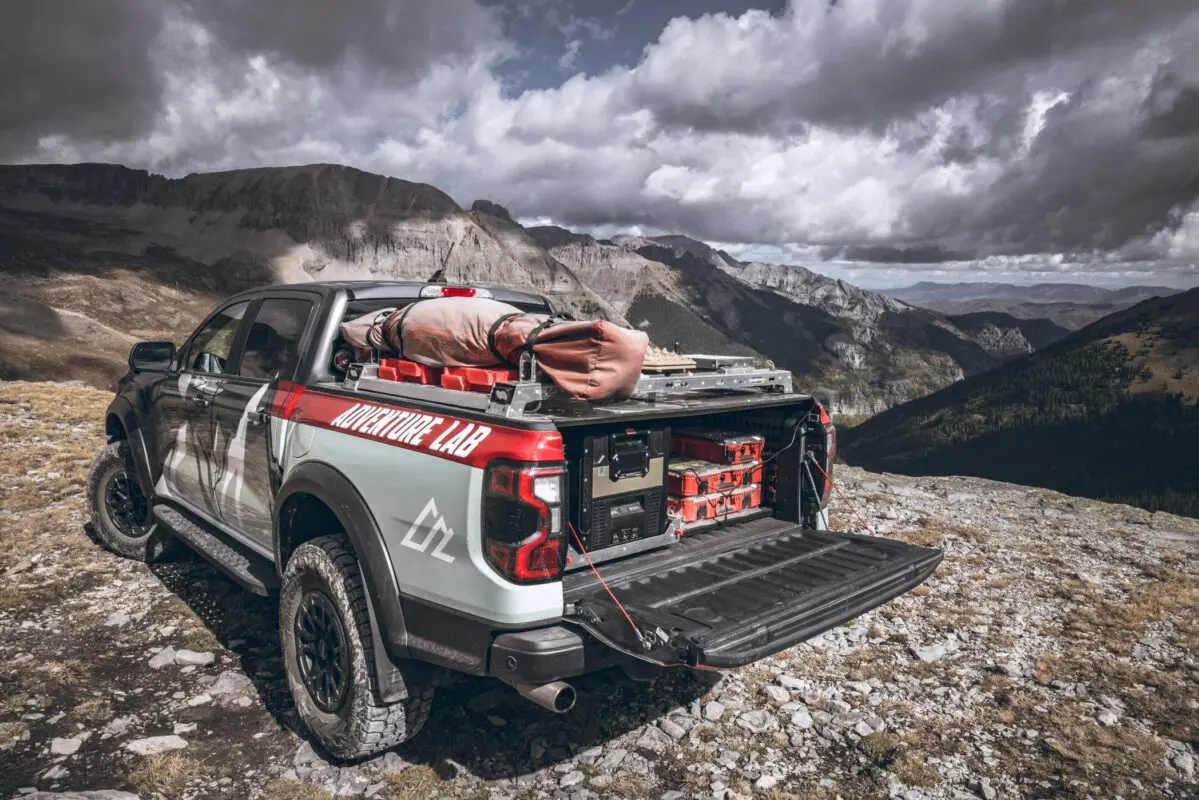
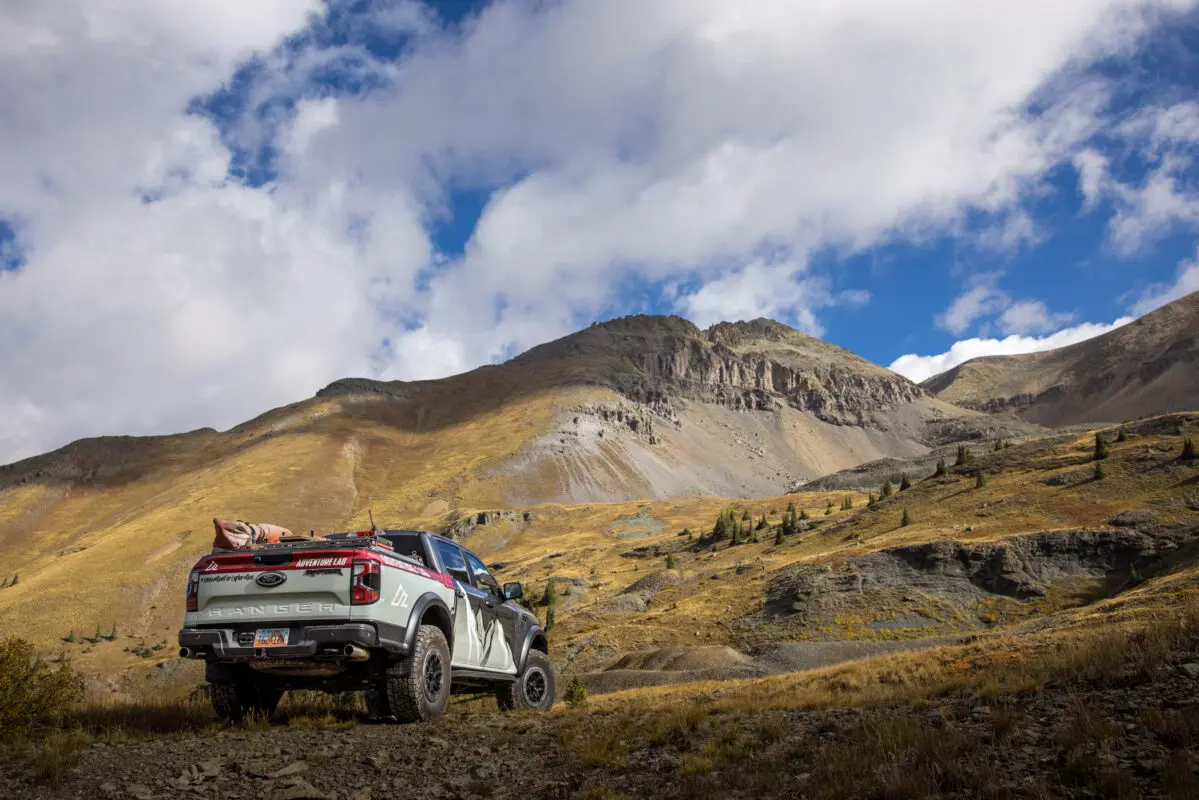
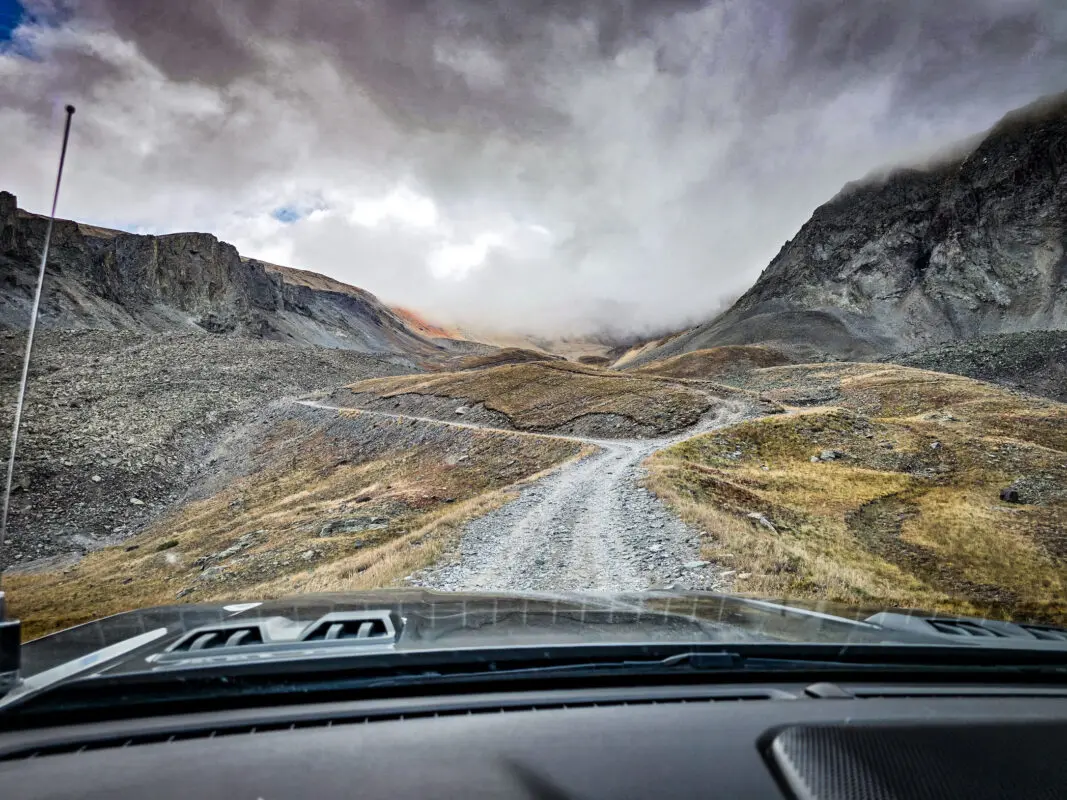
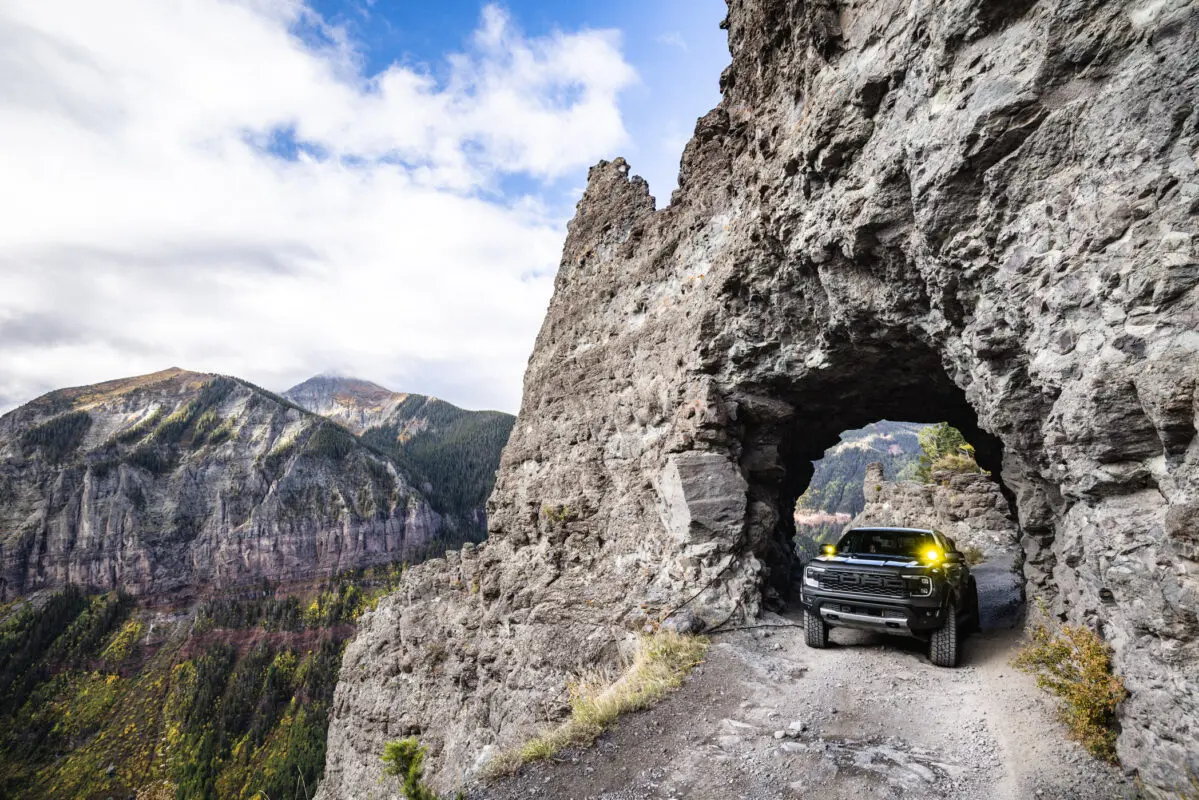
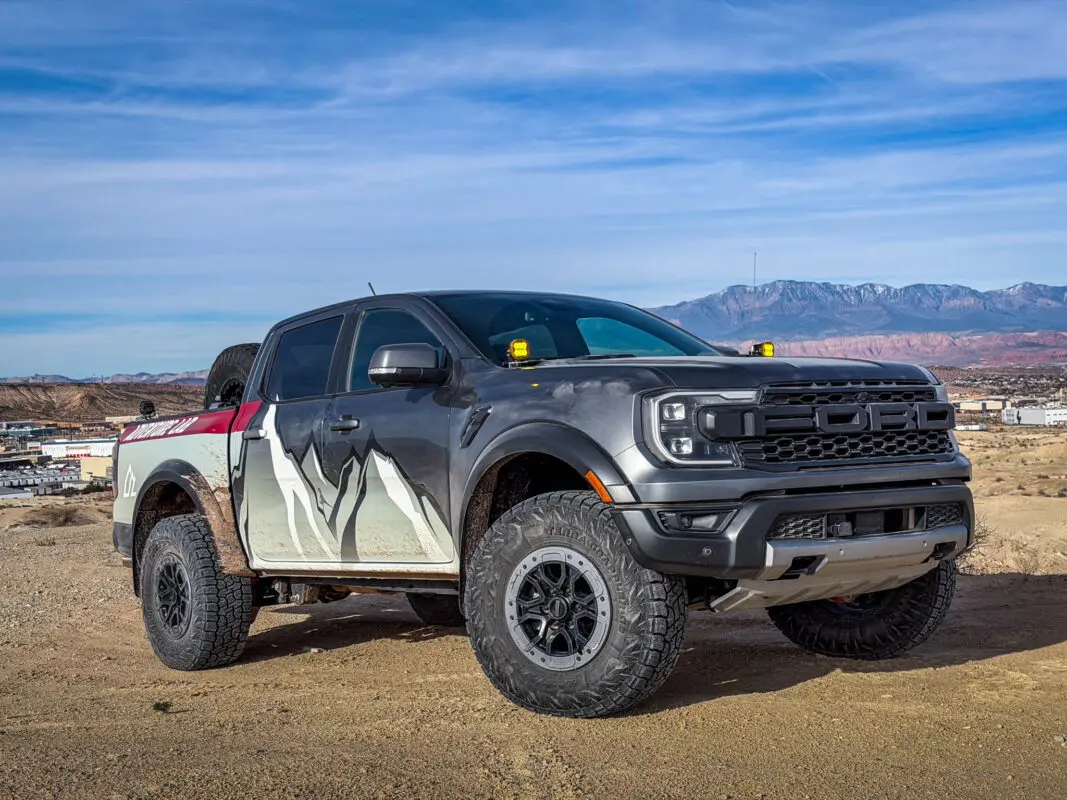
The Ranger Raptor on a mountain trip. Bed loads and accessories change between the photos below.
Watch the Ranger Get Used and Unpacked
The post-trip update follows five days and more than 500 miles of testing. Brit explains what worked, what needed attention, and which components were still being developed. A separate teardown shows how the cargo kit comes out when the truck needs to return to normal hauling duty.
Post-Trip Build Update
Dust and bed sealing, 2:25 · Fridge, boxes, and slides, 4:24 · Starlink access, 9:36 · Navigation mounting, 12:47
Bed Kit Teardown
The team removes most of the equipment in about ten minutes, leaving the floor rails in place. Later in the video, those rails are removed too. That is the demonstrated shop teardown, rather than a promised removal time for every configuration.
Hard-Mount What Stays, Strap Down What Travels
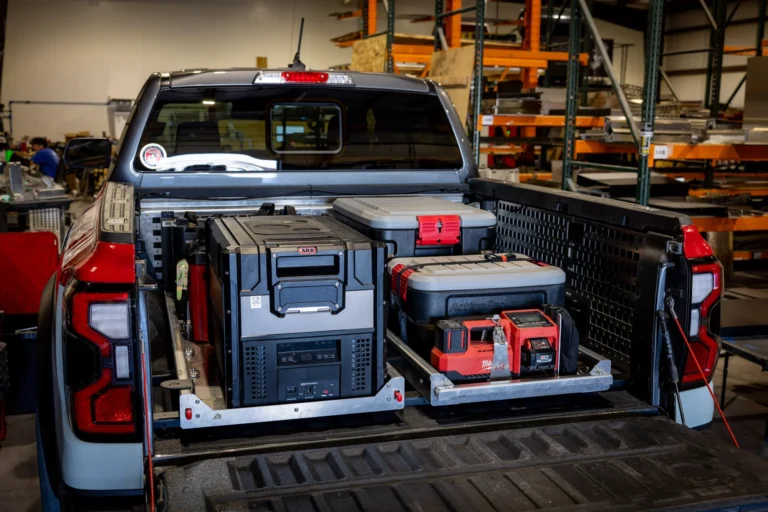
In the post-trip configuration, the fridge was hard-mounted to its slide. Brit wanted it to stay put when loaded. An ActionPacker box also stayed mounted for lid access, while another box containing tools and recovery equipment remained strapped down so it could be carried to another vehicle.
That distinction is useful when planning the bed: some equipment works from the truck, and some needs to leave it. Choose the mounting approach around that job, then check the hardware and container requirements for your own setup.
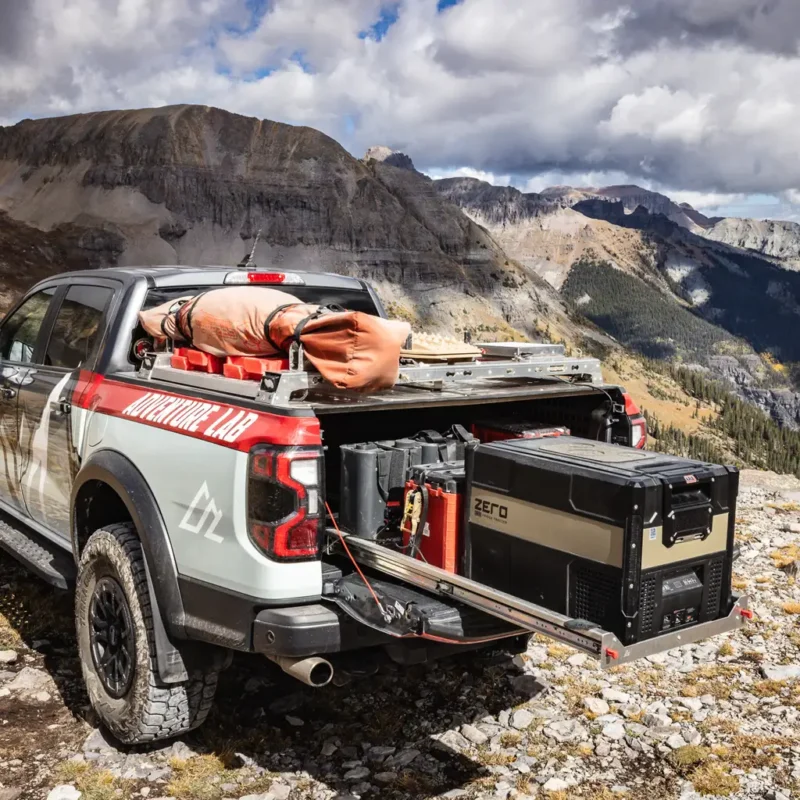
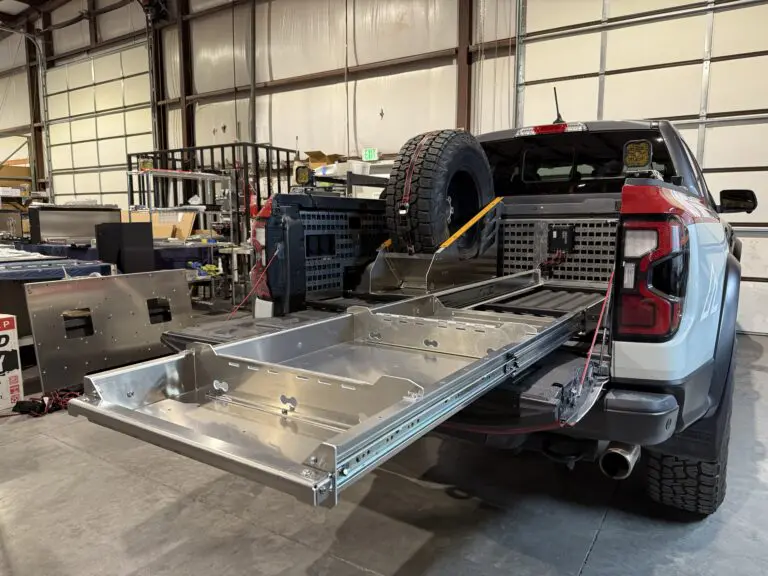
The slide brings equipment out over the tailgate. The walkthrough explains why some containers were fixed in place and others remained removable.
What the Trip Changed
A Tonneau Cover Did Not Keep the Bed Dust-Free
The truck returned with substantial dust in the bed despite a covered top. Field attempts to seal gaps did not solve it. For this build, a cover and a dust-sealed cargo area were different problems. Keep sensitive gear protected and check the complete bed arrangement before relying on the cover alone.
Auxiliary Power Was Still a Development Project
The trip used a small portable battery pack. Brit discussed a future auxiliary-power system, but the update did not show that system completed. The video does not establish a current battery specification or a guaranteed camping runtime.
The Tires Came After This Trip
At the end of the update, the Nitto Terra Grappler G3 tires had just arrived at the shop. The truck had completed that trip on its stock tires. The G3 tires listed in the build record belong to a later configuration.
The Winch Setup Was Carried but Not Used
Brit shows a portable recovery setup but says the trip did not require winching. Its presence in the walkthrough should not be read as a demonstrated recovery or load-capacity test.
Navigation and Connectivity on the Trip
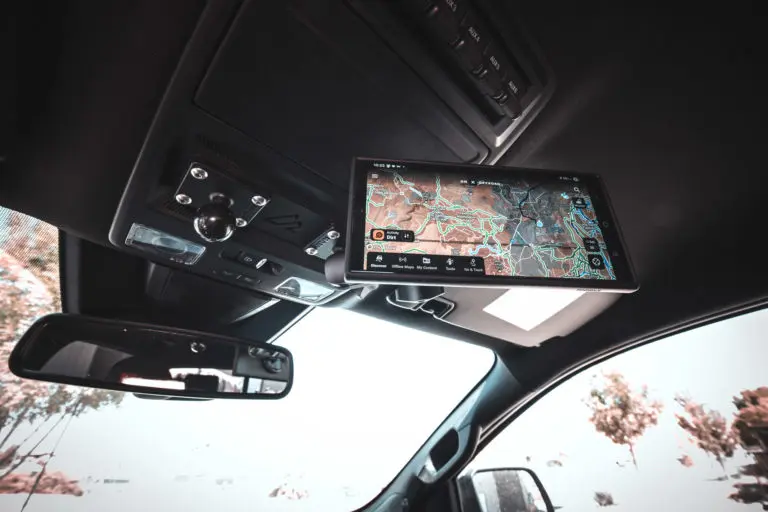
The OVRHD mount carried a navigation tablet. Brit liked the location but preferred a more dedicated tablet holder for a permanent installation. The radio display used a removable prototype mount, and the under-dash radio location still needed improved speaker access.
Brit and James used Starlink Mini each day to stay in contact with the shop. The demonstrated Packout mount let the dish come out by releasing its latches. That experience describes this trip’s use, rather than promising connectivity in every location.
More Ranger Development Videos
- Ford Ranger BASE Update: a short look at the cargo setup during development.
- Ford Ranger Aluminum Bed Slide: a separate product demonstration.
- Rear Seat Delete Install: Matt Garrison’s 2024 Ranger Raptor, prepared for more comfortable space for his dog. This is a customer truck, separate from the AAL shop build.
BASE at the Floor, RAIL Above the Bed
The bed uses two different mounting systems. BASE provides floor rails for securing cargo and mounting accessories such as the 52-inch slide. RAIL mounts above the bed sides for trays, brackets, lighting, and other accessories.
Choose where each item belongs before choosing the mounts. Equipment you need to pull toward the tailgate belongs in the slide plan. Gear carried above the bed needs its own rack and mounting arrangement. The truck’s overall cargo layout includes both systems, but they perform different jobs.
For your own build, measure the cargo you need to carry and the space it needs to move. Check that the tailgate can open and the slide can extend with the rack and other equipment in place.
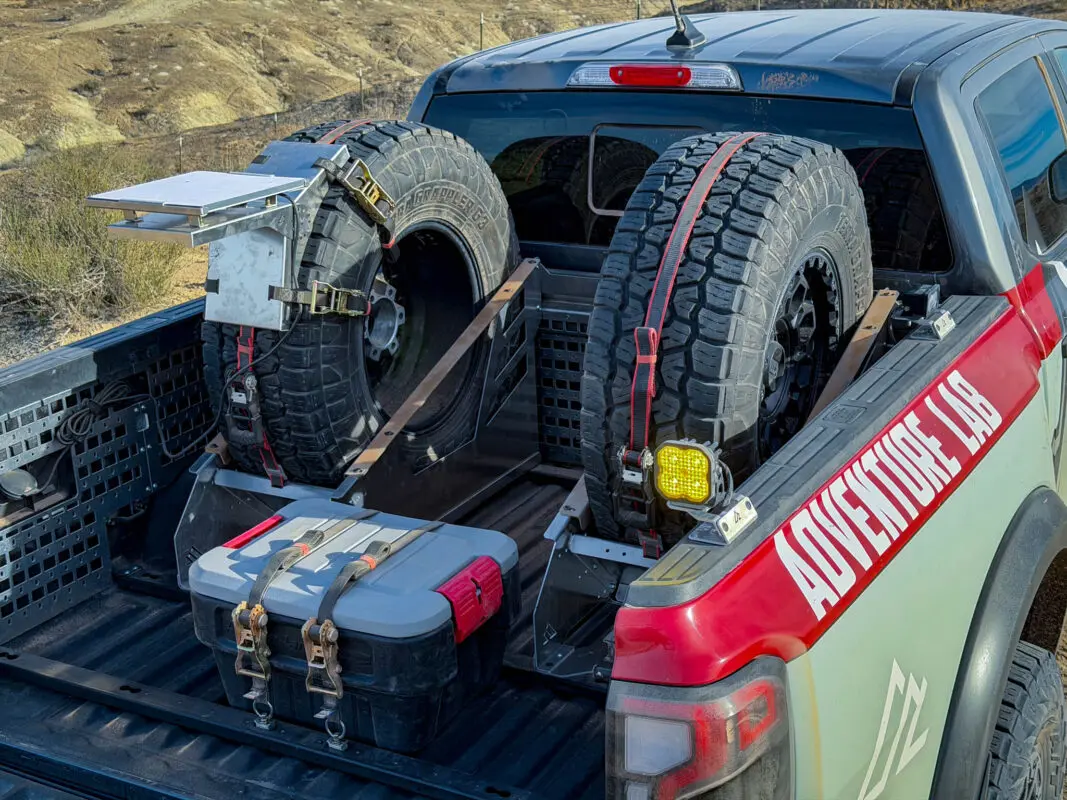
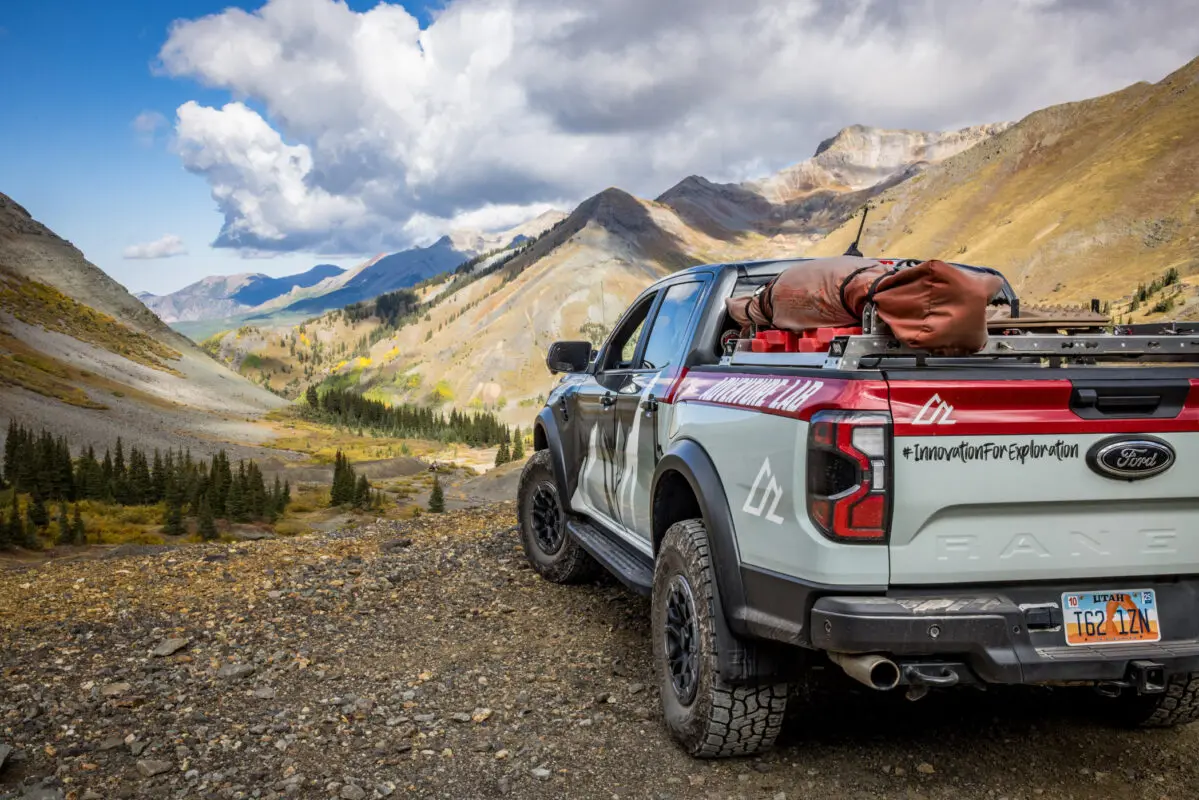
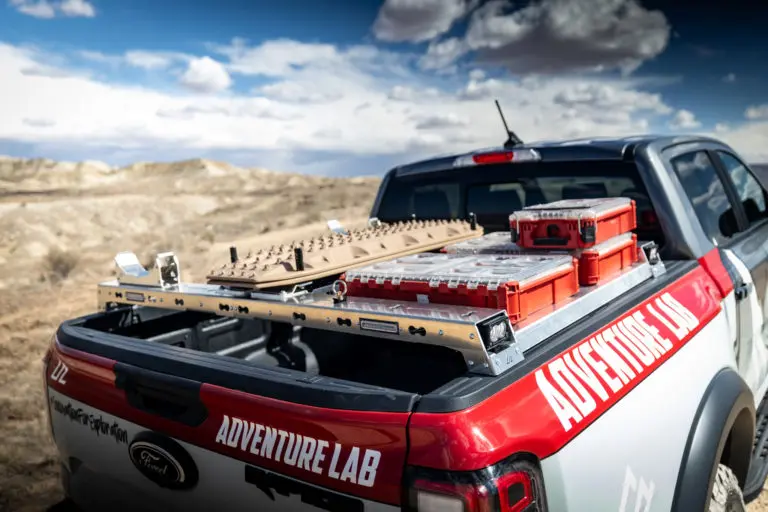
A later bed-load arrangement with mounted equipment and spare tires. The gallery records multiple development stages.
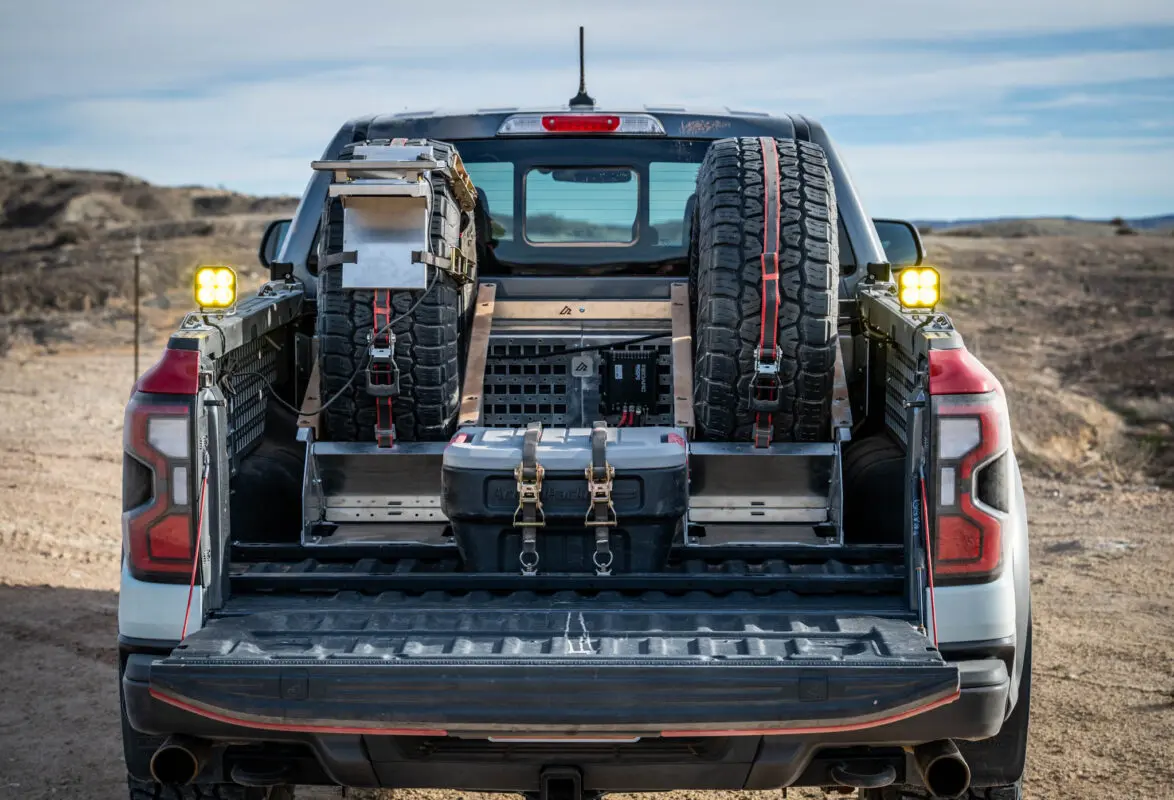
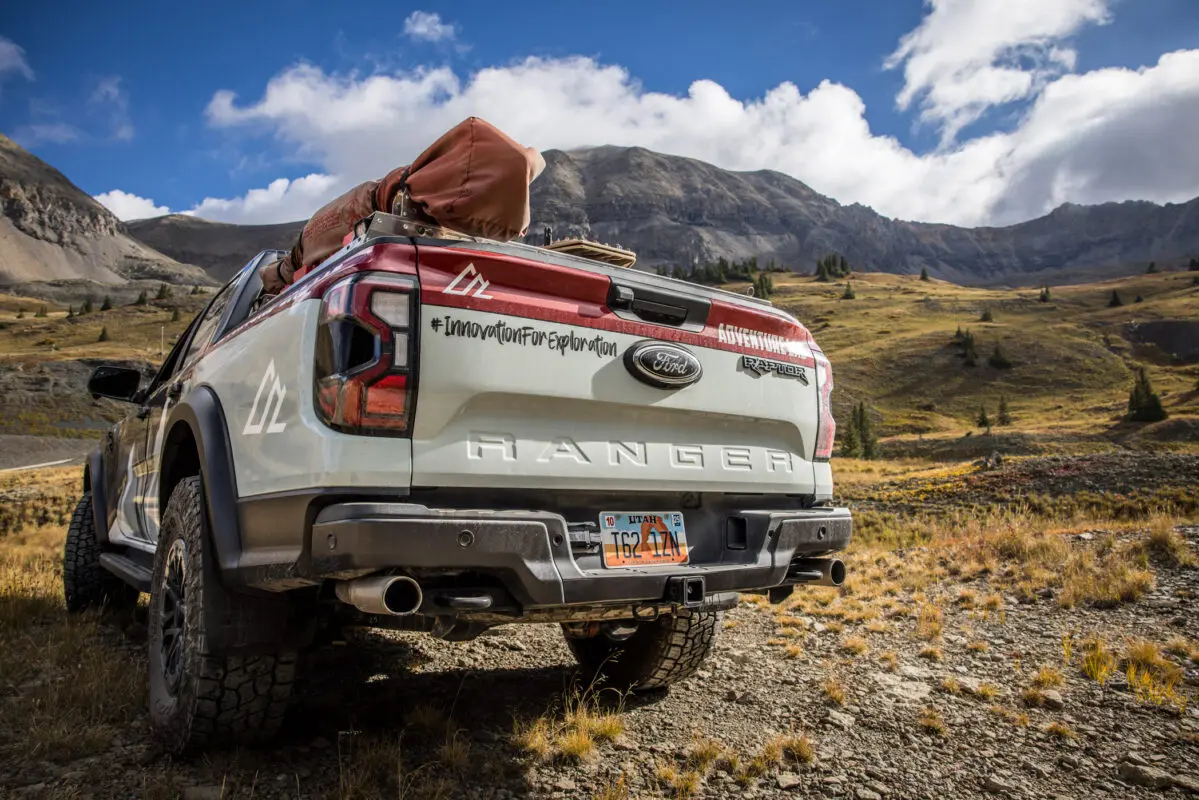
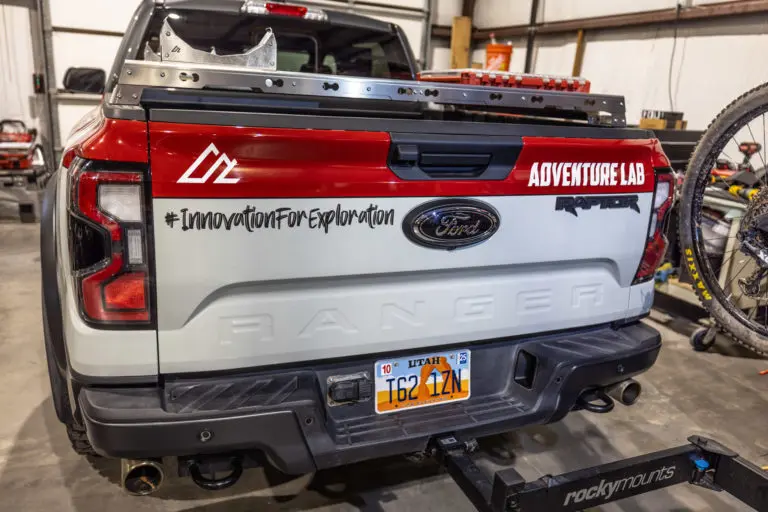
A rear view of the truck with bed-mounted equipment and a different load from the mountain-trip photos.
Use the Bed Walls for Mounted Gear
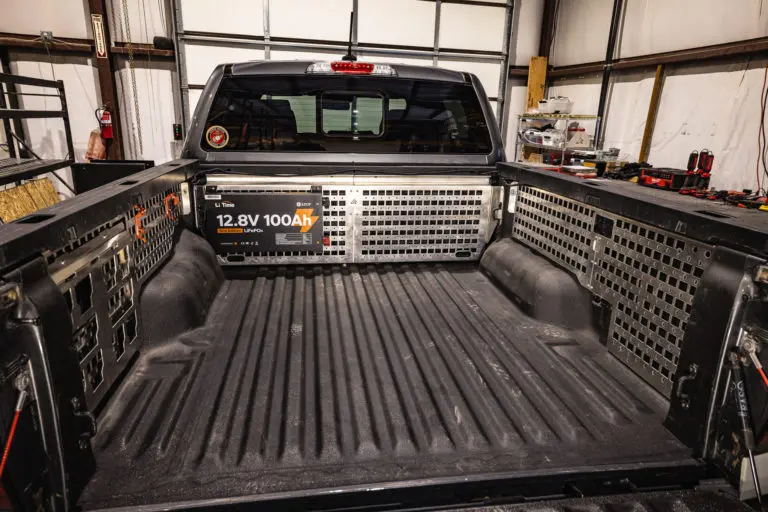
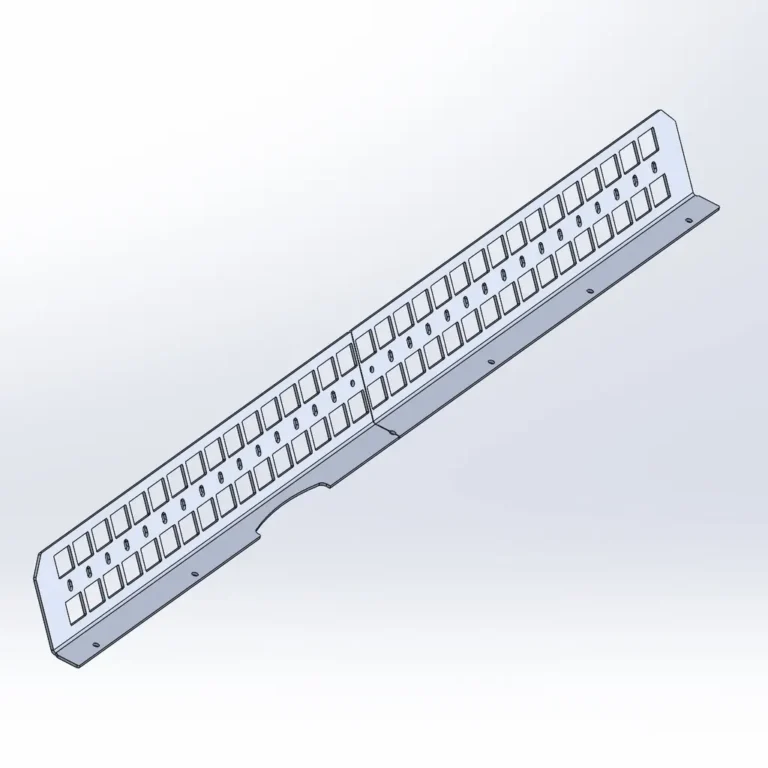
The bed MOLLE panels cover the bulkhead and bed sides, creating mounting locations along the walls. That gives pouches, tools, and accessory mounts a place beside the central cargo area.
The panels are specified for U.S.-market SuperCrew Rangers with a spray-in liner or no liner. Fitment with other liners is not guaranteed. Check your truck’s liner and the selected panel configuration before ordering.
Mount the equipment where you can reach it when the bed is loaded. Check clearance around the slide, tailgate, bedside lighting, and anything mounted across the bed.
Give the Cab Its Own Storage Plan
The Ranger Rear Seat Delete replaces the rear-seat area with a cargo platform and retains access to factory cubbies. The build also lists the Sidekick Accessory Mount and an upper MOLLE shelf.
This is a seating decision as well as a storage decision. Plan around the passengers you need to carry before choosing a rear-seat-delete layout. Keep service access and the items you need during a stop in mind when arranging the cab.
The same rear-seat-delete product is featured in our Colorado fleet install story, where the first production units were installed in work trucks.
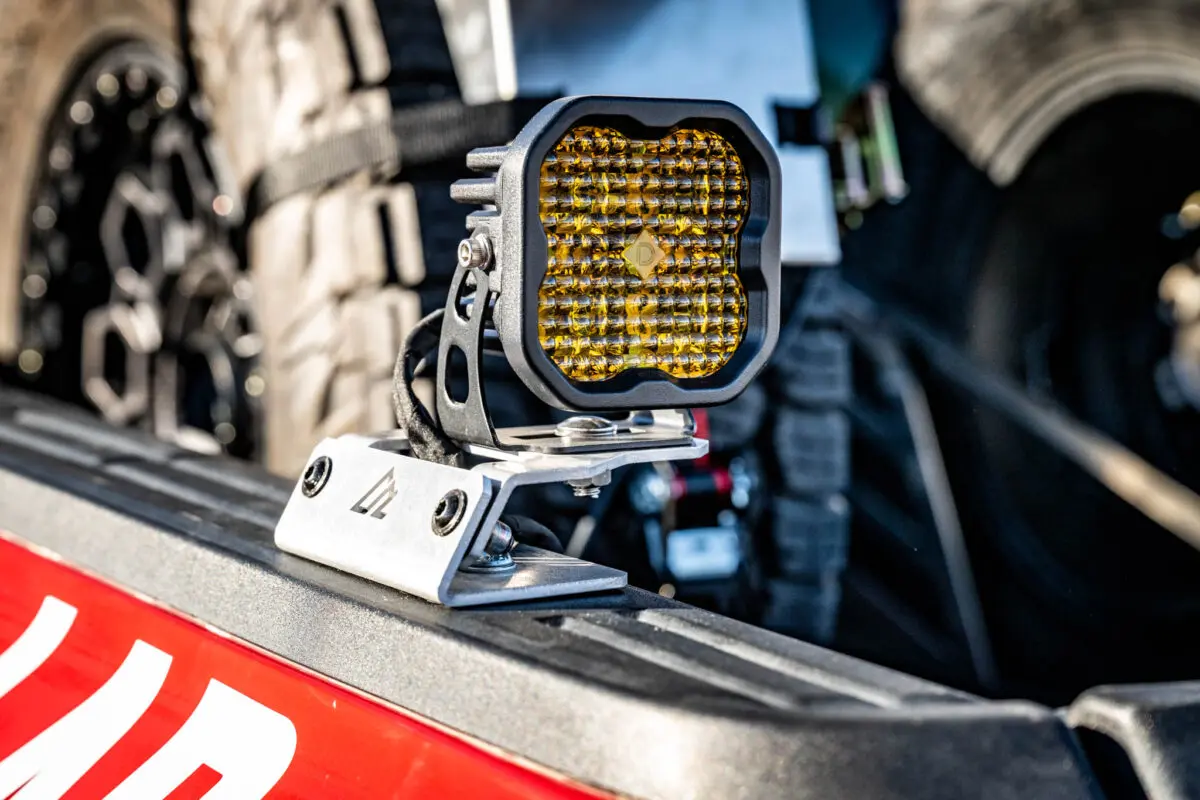
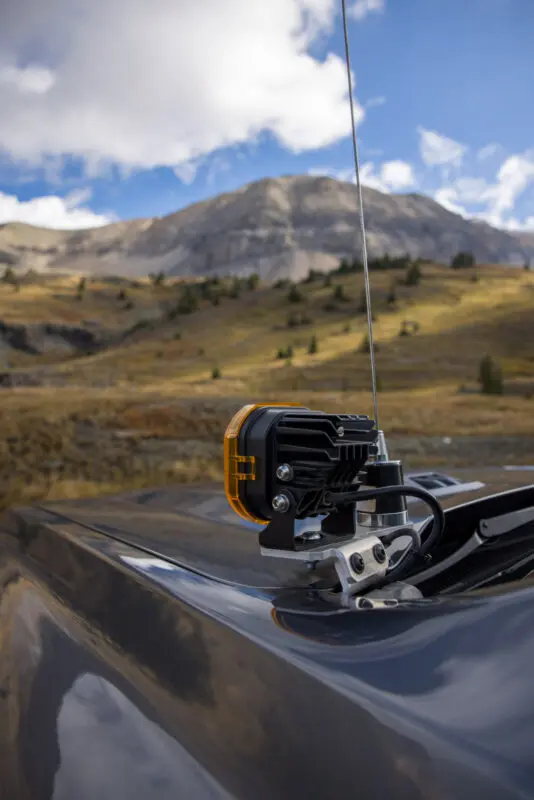
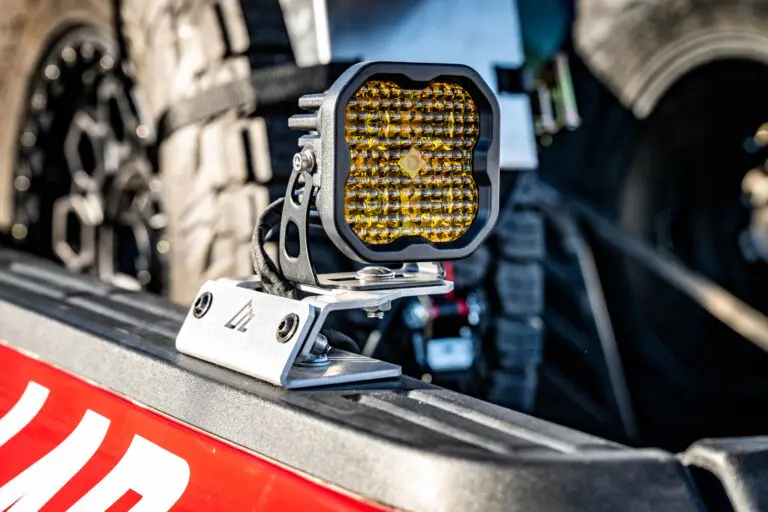
A close view of a bed-mounted light bracket. Check each bracket’s product page for compatible lights.
Lighting and Recovery Mounting
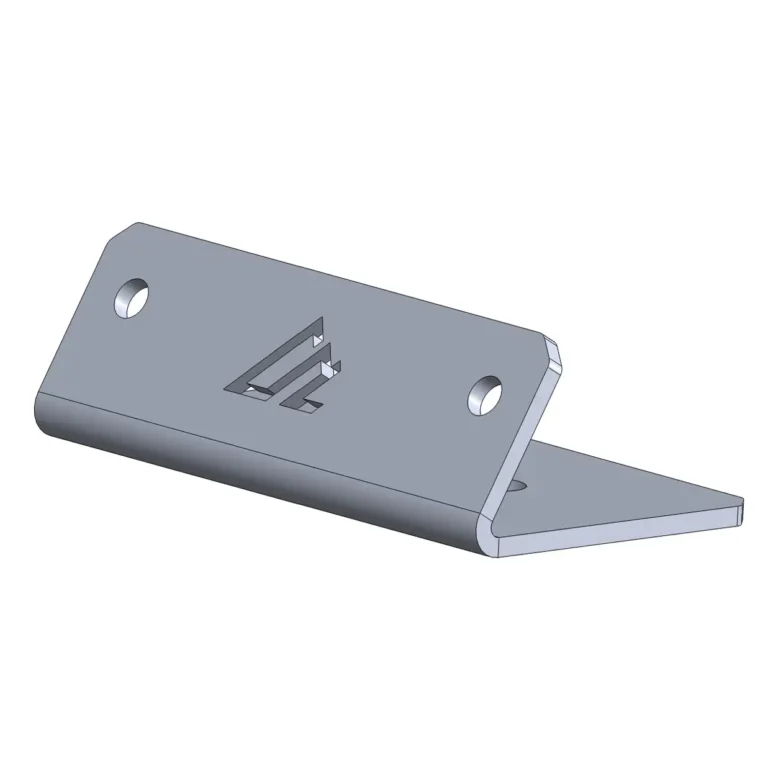
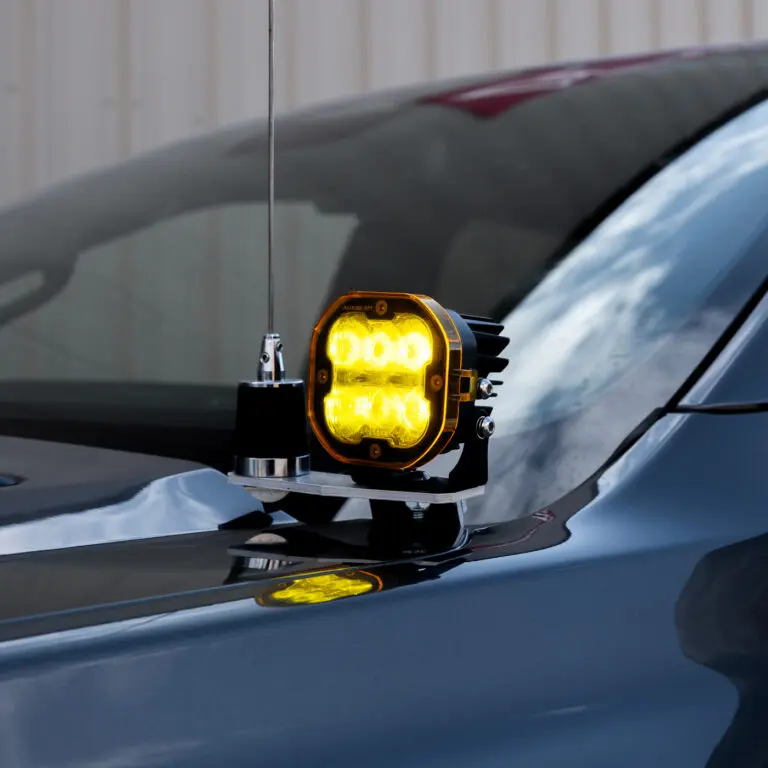
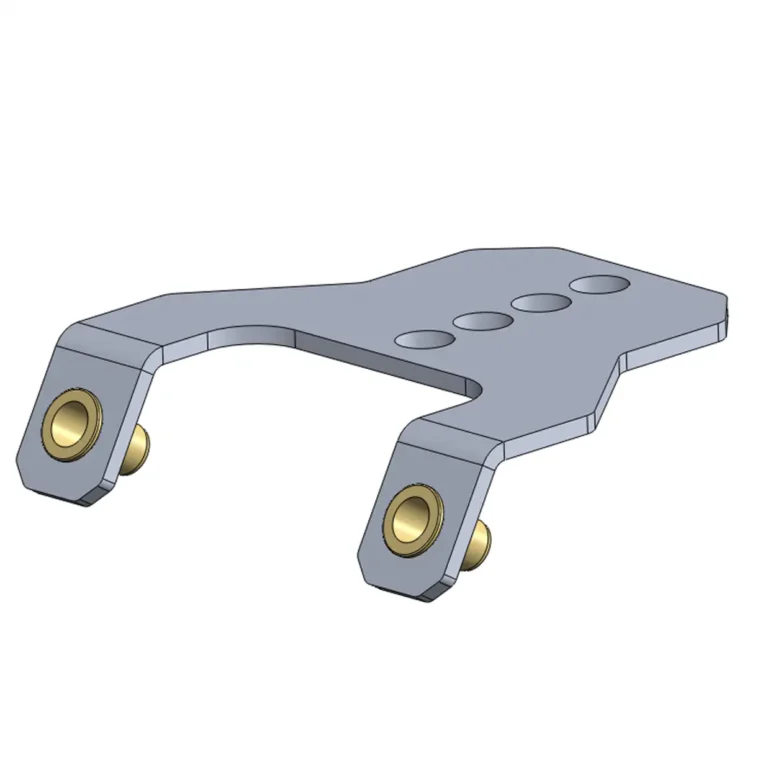
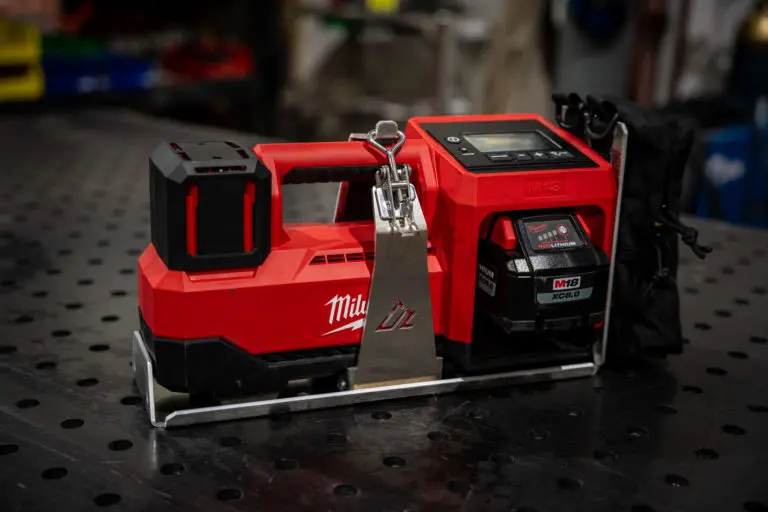
The truck’s product list includes A-pillar brackets, bedside lighting brackets, BRAPs pod-light brackets, MAXTRAX recovery boards, and an M18 inflator mount. These components create separate mounting locations for equipment that needs to remain accessible around the bed and cab.
The Raptor-specific Trailer Plug Tuck Kit relocates the factory plug using the OEM rear bumper. Select the correct year-range option: the 2026-and-newer version uses a revised plug cutout. This kit is not for the standard non-Raptor Ranger.
Plan the Installation Around Shared Space
Begin with the installation instructions for your exact products. The steps below are a planning checklist for the combined layout, rather than a replacement for the individual installation procedures.
- Map the load. List the gear that belongs in the cab, on the bed floor, along the walls, and above the bed.
- Check access to the mounting locations. Compare the BASE, MOLLE, and RAIL instructions before fitting equipment that could block bolts or wiring.
- Fit the mounting systems before loading accessories. Follow their individual instructions and keep the slide’s movement path clear.
- Test the complete layout. Open the tailgate, extend the slide, and check access to storage and service points before packing for a trip.
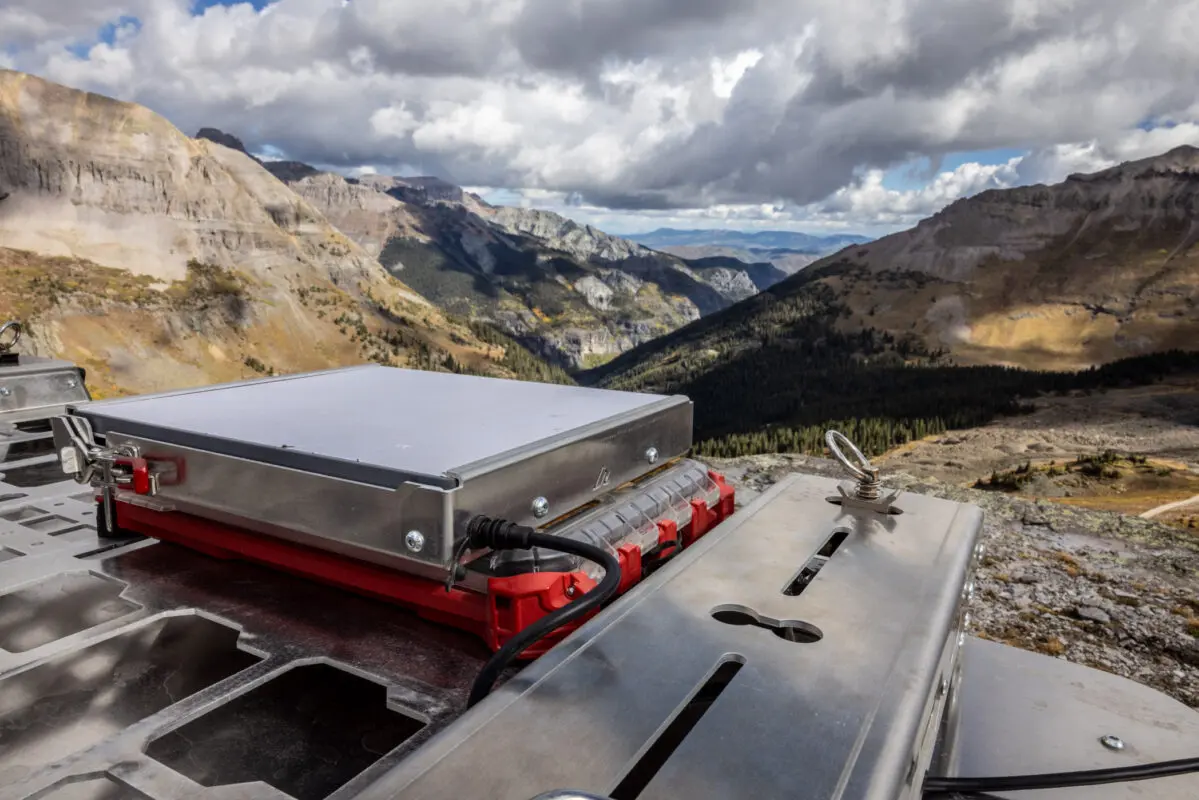
An earlier rack-and-tray arrangement above the bed. Gallery photos document the build’s development over time.
Questions About This Ranger Setup
Are BASE and RAIL the Same System?
No. BASE is the bed-floor mounting foundation. RAIL is the rack above the bed sides. Plan the two systems around the gear you need to carry.
Will the Bed MOLLE Panels Fit With My Liner?
The product specifies a spray-in liner or no liner on U.S.-market SuperCrew Rangers. Confirm other liners with our team before ordering.
Can I Use the Truck’s Rear Seats With the Seat Delete?
The seat-delete platform occupies the rear-seat area. Choose your seating requirements before committing to that cargo layout.
Do These Photos Show One Current Configuration?
No. The gallery includes different trips and development stages. Check current product pages for the available versions and ask about any component you want to duplicate.
Can You Help Me Plan a Similar Build?
Use the questions button above the main photo. Include your model year, bed liner, cover or cap, seating needs, and the gear you want to carry.
Recorded Vehicle Configuration
The existing build record lists a stock engine and tune, stock shocks and arms, front and rear lift spacers, Nitto Terra Grappler G3 tires in LT315/70R17 E, and factory beadlock-capable wheels with 10mm hub-centric spacers. These details describe the recorded configuration; the truck’s setup may change during development.
Communications Mounting
The build record identifies an Icom ID-5100A radio and an antenna mounted to our A-pillar brackets. The interior display and radio-body brackets were prototypes. Contact us for the current mounting options.
Products Used in This Build




Ford Ranger Raptor Photo Gallery