Routes
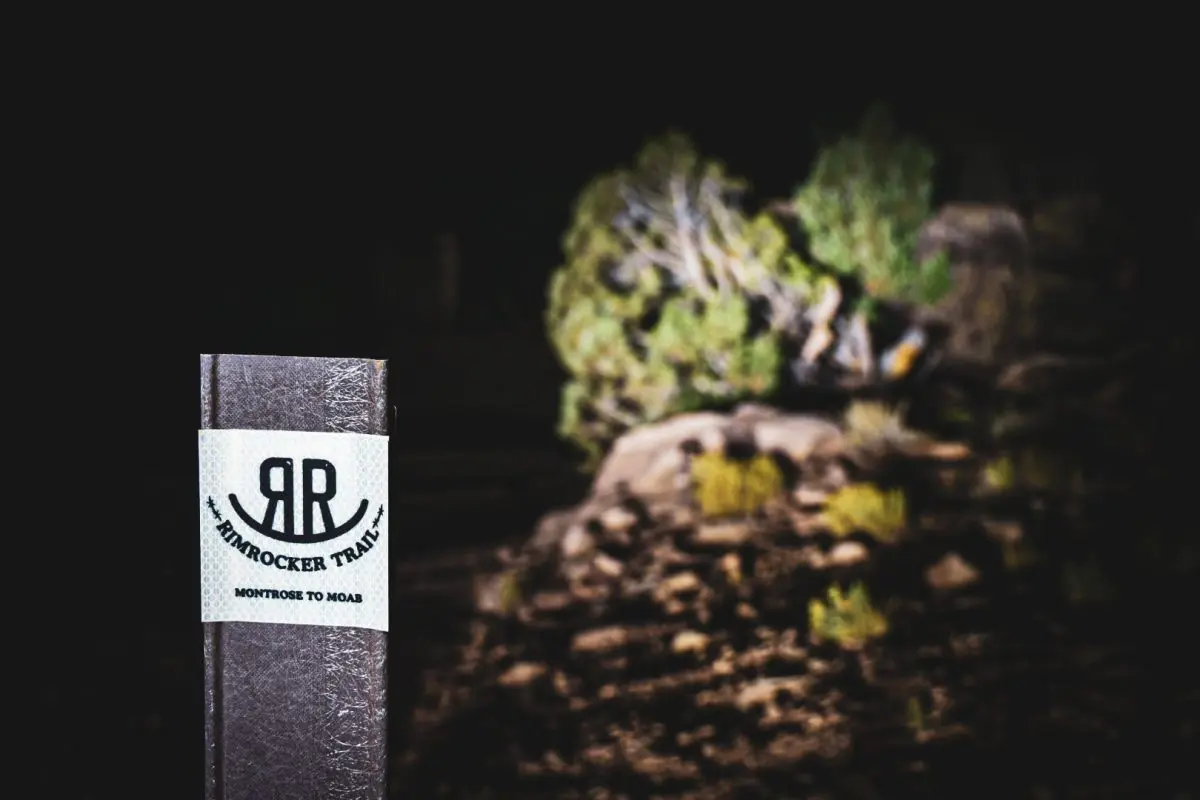
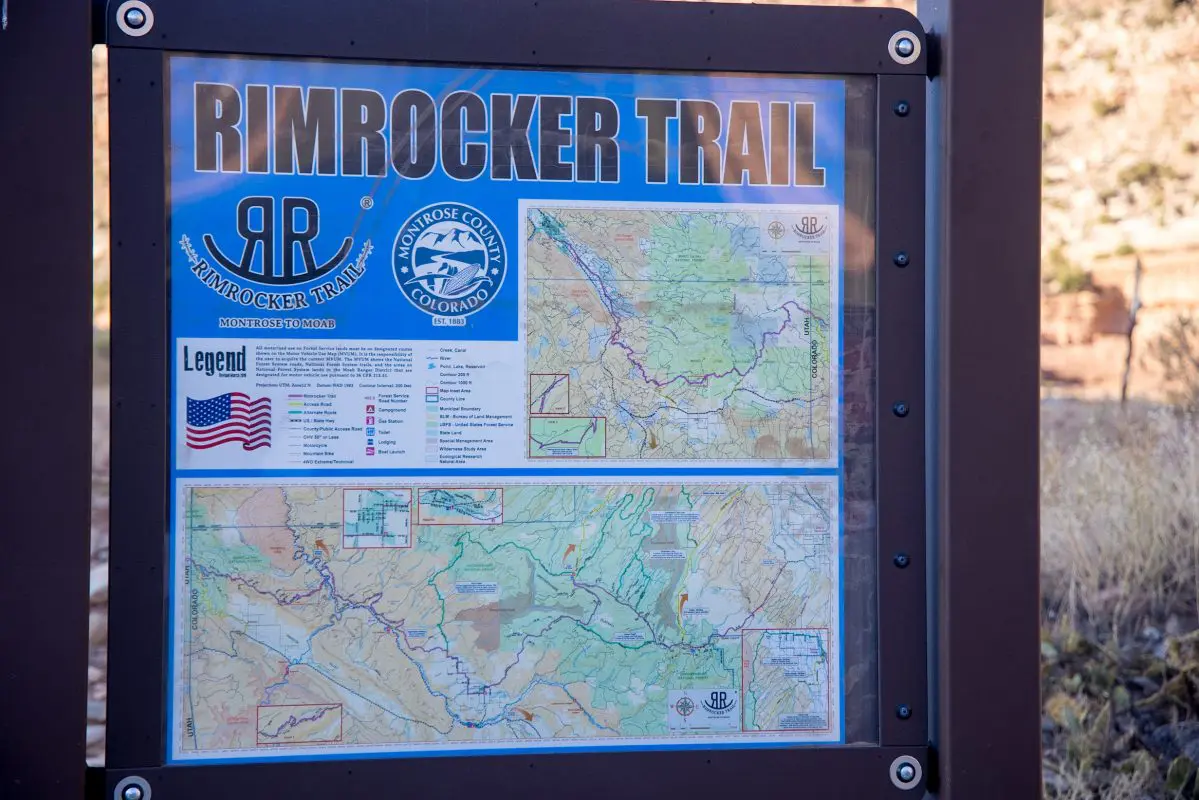
Rim Rocker Trail – GPX and Trail Report

This is Part 2
Part 1 of our 2020 Fall Break family trip is available here – https://americanadventurelab.com/routes/rim-rocker-trail-gpx-and-trail-report/.
Some of my best ideas are spur of the moment. Well, to be fair, some of my worst ideas are also spur of the moment. However, this one turned out to be pretty amazing. Upon waking up from a night of very little sleep in the 20 degree weather of Silverton, CO (read the Alpine Loop Trail Report), we quickly decided to flee the sub-freezing temps and retreat to a warmer climate. I had heard chatter about the Rim Rocker trail for quite some time, but had not actually done much research into it. However, the Rim Rocker trail fit the need perfectly that morning – a fun, non-highway, route to Moab. Moab was on our way home (St George, UT) from Silverton and still scratched the itch to do some more trails, camping, and memory making before the long fall break weekend was over.
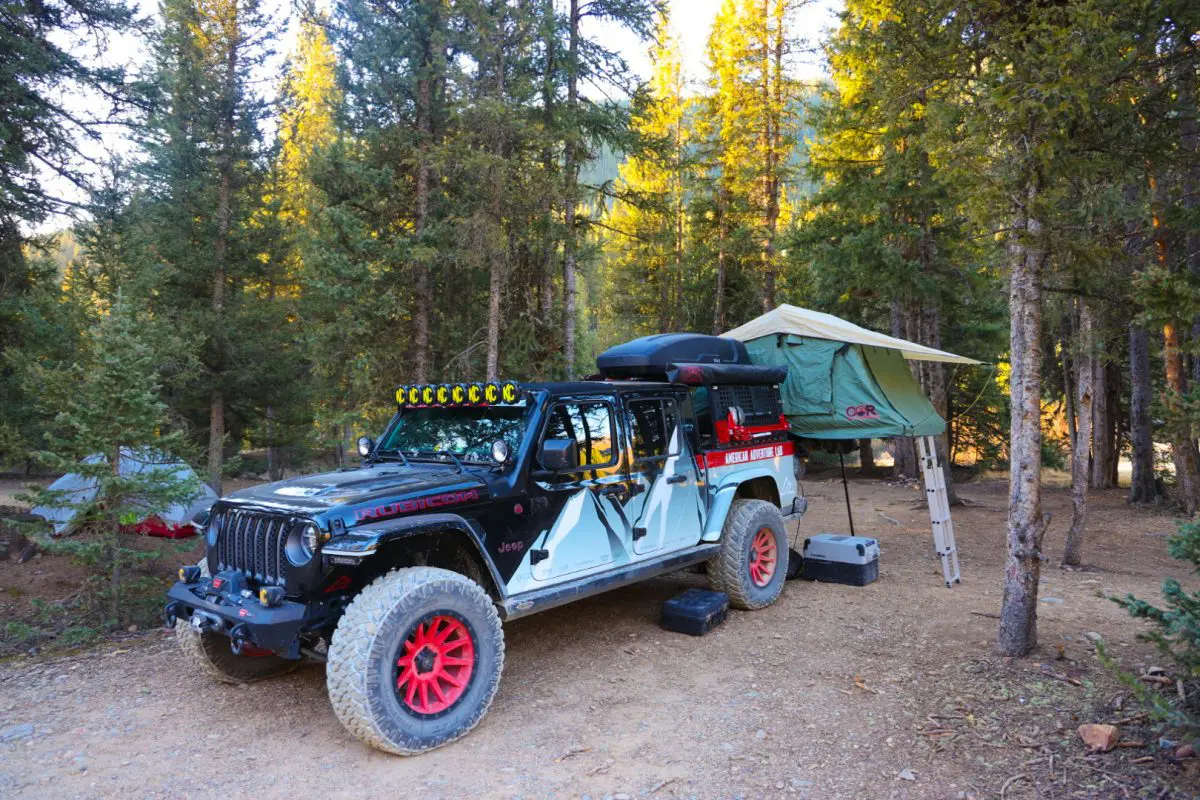
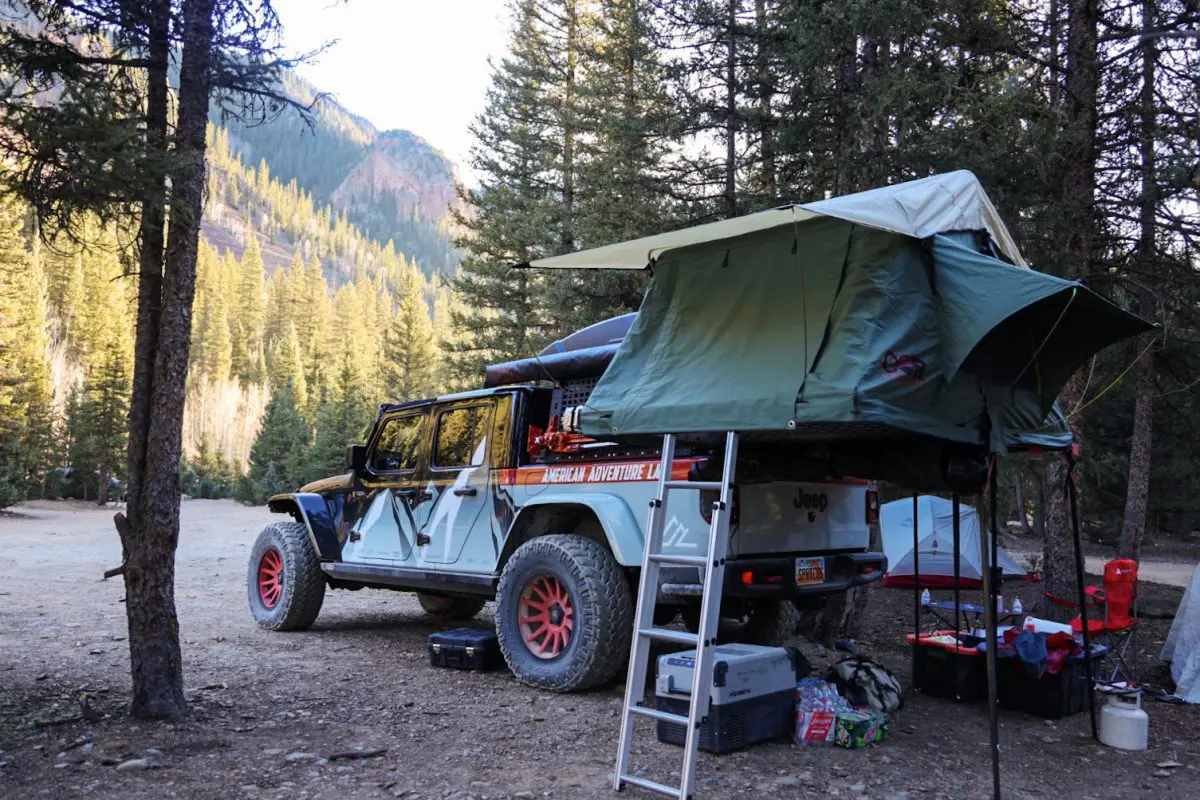
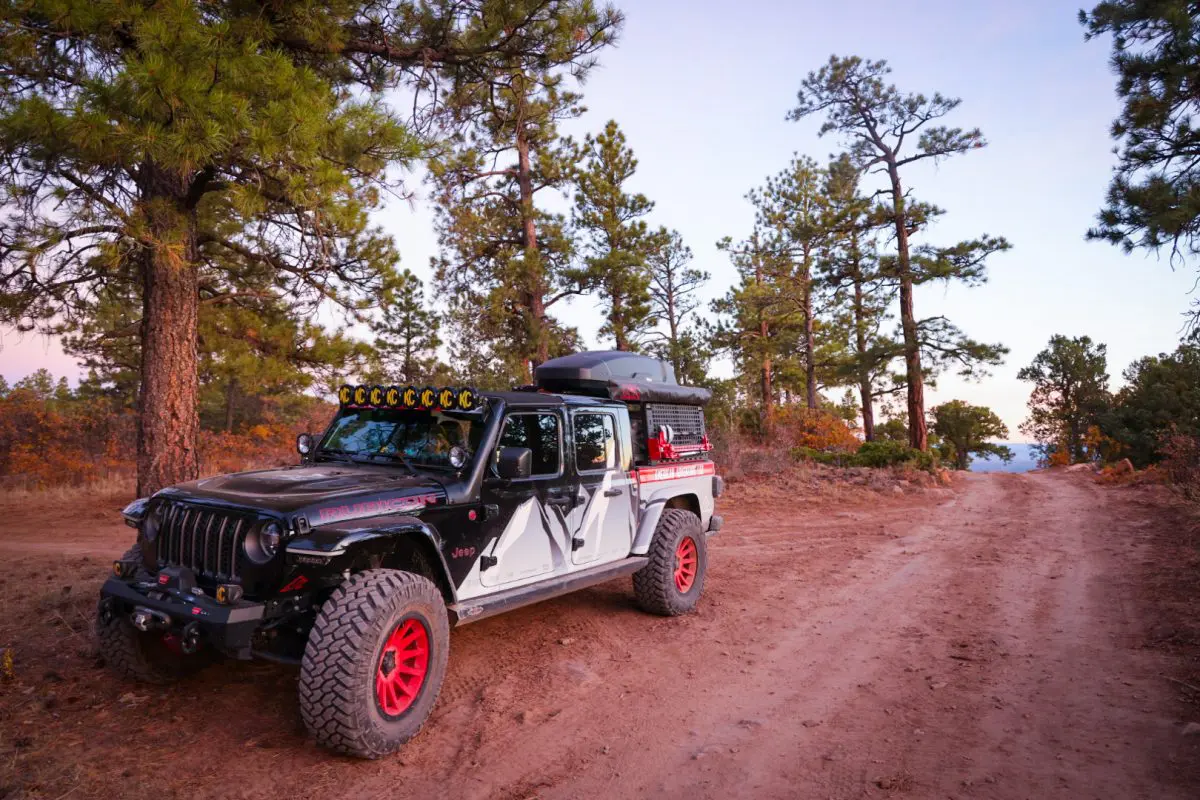
A.T.L.A.S At Work
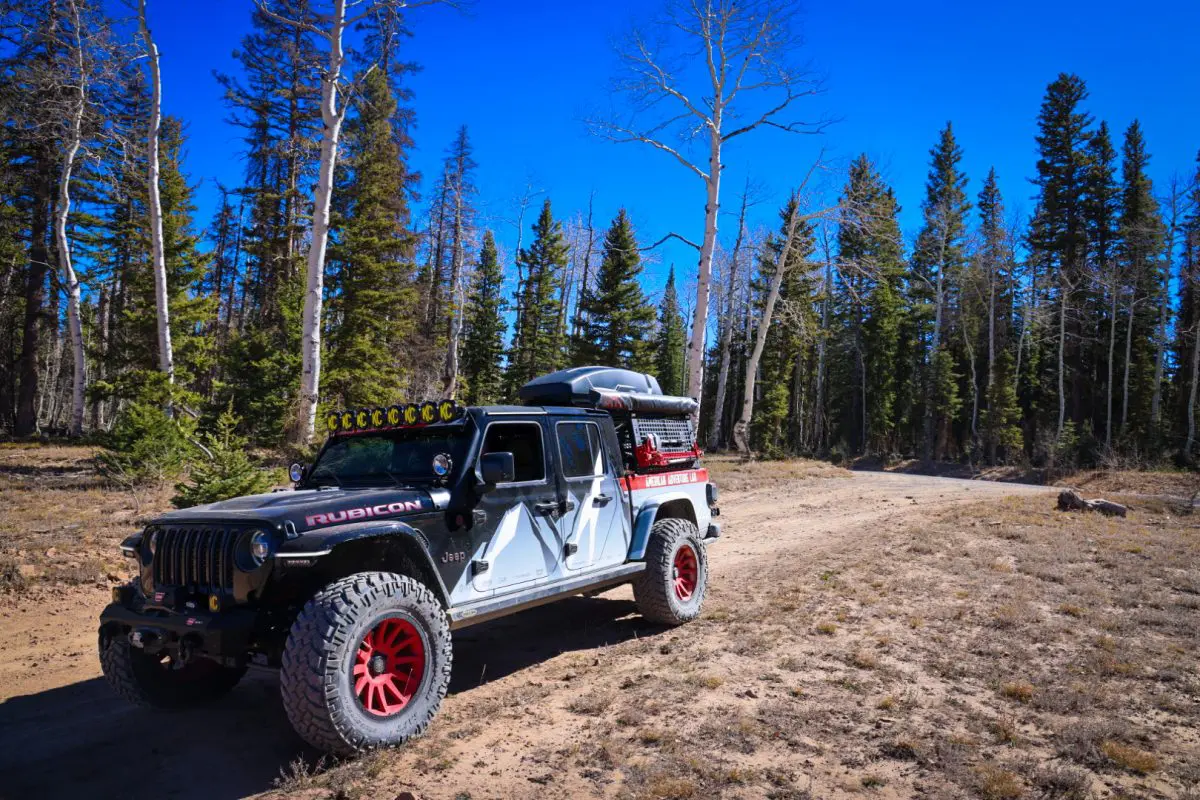
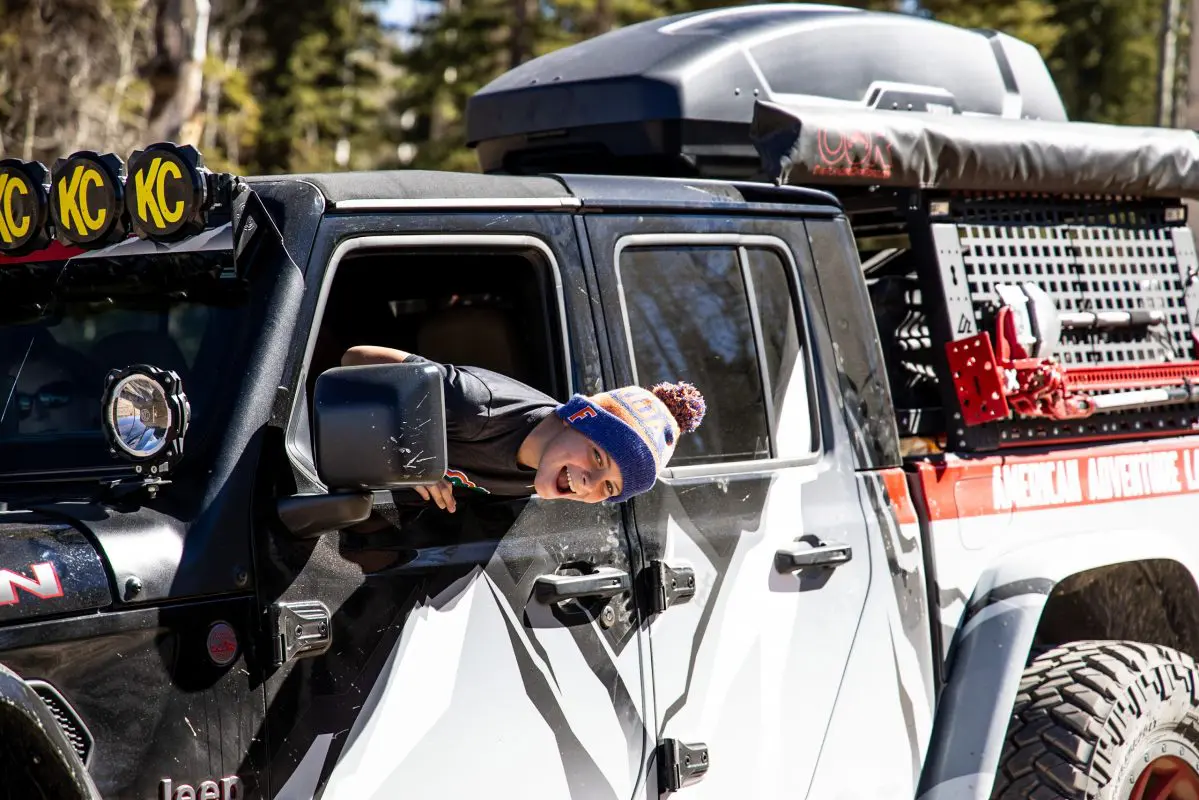
The low center of gravity and ability to securely attach the rooftop Thule box were critical in making this trip possible. We were able to keep the cab of the JT clean and free of clutter making it comfortable for all 5 of us. The low COG was key to allowing us to maintain a good pace on the trail. These are a few of the things we have focused on while designing the A.T.L.A.S.
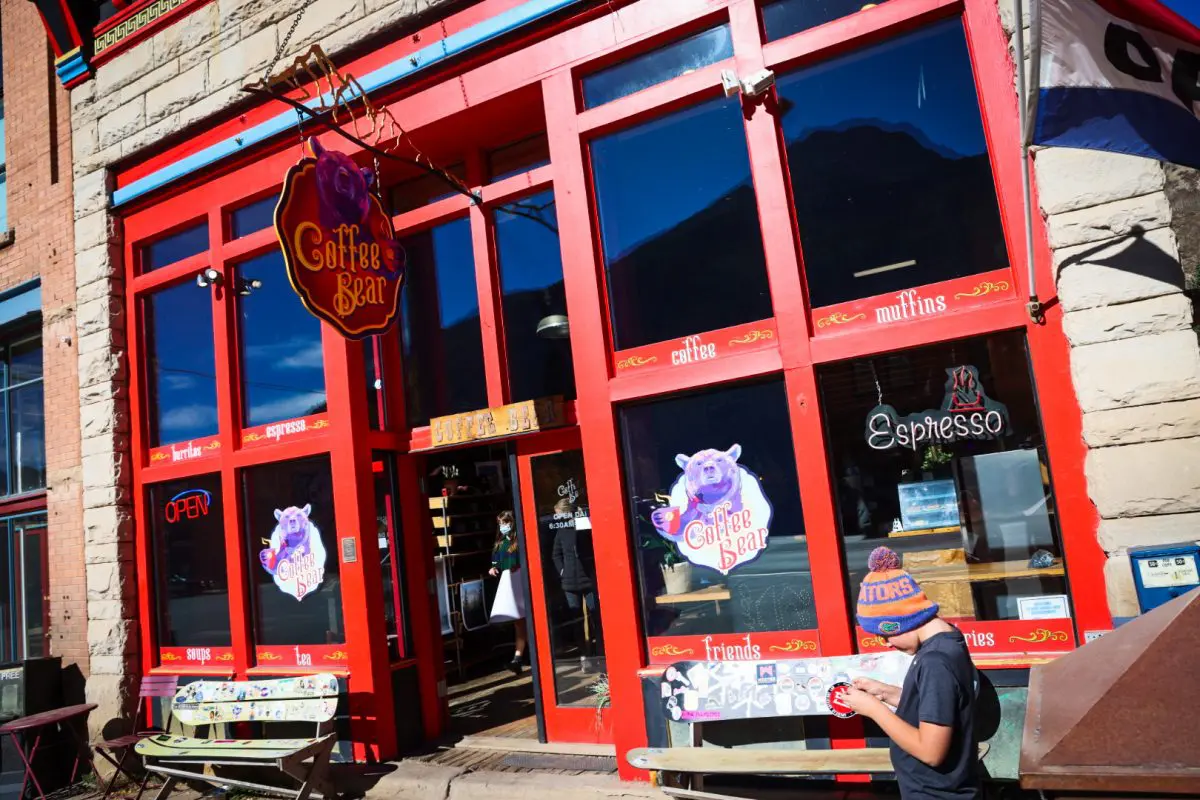
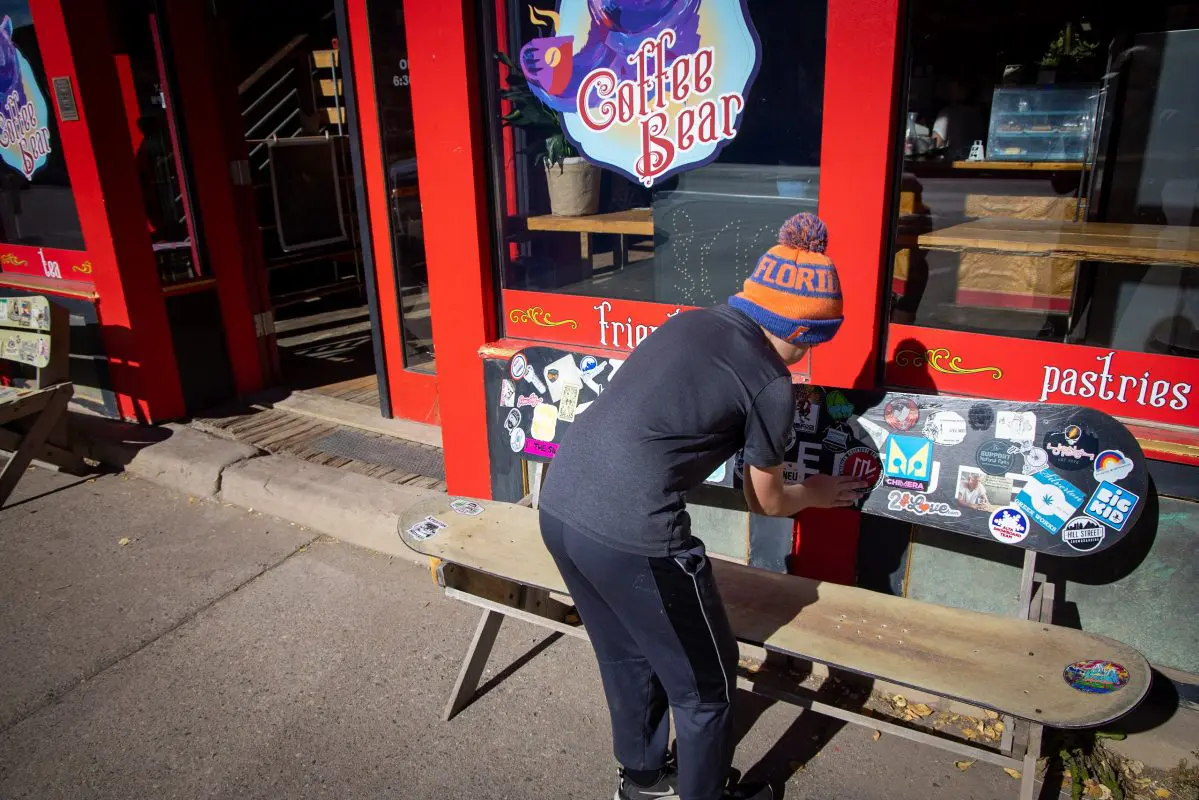
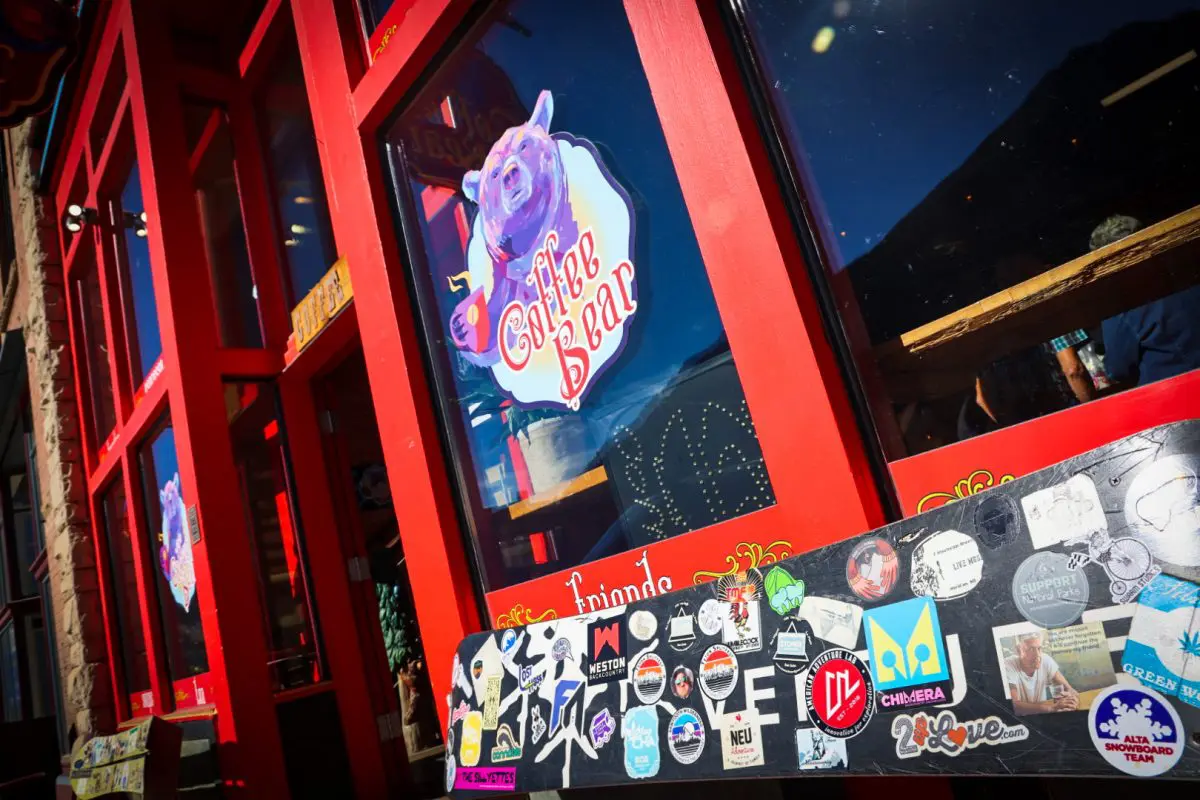
Learn More about A.T.L.A.S.After packing up the ground tents and the ATLAS system, we pulled out from the Clear Lake campground and headed toward my wife’s mandated first stop – Coffee Bear in Silverton. After eating waaay too much sausage breakfast burrito, we aired the tires up and began the 45 mile drive to Montrose to start the trail.
$100 Free Gift Card
My son decided we should help decorate the snow board seats in front of Coffee Bear. The first person to send in a real photo of themself standing in front of Coffee Bear pointing at the AAL sticker gets a free $100 gift card.
As soon as someone provides a photo, I will amend this offer. So, if it’s still here, it’s still Game On!
Rim Rocker GPX File
To download the Rim Rocker GPX file, visit the map details page. Then, click the “Data” link just above the map to select your file type.
TERRAIN
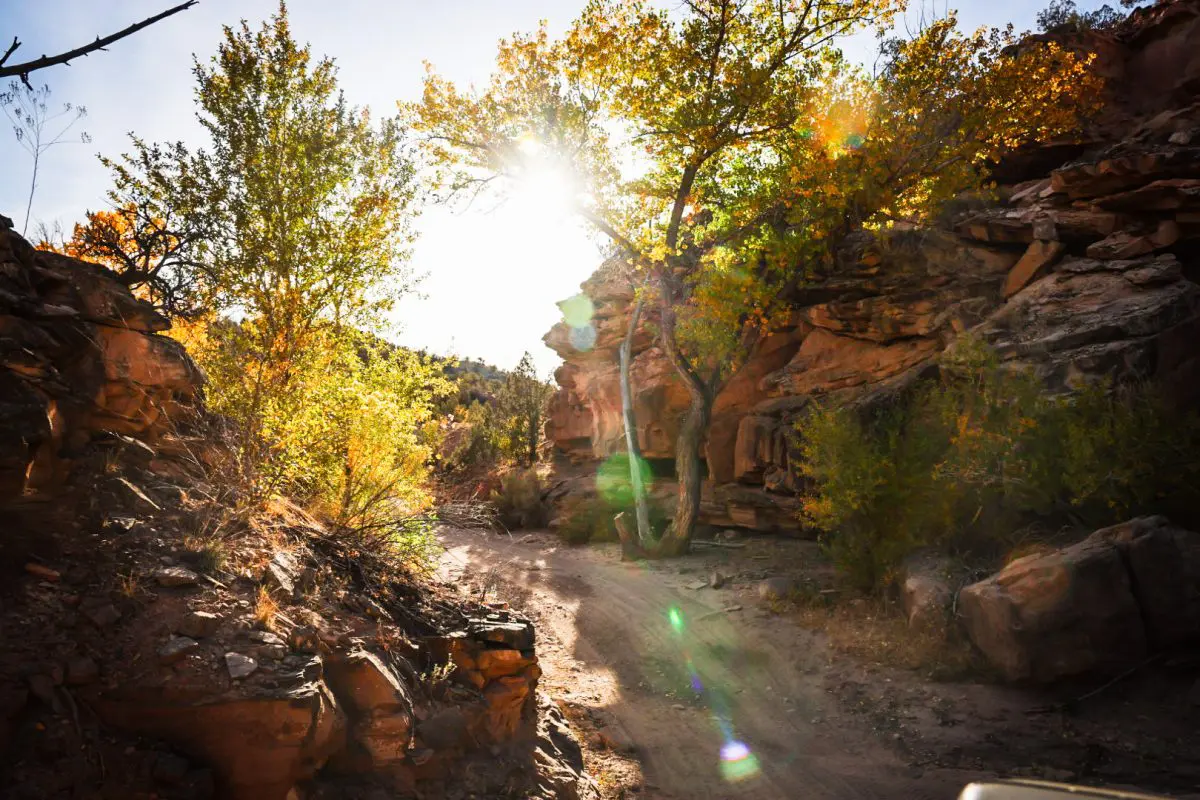
By the time we made it to Montrose, I had spent a total of about 5 minutes researching the Rim Rocker trail, so I knew very little about it and had absolutely zero expectations. However, one thing that did surprise me was that the first 30 miles or so of the trail is actually on asphalt and improved roads. Regardless, we were on the trail and loving the scenery. After about 40 miles (roughly), we were finally on the dirt again. The trail terrain, throughout, was very mild. I ran the entire trail in 2WD, but we did air down near the start of the dirt section. I did it primarily for comfort but knowing what I know now, I would probably have waited a little longer. There’s another long asphalt section before the low air pressure was really needed. I don’t like running the tires at low pressure on the asphalt if I can avoid it. The Nitto Trail Grapplers handle that very well, but they prefer to have asphalt pressure in them while on the road. The middle asphalt section starts when you hit CO25 at Columbine Pass.
GETTING STARTED
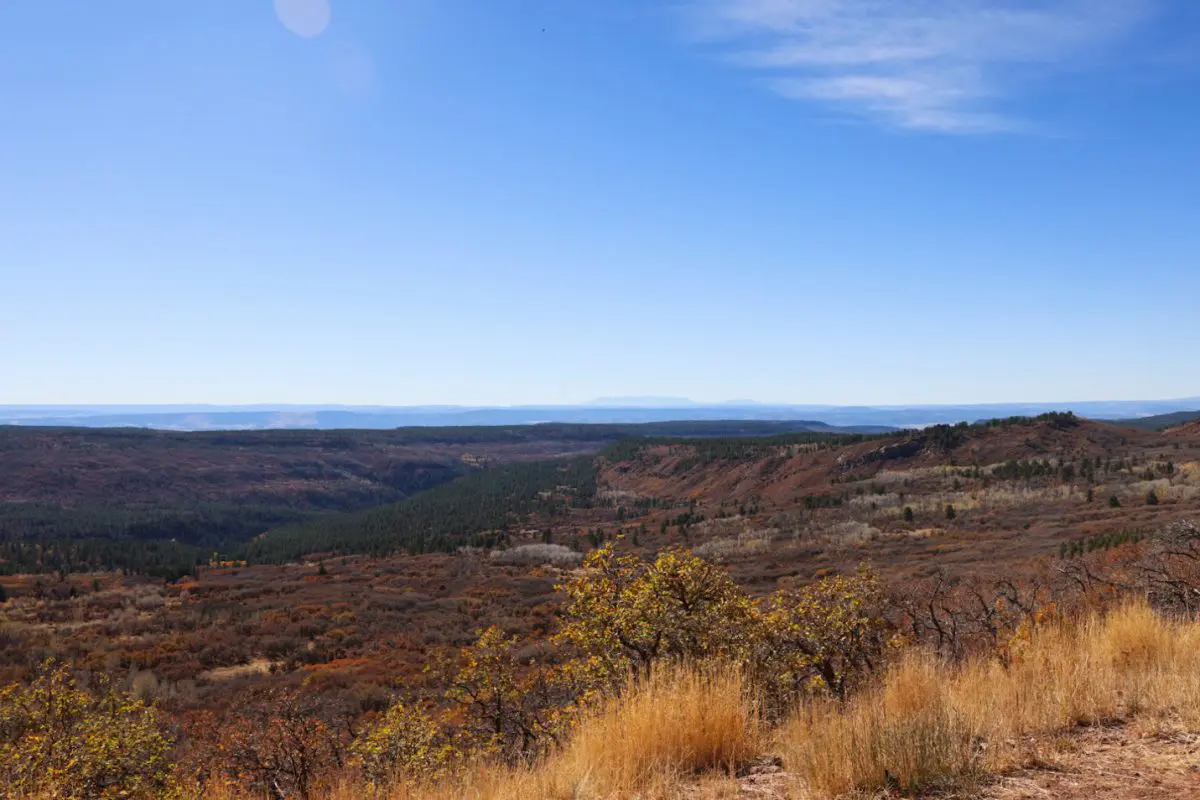
The initial terrain on the Rim Rocker trail can be driven at a relatively (relative to trail speeds) high speed as the roads are very well maintained. During the initial sections of the trail, the miles tick off pretty quickly, making the 160 mile trip seem less daunting. However, the scenery on several of the hill sides caused us to slow quite a bit. It’s hard not to take in the views of Colorado during the beginning of Fall.
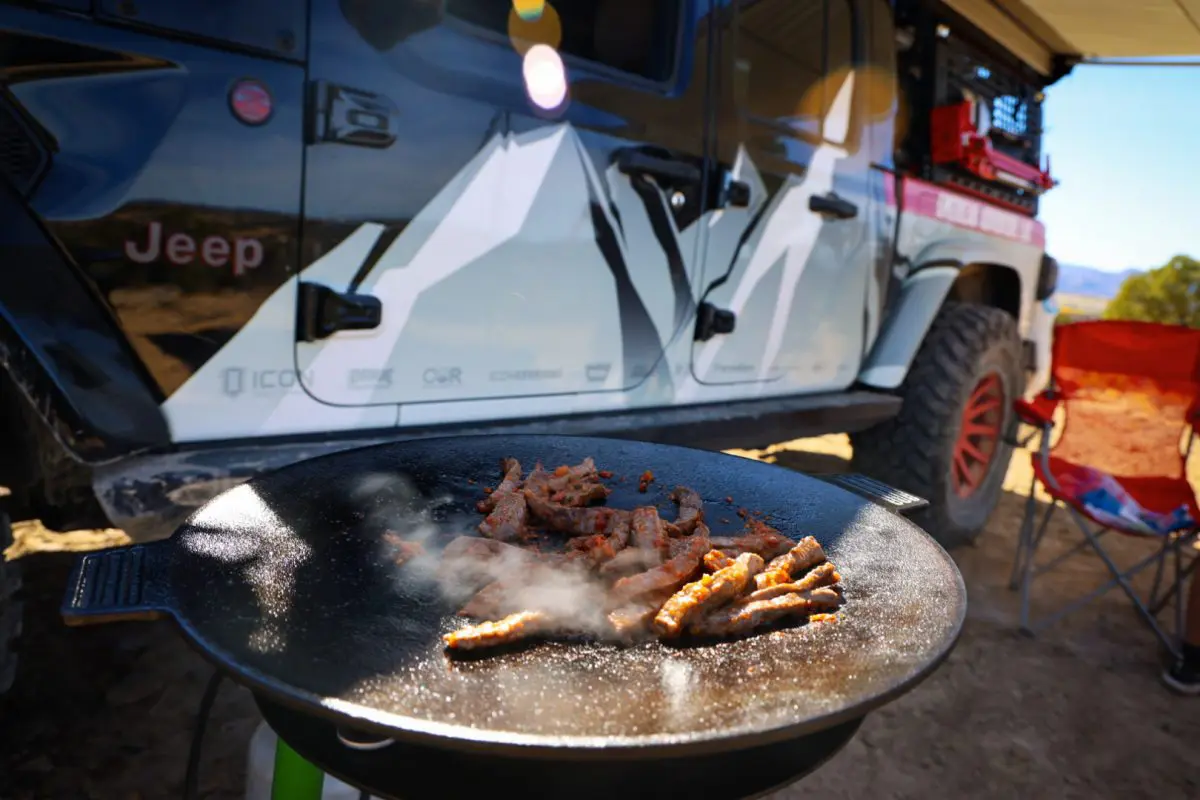
The continued amazing views and cush terrain kept the enjoyment factor high. We stopped for lunch shortly after getting onto CO25 and cooked up some great chicken burritos on the Oris SkottleOris Skottle. Having everything easily accessible in the Gladiator is a huge plus when we want to do a quick stop for food.
Lunch Time!
Without a doubt, my favorite trail food is the burrito (ie. “food sack”). The ORIS Skottle is a burrito making machine! From cooking the meat, heating the tortilla, and browning the outside of the burrito, the Skottle works great. We also added the high output burner to this one recently and have really enjoyed the extra heat it puts out. It’s nice to have your cooking system fit into one bag.
View ORIS Skottle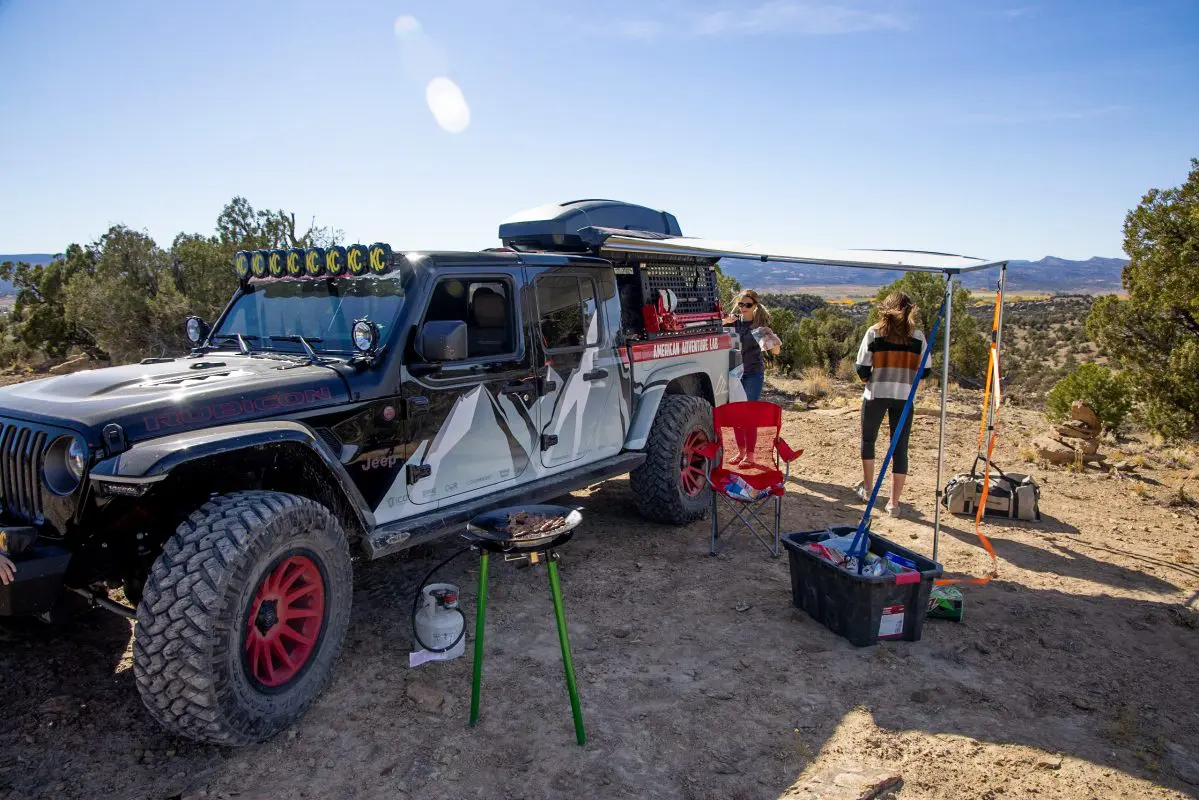
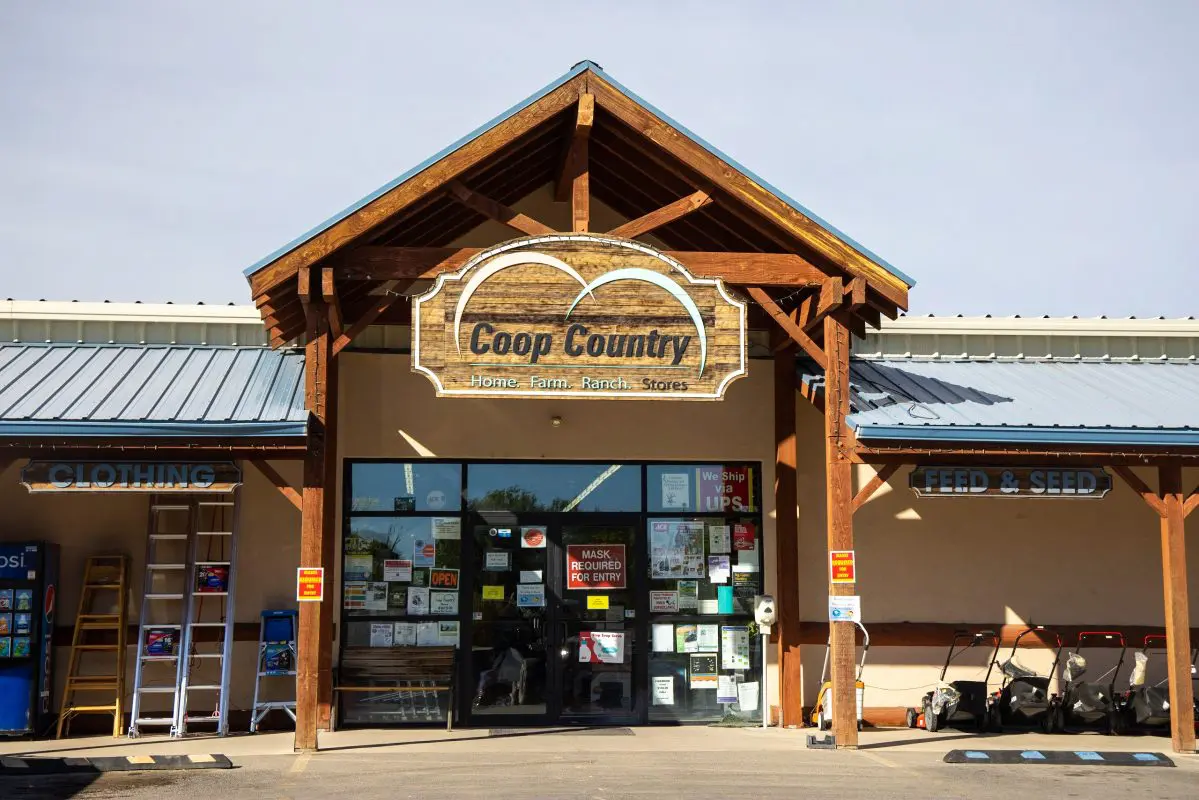
After filling our bellies with good food, we got back on the road and headed into the town of Nucla to fill our tank. There’s a very well stocked Ace Hardware store in Nucla called Coop Country. They had a good selection of hardware and tools. They also have gas and a few other essentials. We didn’t go through much fuel to this point, but there wasn’t a reason to not fill up. I always like to err on the side of caution in situations like this, so we topped off the tank here.
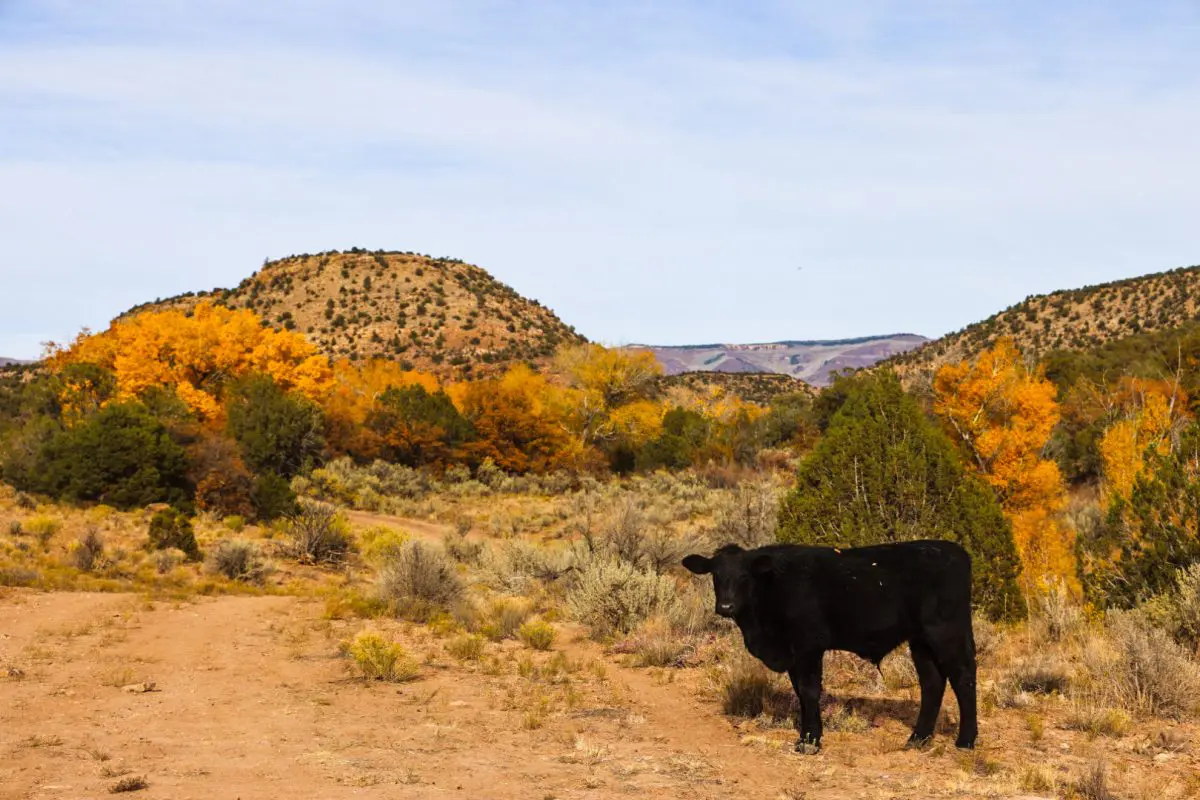
Back on the road again, we had a few more asphalt miles before getting onto the dirt. Shortly after Nucla, the terrain begins to change more to the favor of the Utah environment than that of the Colorado environment. This is when the terrain begins that is more of what I expected Rim Rocker to be.
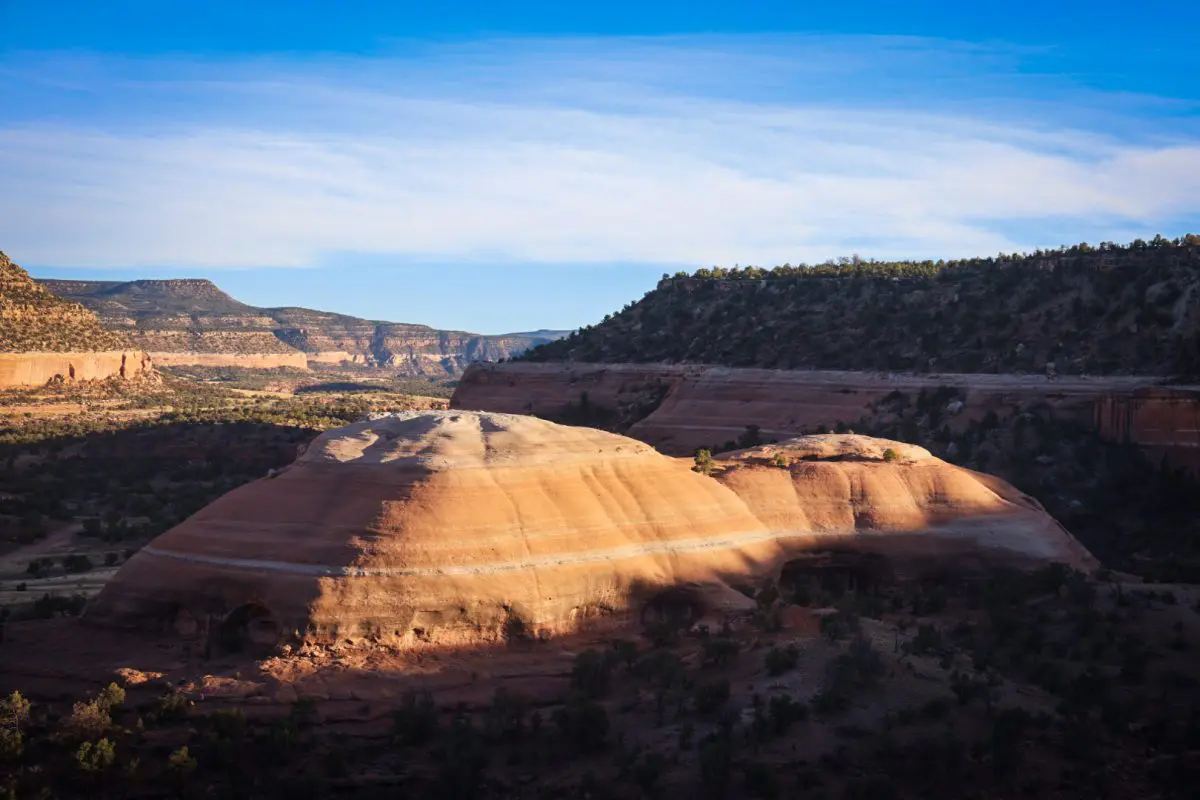
What’s My Name?
One of the coolest land features along this trail is the super unique rock formation found at GPS coordinates (38.4200921, -108.8298620). I have no idea what this thing is named, but I’m sure it has one. Really cool to see this in person from this angle.
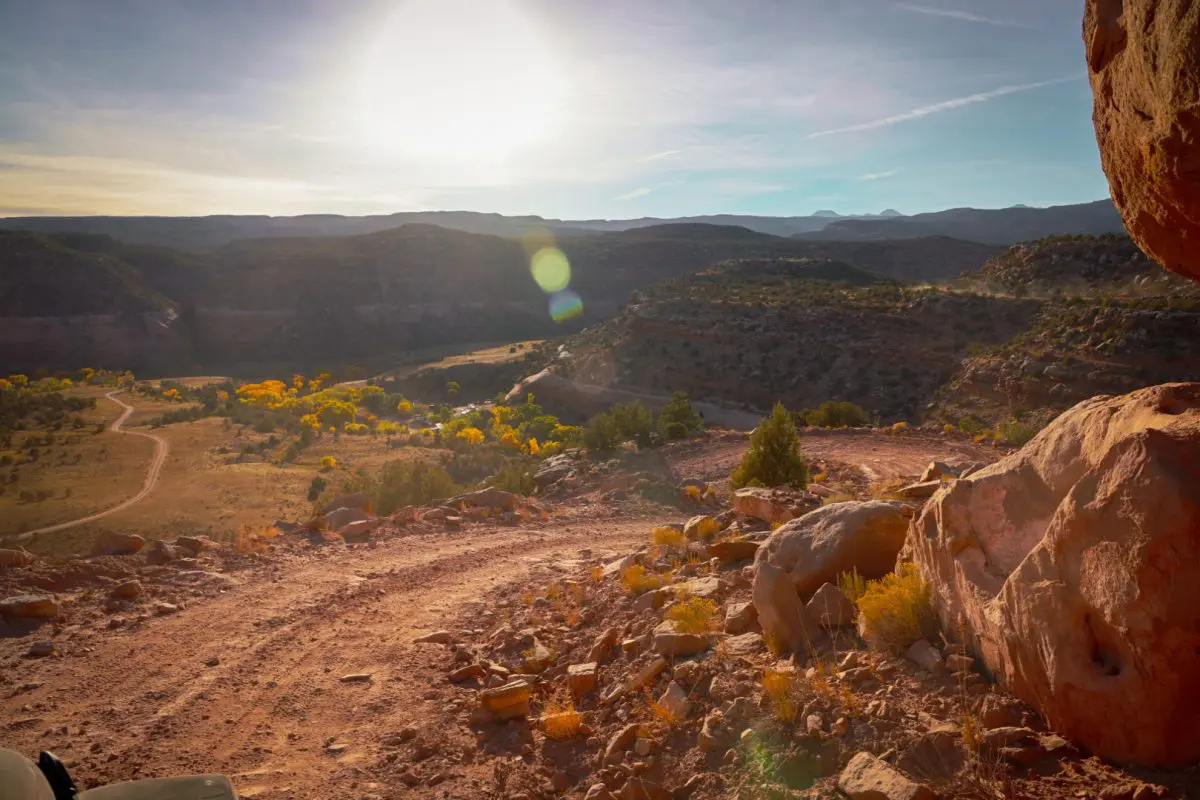
TERRAIN CHANGE
By this time, we are in the heart of what I hoped Rim Rocker would be; mostly desert style terrain, amazing views, and more of an off-road feeling. A good bit of the trail in this section runs along Utah Highway 141. Weaving onto and off of the edge of the cliff, you stay within sight of the valley below. I really enjoyed this section of the trail. There are quite a few good looking camping spots along this part of the trail. In a future trip, we will probably do some research and try to find a legal camp spot here (example: 38.4200921, -108.8298620).
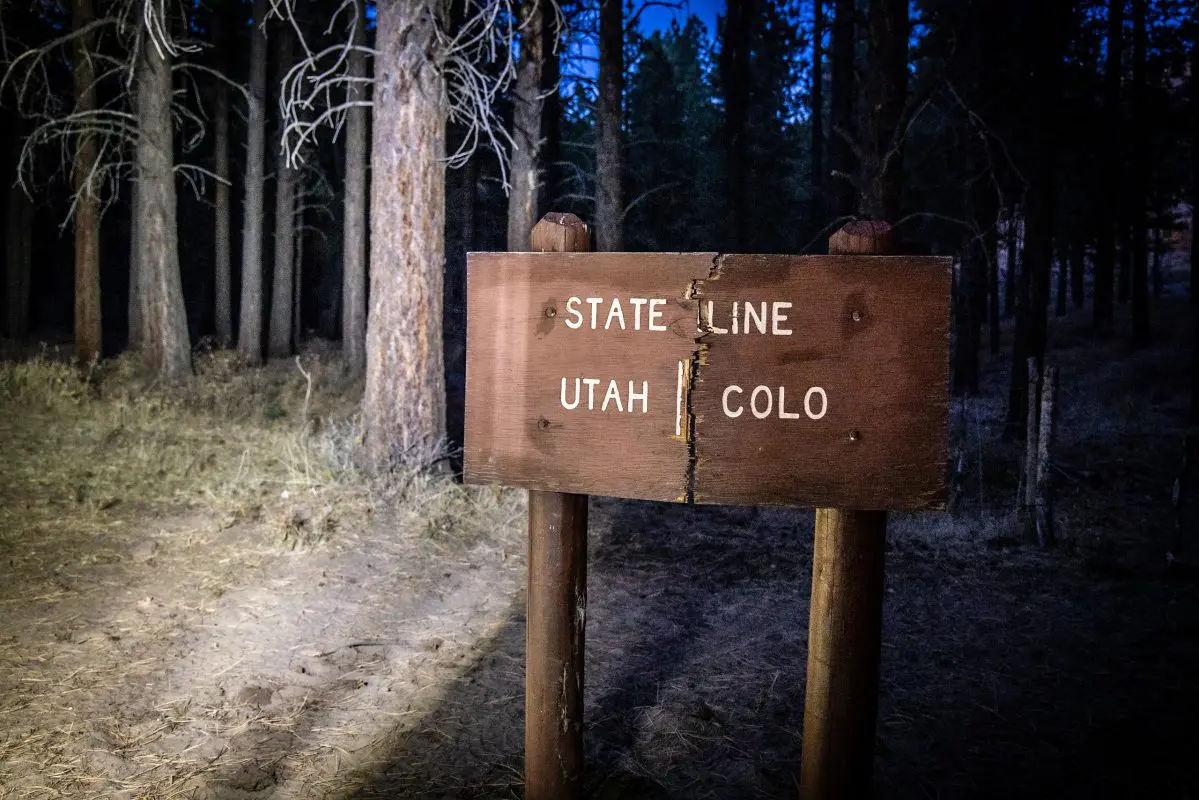
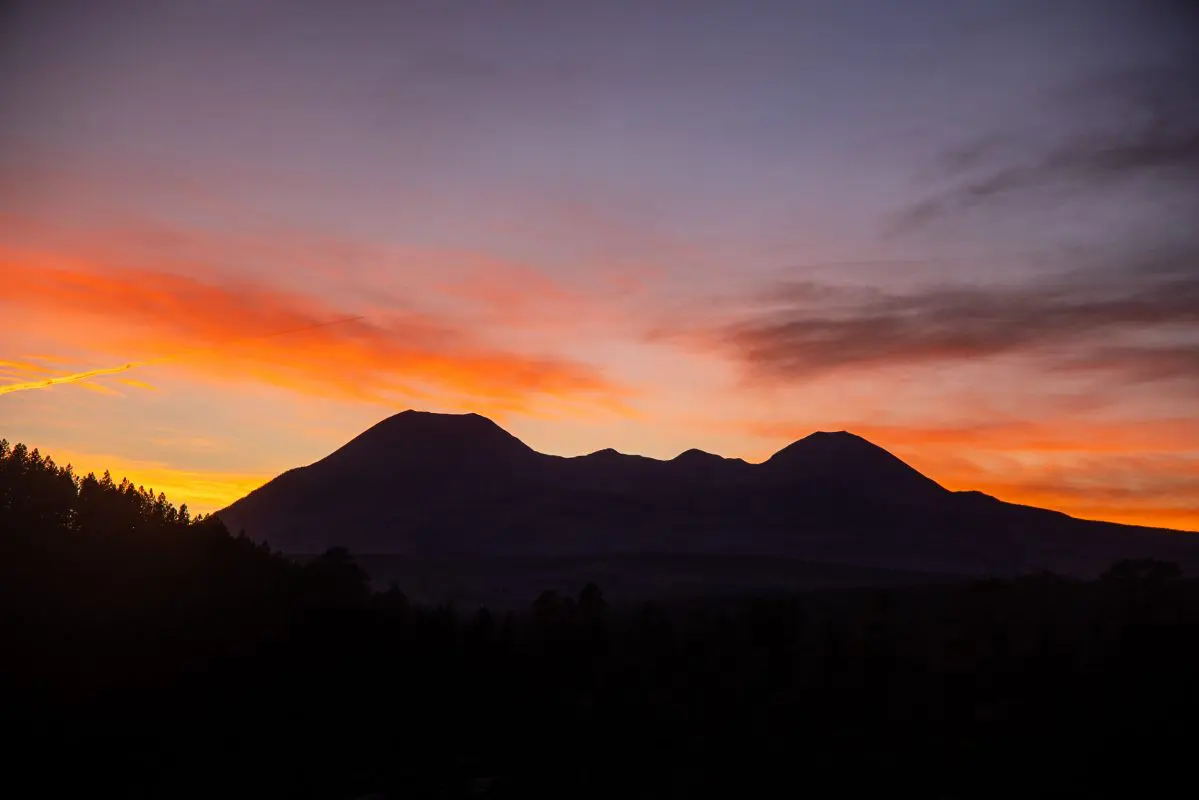
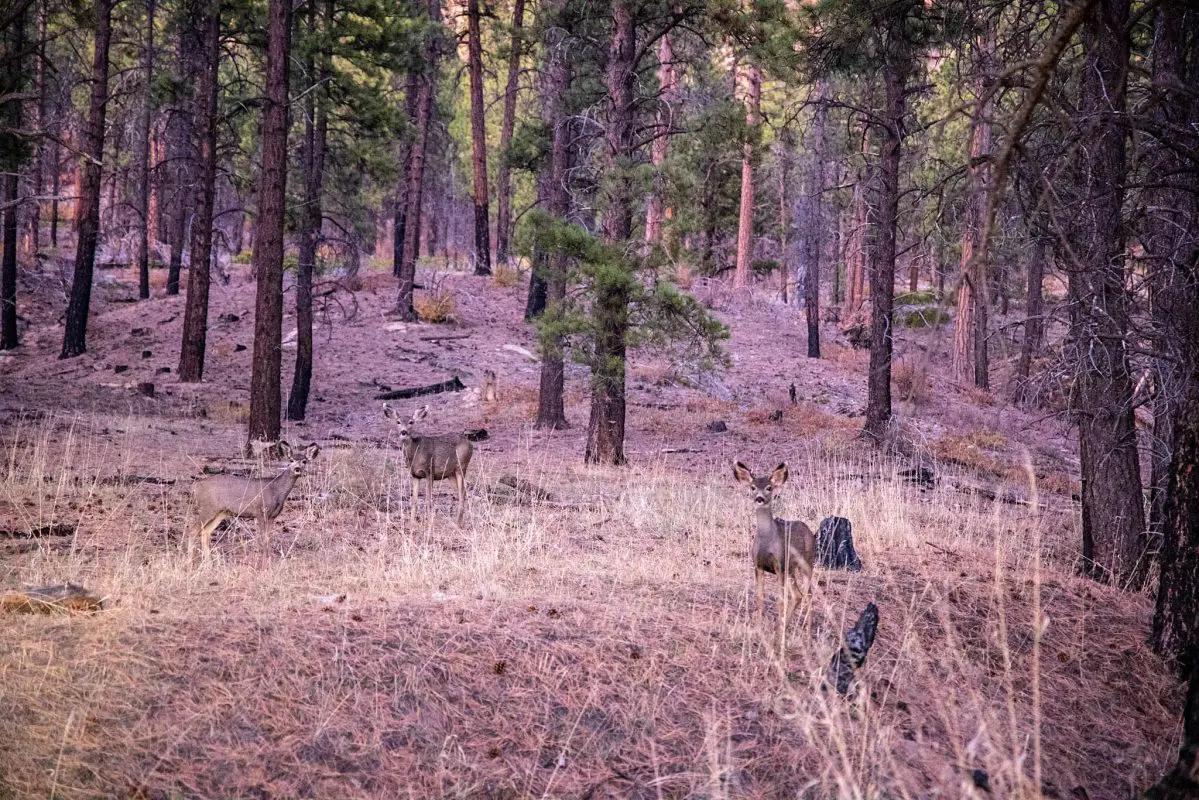
One of the most memorable sections of trail is coming up next. As dusk was approaching, we were greeted by an amazing sunset as the sun dropped behind the distant La Sal Mountains. Driving through the area near Buckeye Reservoir, we noticed a very nice, very secluded campground close to the road. This campground is “Buckeye Campground” and jumped to the top of our list of places to checkout soon. The amount of deer we saw in this area was unbelievable. Soon after passing the campground, we came to the Utah/Colorado border.
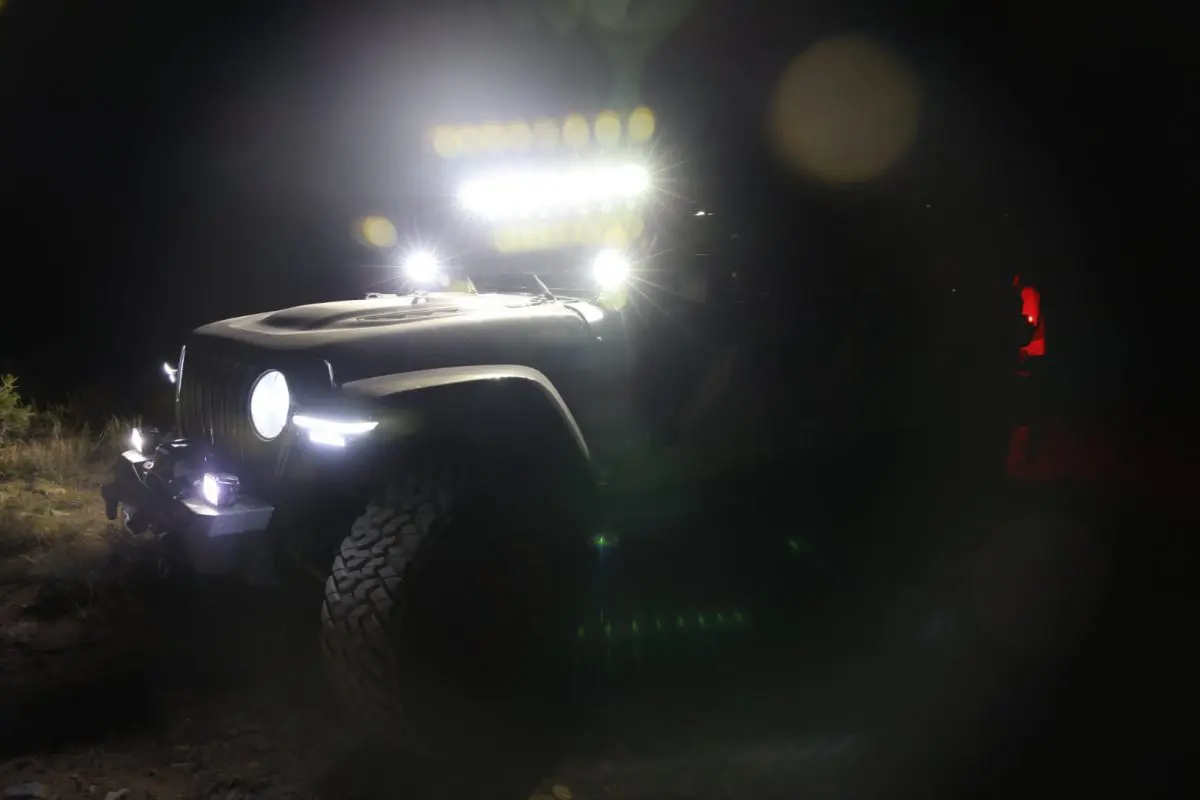
Let there be light!
At this point, we were in full auxiliary light mode and we had all of the KC HiLites lights on full blast. This was the first time I have used these lights at speed. Most of the previous time was spent at low speed and crawling around the rocks. With them setup at a little higher rotation than normal, I was able to drive like it was daylight. The power of this Pro 6 light barPro 6 light bar and pod lights is unbelievable. It was literally like driving during the daylight. I couldn’t be happier with this lighting package.
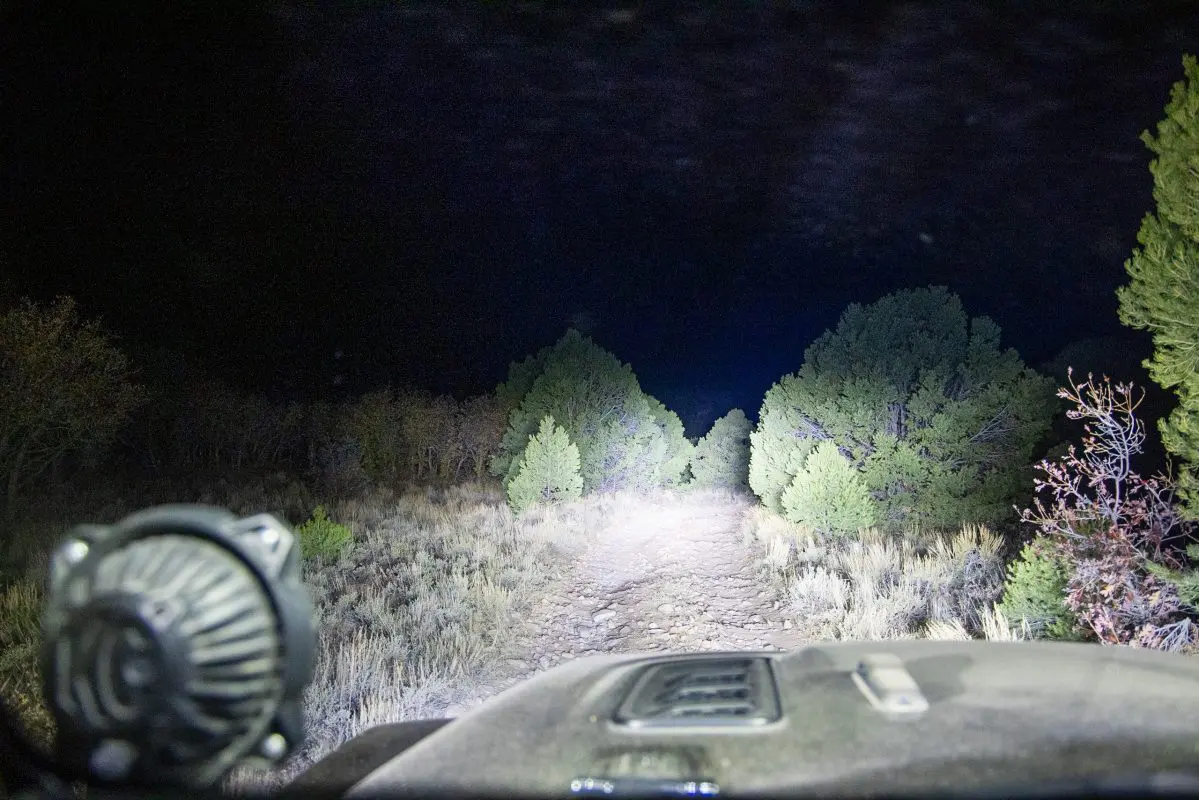
A lot of the trail in this section is pretty bumpy and significantly slower than the previous trail. Here is where having proper air pressure in your tires really pays off. Dropping down to 12-15 PSI helps in this section of the trail. However, you should find the pressure that works well for your particular vehicle, tire/wheel, and terrain. Don’t trust ours!
The remaining miles of the trail were a lot of fun, at least for me. There were definitely some bumpy sections, but as compared to the previous sections, this was the most technical driving. Granted, this was still very basic and was still very much a road, but there were some brief tight sections with the occasional switchback to keep you on your toes.
HELLO MOAB!
As you begin to enter Moab, you are inserted right in to what’s commonly referred to as Area BFE. There is tons of dispersed camping and several very fun rock trails in this area. With more time, there could be some great trails to incorporate here. The last few miles of the Rim Rocker route is actually on paved roads through the middle of Moab and takes you very close to Milt’s.
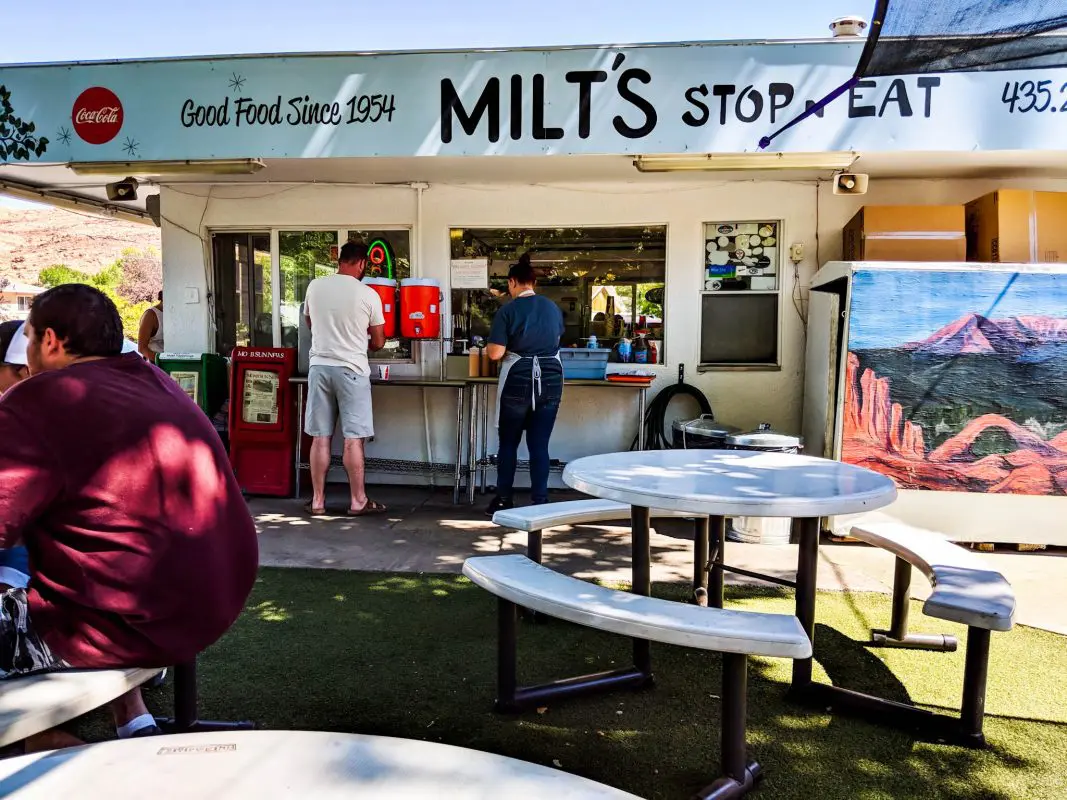
Stop at Milt’s!
Some of the best burgers in Moab. Milt’s can’t be beat for a quick meal. Just be sure to check their hours before planning to stop.
More about Milt’sI absolutely loved the Rim Rocker trail. However, it wasn’t exactly what I imagined. When I thought about a trail that spans distance as large as 160 miles, I assumed that we would be in the middle of nowhere for part of the trail. The route for Rim Rocker clearly took safety into consideration. There doesn’t seem to be any part of the trail that is inaccessible with moderate effort. I have read that this route was produced as part of a tourism effort. I can definitely see that. The amount of varying terrain you drive through while on this trail is mesmerizing, to say the least. All in all, the entire family had a great time on this trail. I would highly recommend it if you have a day or so to complete it.
Visit the official Rim Rocker Trail website at – https://rimrockertrail.org/.