Jeep JL/JT Fender Retention Hardware
$39.95 – $101.90Price range: $39.95 through $101.90

This product is on our Quick-Ship list, which means it gets out the door quickly! Visit our Quick Ship page to learn more.
We’ll have it on its way to you within 48 business hours of your order — no waiting around, just fast tracks to adventure!
NOTE: Due to current holiday demand, Quick-Ship applies to raw/unfinished variants. Please reach out if you have any questions.
Note: Product photos may contain optional components.

Need both front and rear?
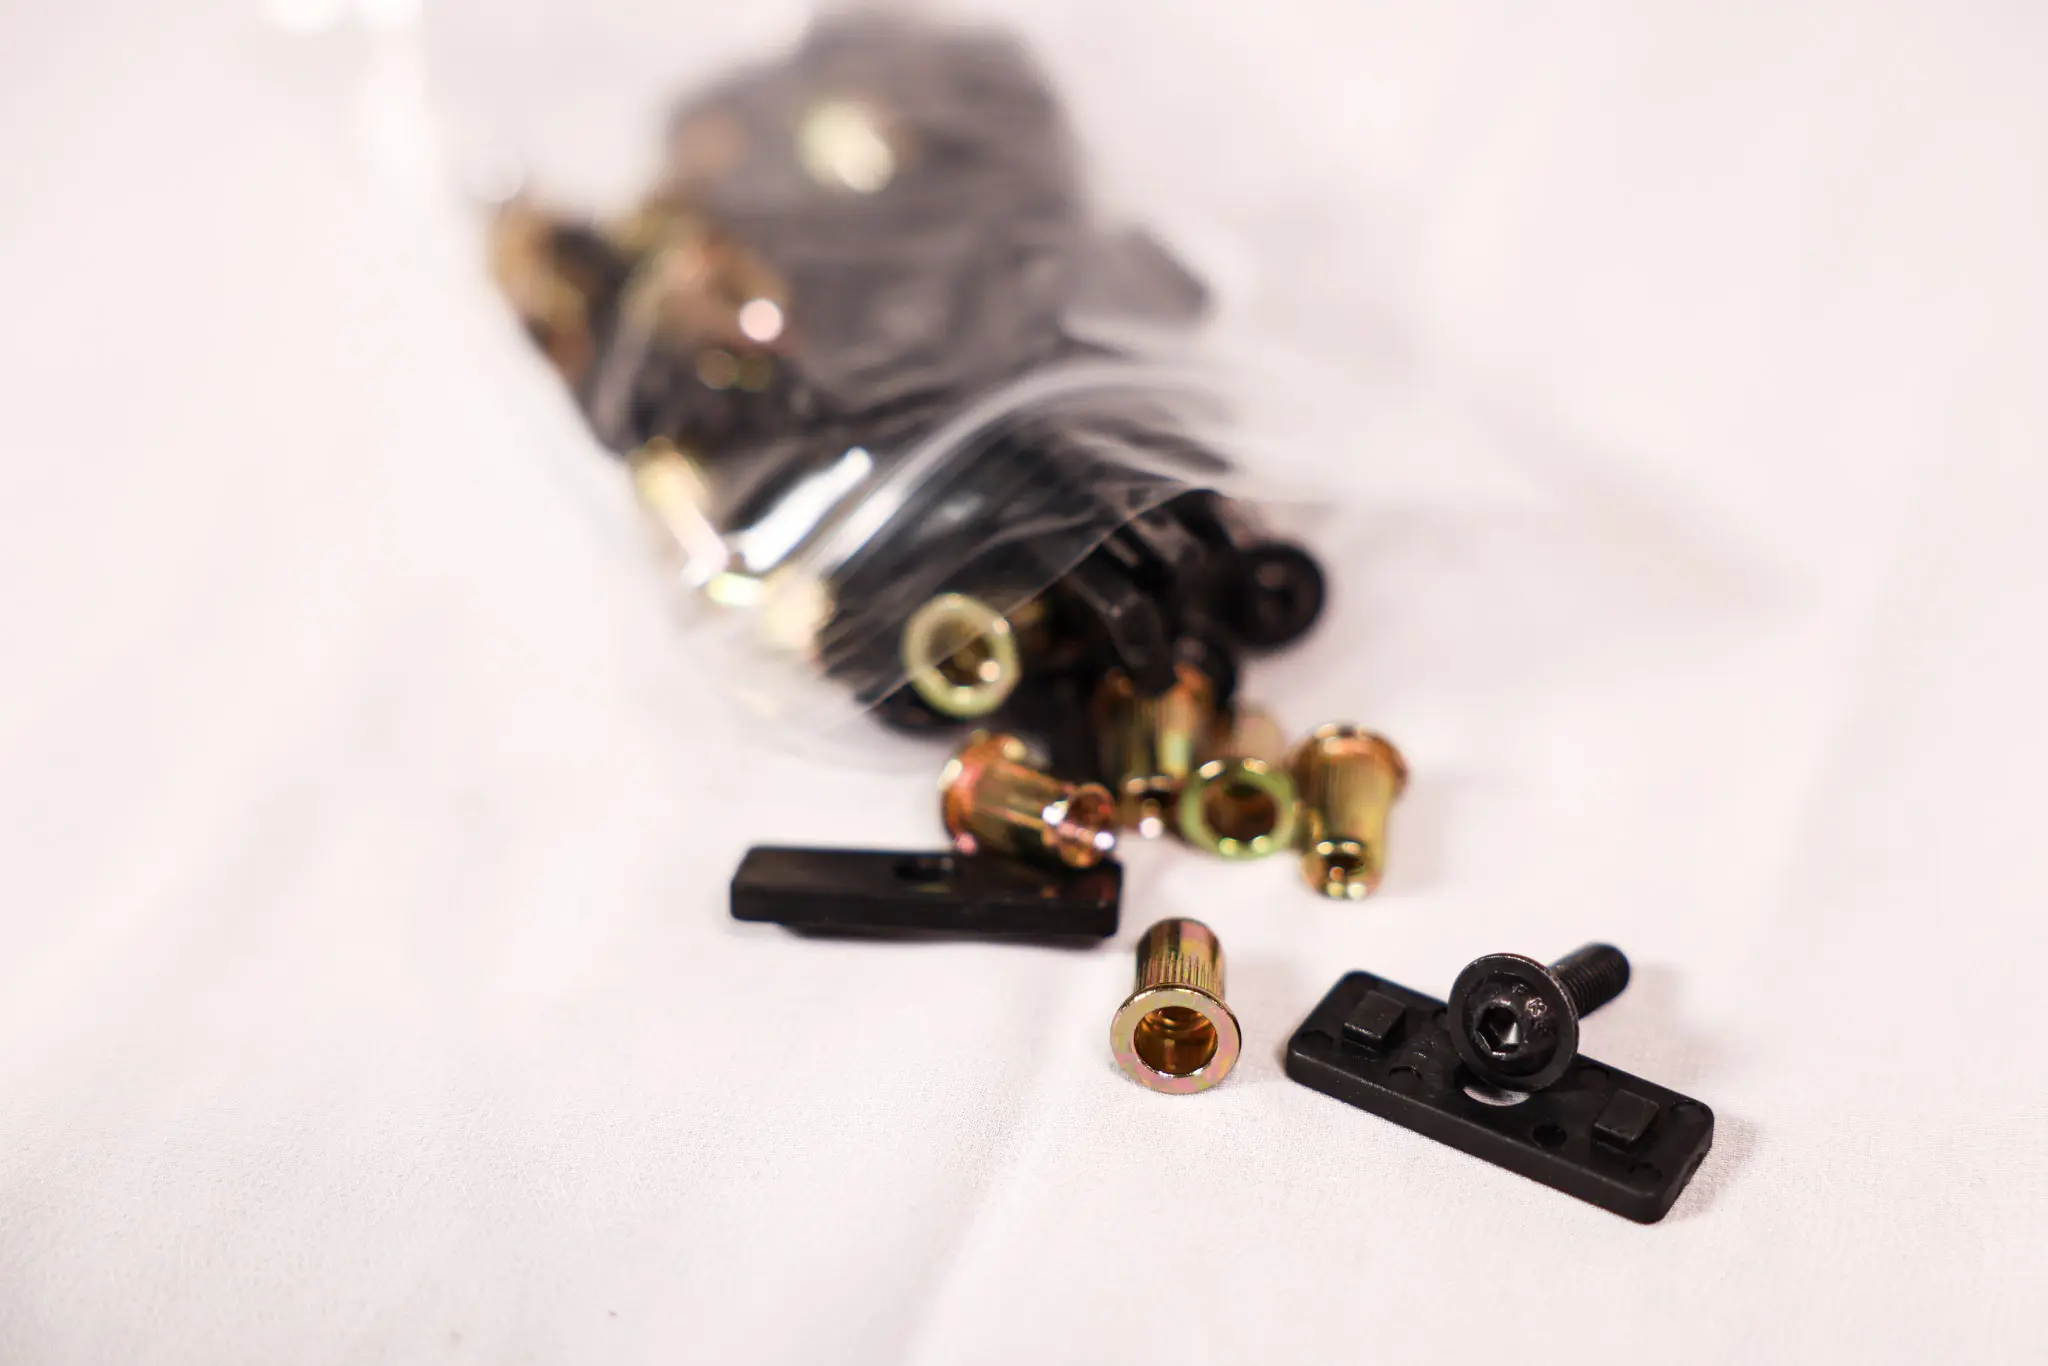
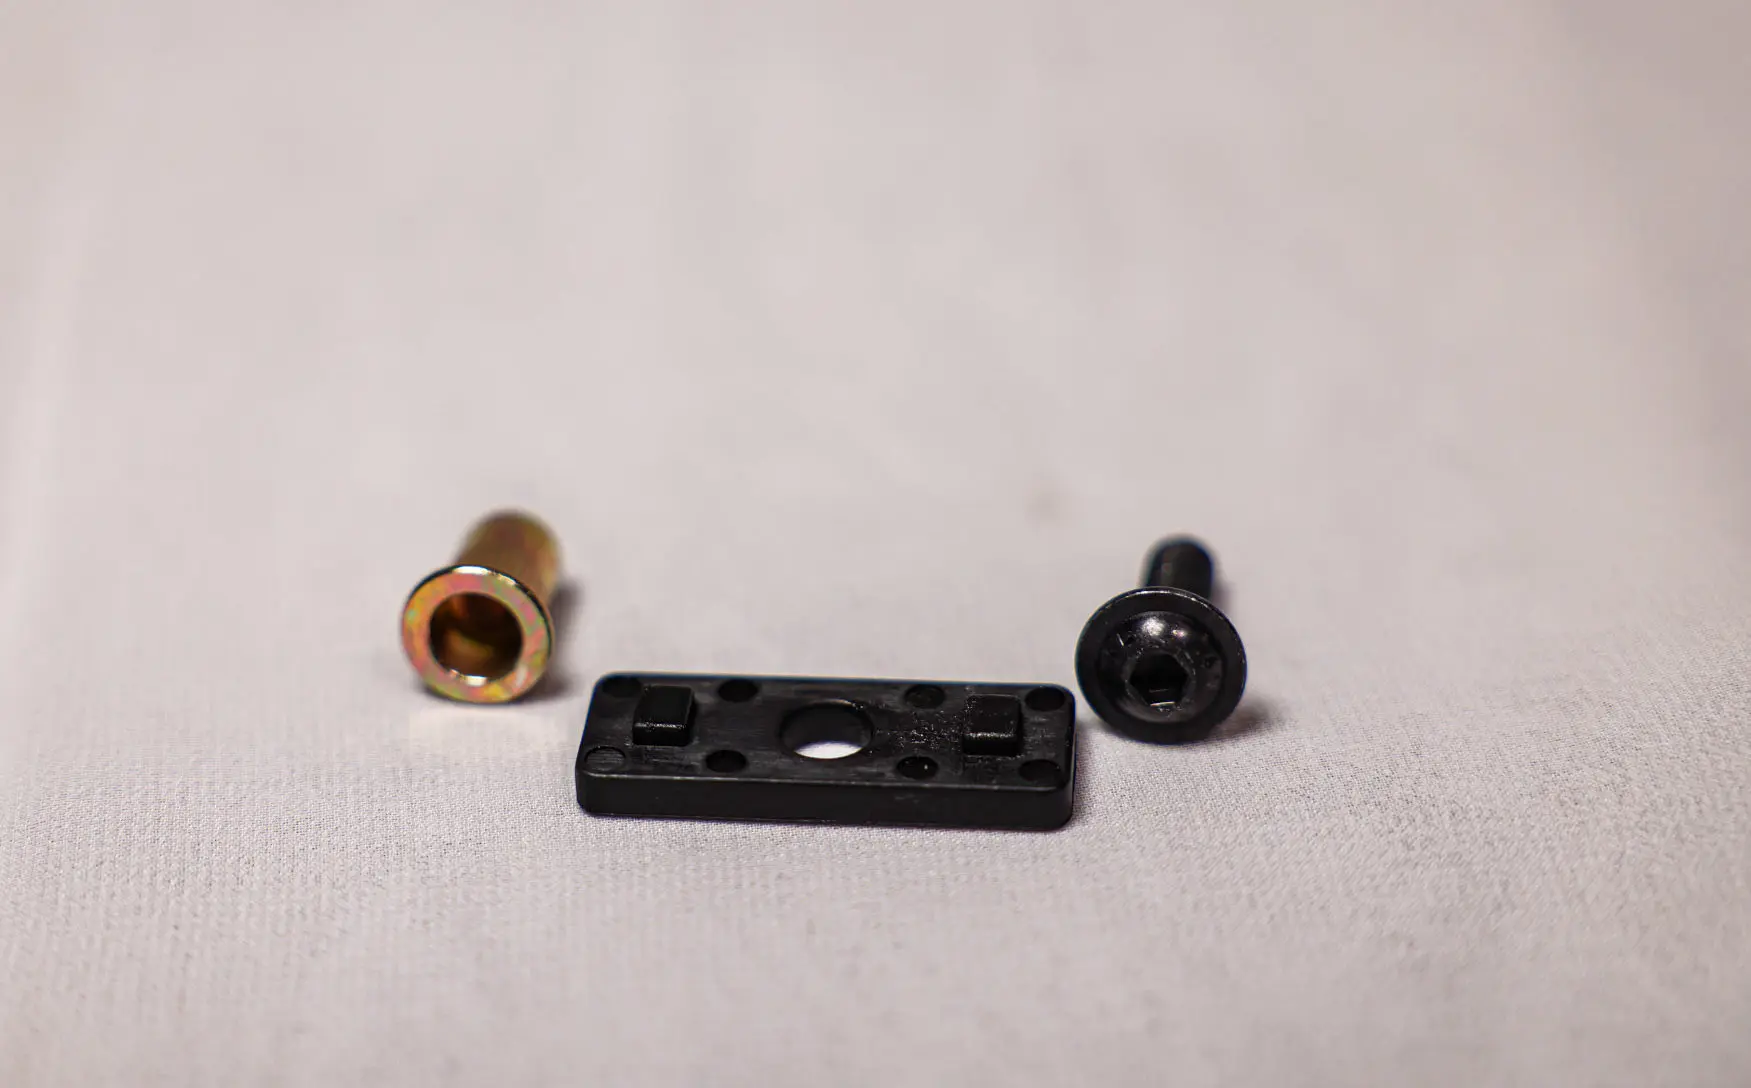
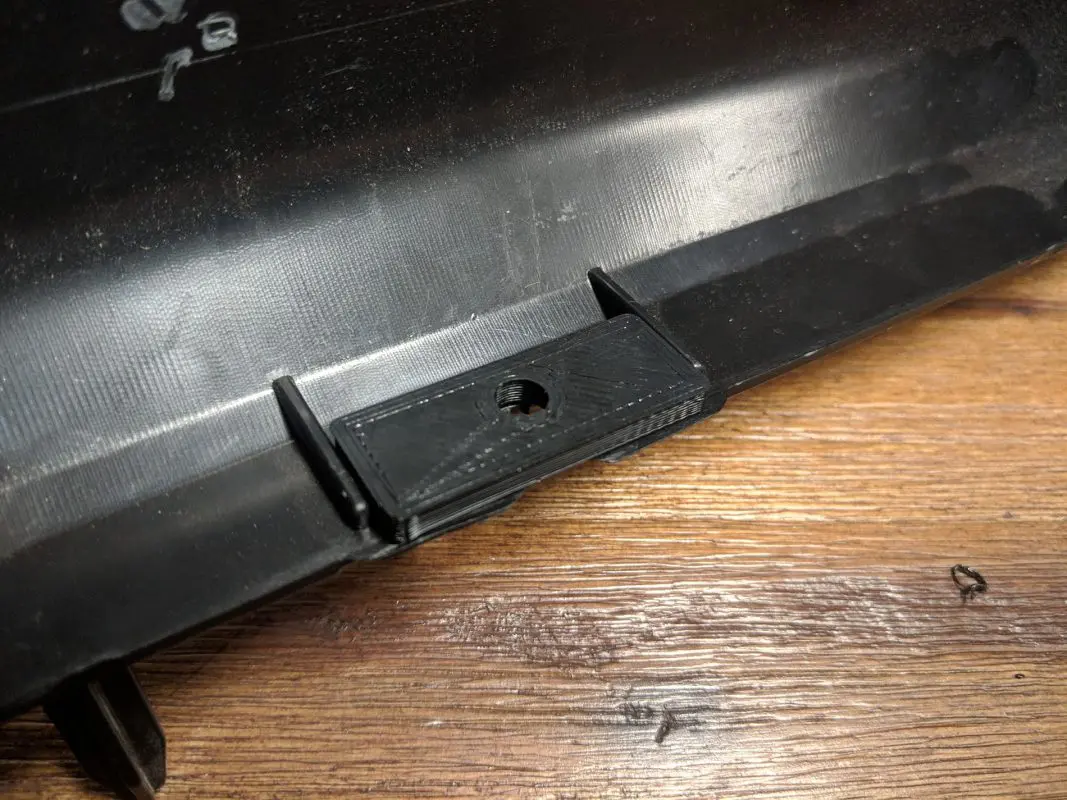
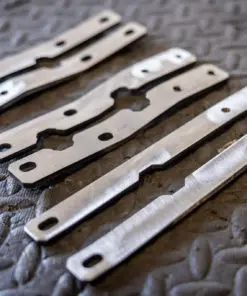
If you want a full set (front and rear), please select the “Set” option in the “Location” dropdown list above. This will make sure you are not charged excessive shipping.- Plastic fender washers
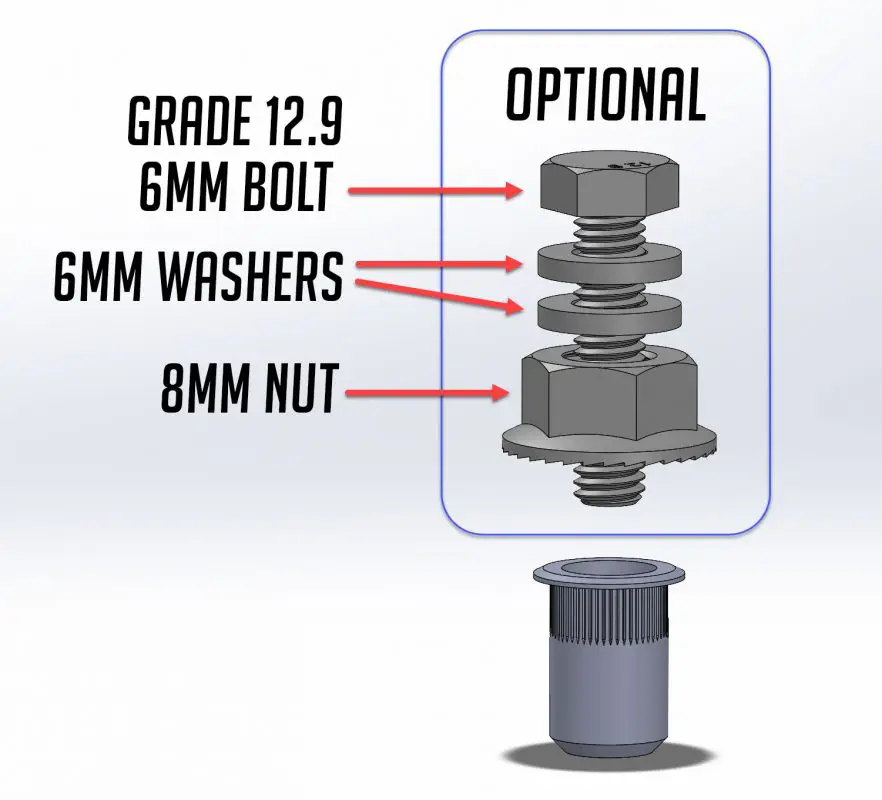
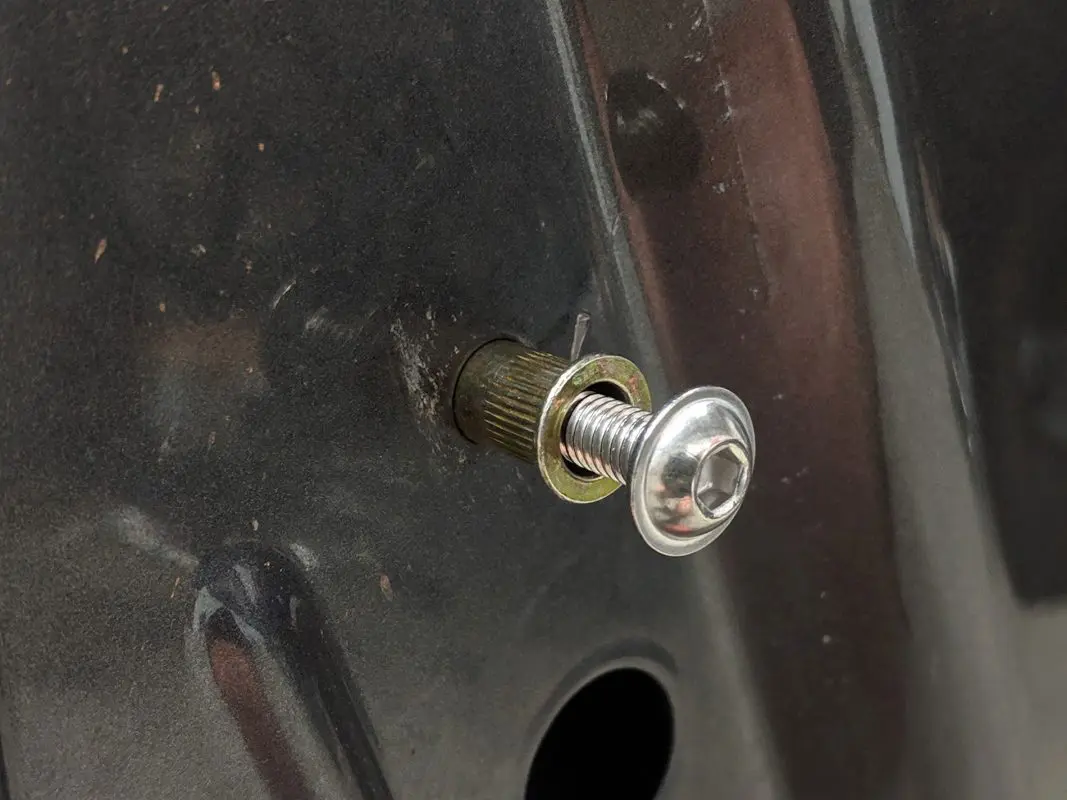
- 6mm nutcerts
- 6mm wide flange head bolts (zinc plated)

NOTE: Rear Kits
In order to simplify our product offerings, the rear kit (for JL and JT) includes 26 sets of bolts, nutcerts, and location washers. On the JT this assumes that you will not be retaining the black plastic trim that runs along the bottom edge of the rear flare. If you want to retain that trim and wish to attach it to the body, let us know before your order ships and we will be glad to include the extra two sets at no cost. For the JL, you will have two extra sets of bolts, nutcerts, and washers if you do not retain the rear flare trim. If you do retain the rear trim, you will use all 26 sets.Special Note
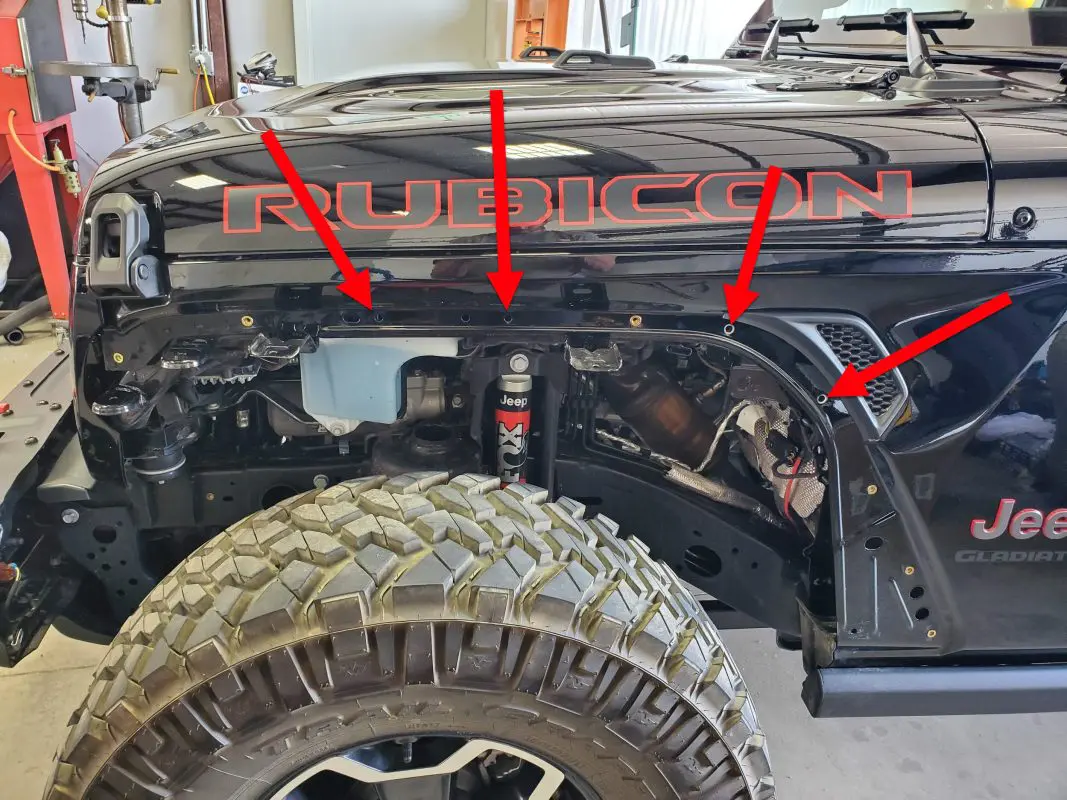
If you are using our inner fenders, you will not install the nutcerts into the body for these four bolts on each side. The mounting brackets that ship with our inner fenders already have nutcerts in them for these holes. Our inner fenders will ship with four of the fender retention washers for each side. You’ll need to purchase this product to replace the remainder of the white plastic clips.6 reviews for Jeep JL/JT Fender Retention Hardware
Add a review Cancel reply
Featured in these Vehicle Builds
Related products
$79.95 – $99.95Price range: $79.95 through $99.95
$64.95 – $84.95Price range: $64.95 through $84.95
Cargo Management
$54.95 – $69.95Price range: $54.95 through $69.95
$79.95 – $99.95Price range: $79.95 through $99.95
$44.95 – $49.95Price range: $44.95 through $49.95



Chris C. (verified owner) –
I purchased the front and rear kits along with High-Line braces and all I can say I can say is that it is shocking the difference that the kit’s “washers” provide with respect to how much better supported the fenders feel. Great use of additive manufacturing!
Don Montalvo (verified owner) –
Perfect nutsert size for 2020 JL, and perfect (3D printed?) clip replacements. It was a breeze to install, and are so good that even Rugged Ridge Max-Terrain fender flares, which are flimsy, actually are less flimsy. Brilliant design, kudos to AAL. I’m blogging and posting to Facebook about these bad boys!
britm –
Thanks, Don! Appreciate the kind words. Send us a link and we’ll repost your blog post.
Todd (verified owner) –
Just installed mine. What a difference. Sure wish I installed them sooner. Would have saved me having to buy replacement High-Line light. I have the Lower light mount add on and one nut fell out after wheeling in Moab. Headed into a 40 + mile an hour headwind and going 60 the light began to pivot. The force of that was just right that all the lower plastic poppers popped out and if not for the 2 bolts from the High-line bracket, the entire fender would have flown off. It was just flapping in the wind. Got lucky with minimal damage to fiberglass, but the force of the tweaking did break my high-line light. Anyway installed these with the replacement light and that fender is not coming off in those conditions again for sure!!!!!
britm –
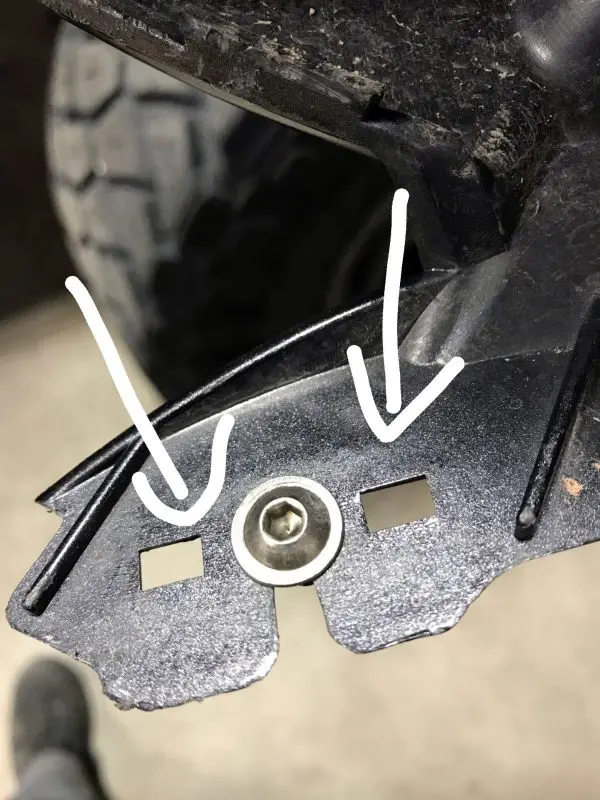
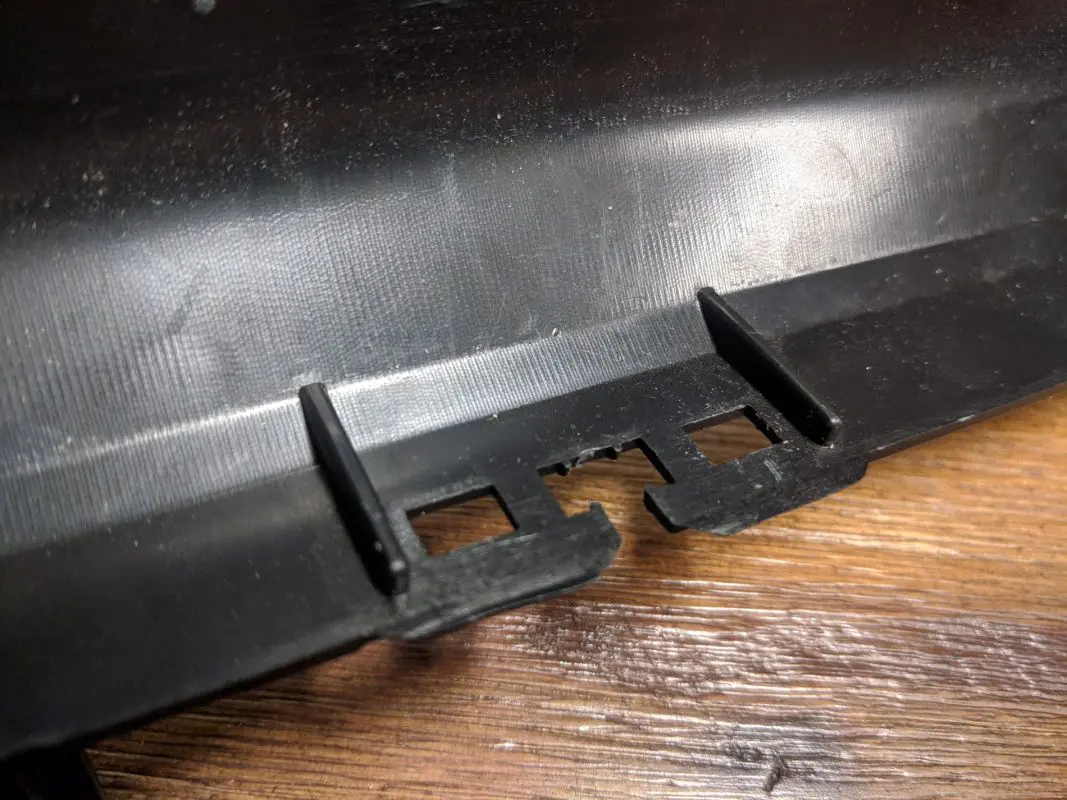
Thanks, Todd! Yeah, most people don’t realize that if they shouldn’t reuse the white plastic clips. They’re only good for the one-time install at the factory. When you pull the flare off, it bends the ears of the clips backwards, reducing their ability to retain the flares. Glad the damage wasn’t too bad. You should be good now, with the install of the FRH kit.
Justin Shanley (verified owner) –
These are the perfect addition to stabilize the Jeep fenders. I live in Arizona and my plastic clips were starting to loosen (my guess is from the sun). I swapped the clips out with this kit (both front and rear) and love the finished product! No more vibrating fenders driving down the freeway. My biggest complaint is my set didn’t come with any directions or information on how to install…which, they are very self explanatory once you get going, but youtube had several install videos detailing the proper process. Also, do yourself a favor and pickup a rivnut install tool — it will make this install SO MUCH easier as opposed to using the homemade method mentioned in the description. (Harbor Freight – $40, not bad). Either way, big fan, 10/10 recommend for the JL
britm –
Thanks, Justin! Glad you like them. The label in the bag should have had instructions printed on the inside of it. I apologize for the oversight of that not being printed correctly. We’ll make sure and double check those.
Bogdan P. (verified owner) –
Inarguably the best fender retention hardware. I installed this along with the high line fender braces, and the result is a solid fender that won’t flop even at greater than highway speeds. A rivet nut tool makes installation a breeze and saves time, highly recommended. This is a must-have if you’re splitting your fenders.
David F. (verified owner) –
I just completed a fender chop on a 2021 Jeep Gladiator Willys. The AAL Inner Fenders are stellar. I’m also very glad I purchased the Retention Hardware. That said I’m not sure if this is because my Gladiator is 2021 but I need to drill out all of the fender holes as well as the one frame hole so the rivet-nuts would fit. A 3/8 inch drill bit was perfect.