
Latest News
Mounting Your 1.5T BADLAND Jack: Plan for Access, Storage, and Retention
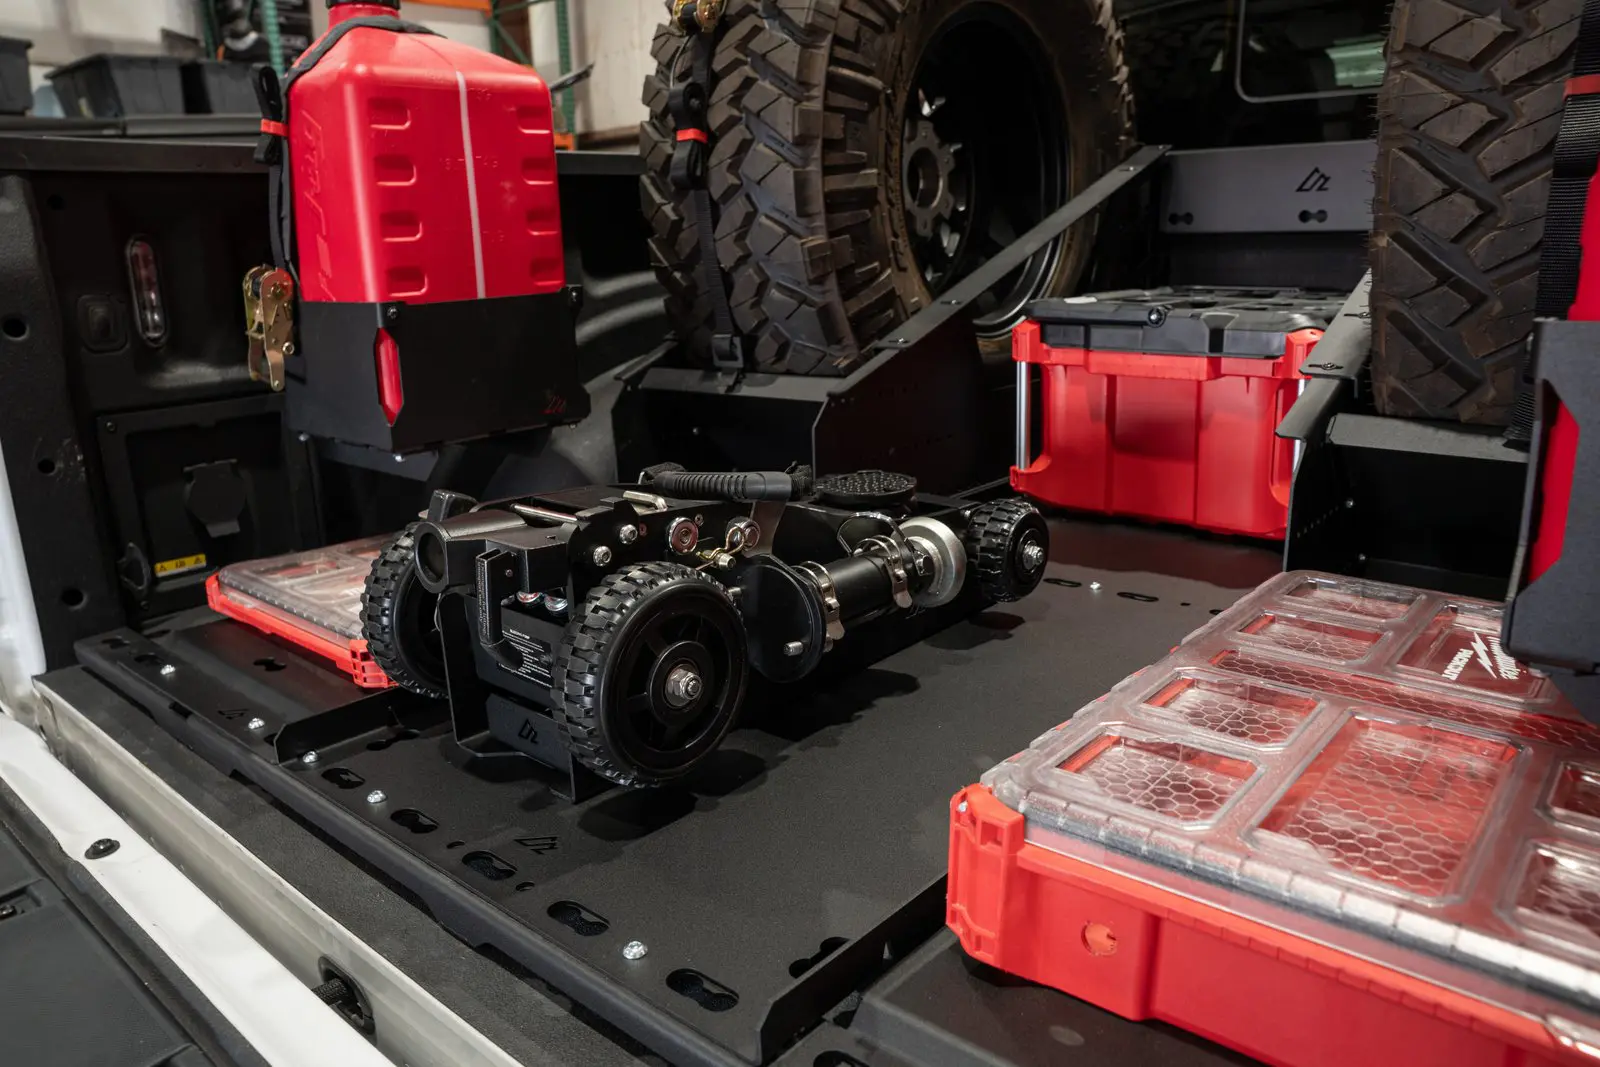
A jack needs a place in your packing plan before you need it on the trail. Leave it behind a fridge, a stack of cases, and the rest of camp, and getting it out becomes a job of its own.
When mounting your 1.5T BADLAND jack, start with two questions: will it stay secured during transport, and can you remove it with your normal gear loaded? Here is how we approach both with the AAL Badland Jack Mount – 1.5 Ton.
Start With the Right Jack
This mount fits the Harbor Freight BADLAND 1.5 Ton Off-Road Jack, item 70887. The 3-ton version and other jack models do not fit.
Pick a Location You Can Actually Use
Mock up the location with your usual cargo in place. Allow room to reach the retaining pin, remove the bar, and lift the jack clear. Try that whole sequence before committing to the mounting location. A jack buried under camp gear has really let the packing order get out of hand.
Use a mounting surface and fastening method suitable for transporting the jack. Check underneath before drilling. We recommend carrying it horizontally in its normal operating orientation, fully lowered.
Match the Hardware to Your Surface
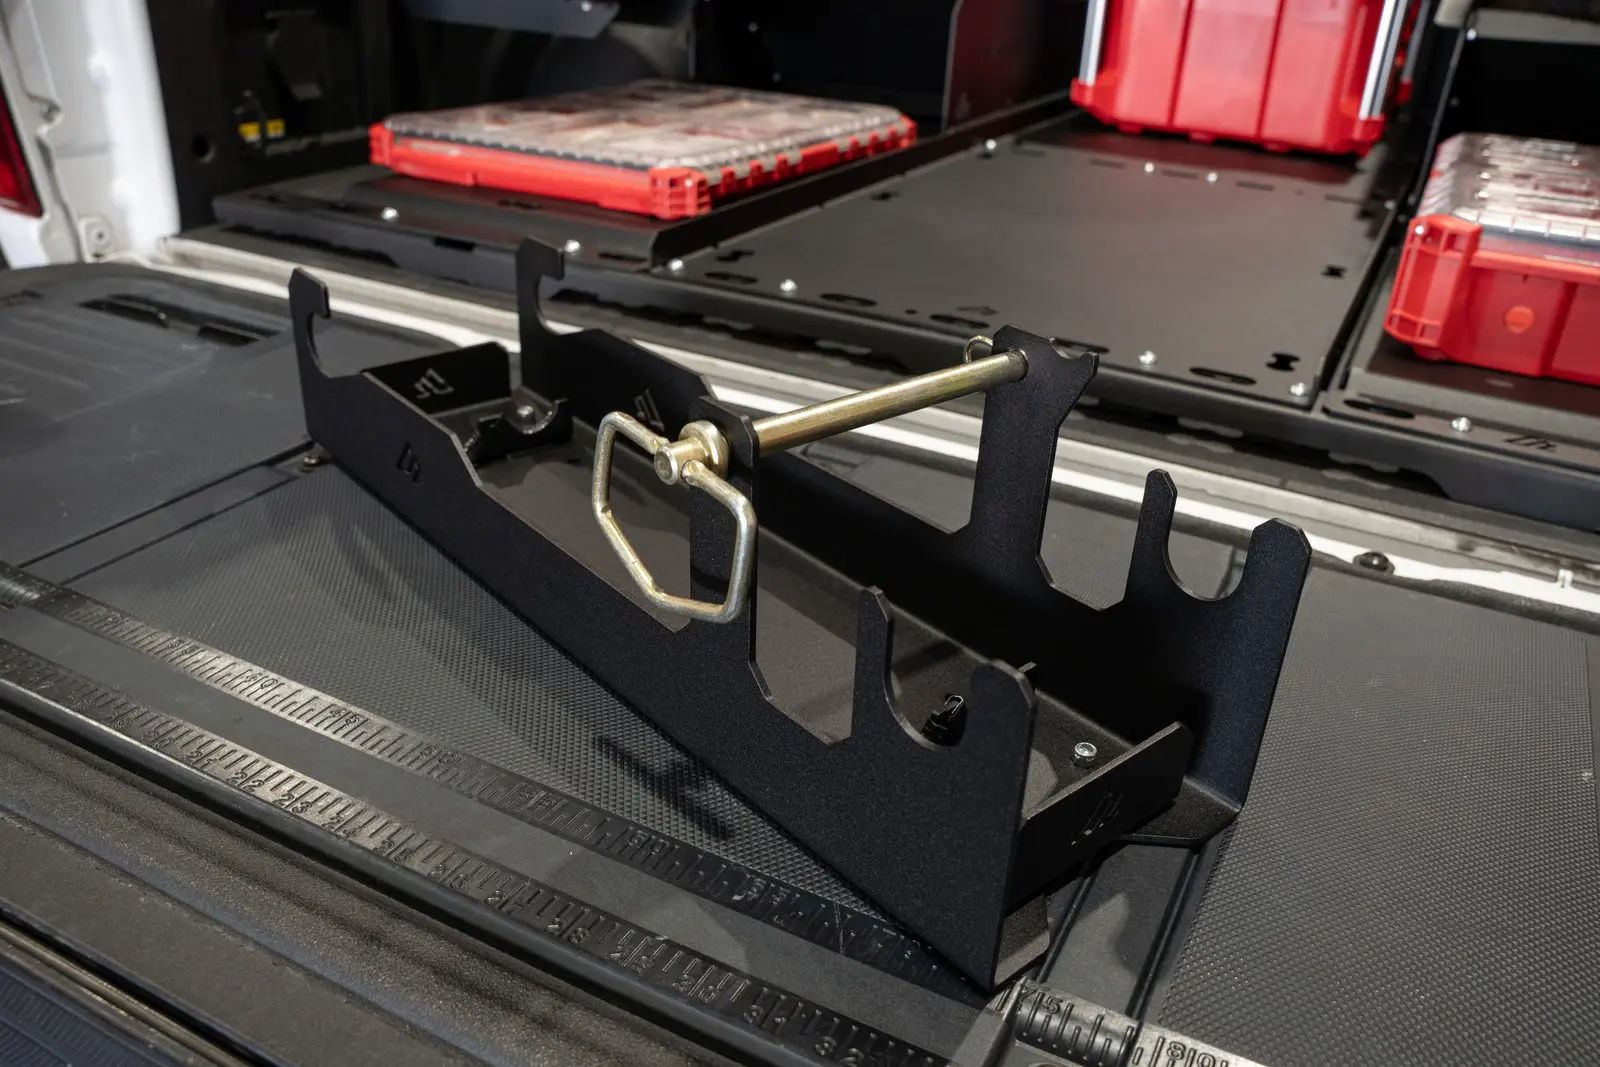
The mount arrives assembled. Its 7 mm holes accept 1/4-20 or M6 bolts, with mounting-hole centers spaced 6 inches lengthwise and 3 inches crosswise. Mounting hardware is separate, so choose the fasteners and tightening specifications for your installation. Use the actual mount to check positioning; an illustration is not a drilling template.
Give Both Handle Halves Their Place
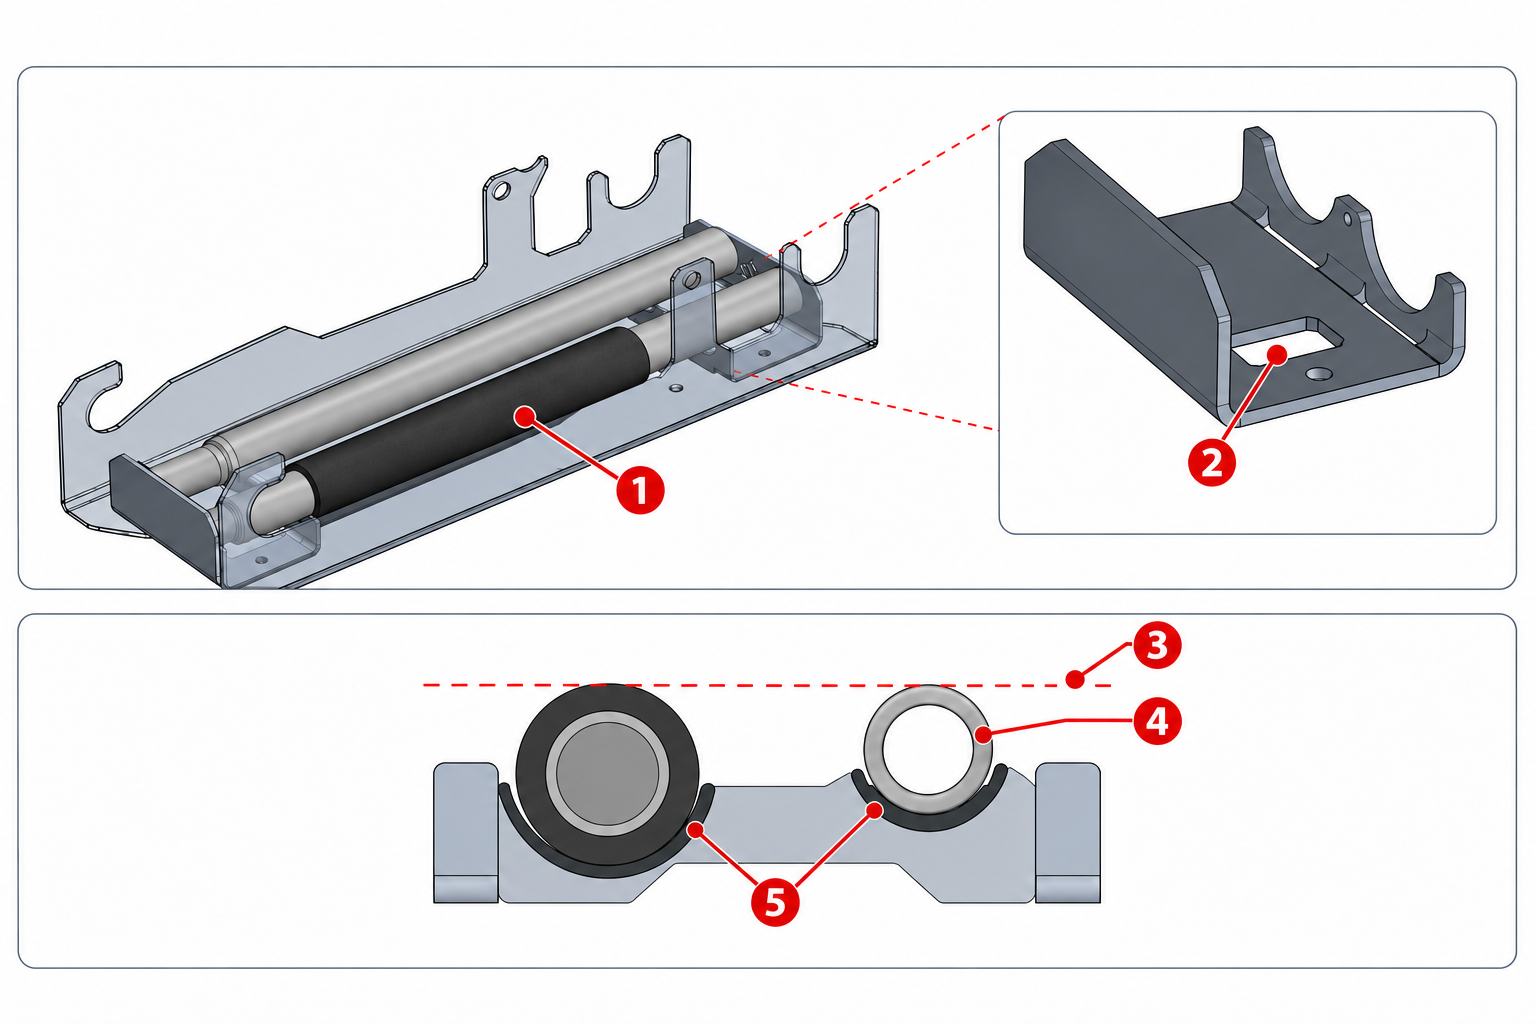
Store the handles beneath the jack. The foam-covered half belongs over the rectangular cutout; the plain half uses the other position. Their different diameters explain the offset supports, which bring both halves against the jack’s underside. Cushioned contact helps control rattling.
Check the Wrench Before Securing the Bar
As you seat the jack, check that the cradle engages behind the Allen wrench release button. That small detail helps retain the wrench used for the extension. Check it each time you reload.
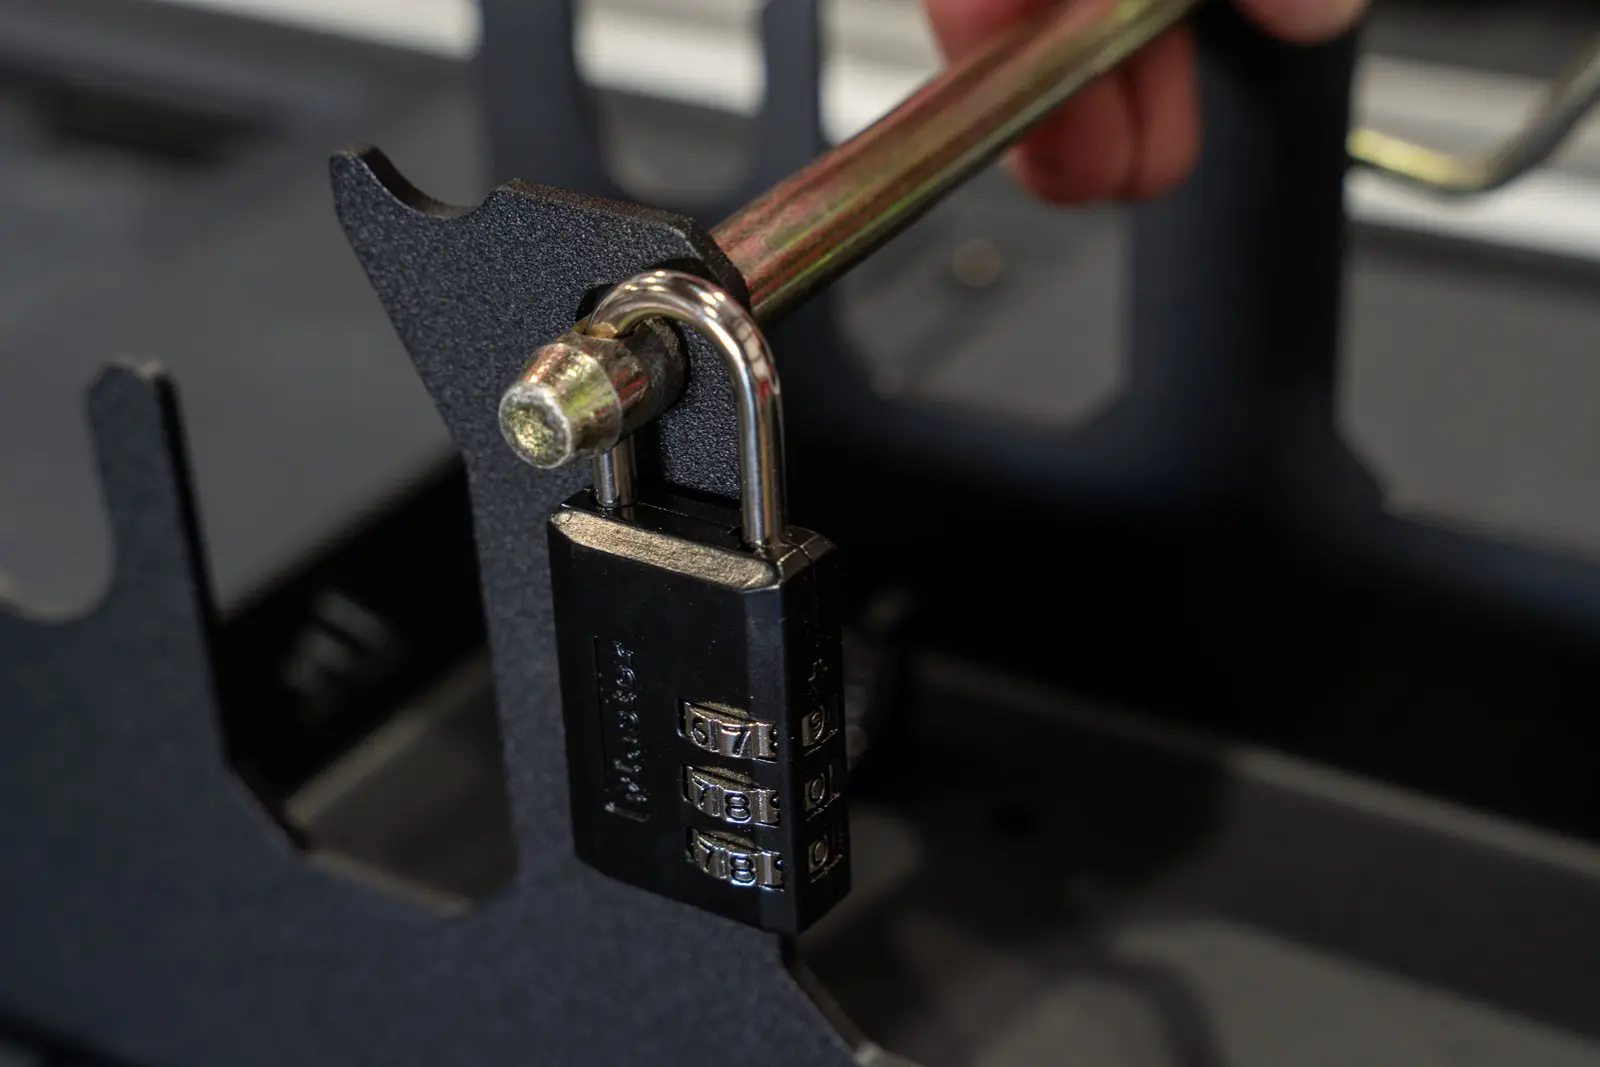
Then install the retaining bar, hitch pin, and R clip. An optional padlock with a 3/16-inch shackle can replace the clip through the pin’s retaining hole.
Make Removal Part of Your Pre-Trip Check
Practice unloading with the vehicle packed. You should be able to release the pin, remove the bar, lift out the jack, and collect both handles. Before driving, check the mounting fasteners and every retention point. Recheck after rough travel.
For the full sequence, watch our demonstration and read the installation guide. Follow Harbor Freight’s instructions for lifting and operating the jack.
Planning your layout? See the AAL 1.5T Badland Jack Mount, or send us your mounting questions before drilling.
